Display Team Members on a site using SharePoint Pages and Quick Links
A frequent request for company intranets is to display and share information about the Team Members. This could be a Welcome New Team Members Page on a Human Resources site, welcoming new employees, or a page to display a roster of external users, say a list of Board Members for a nonprofit organization. I actually consulted a nonprofit recently. They needed to display a list of Board Members on their Board Site. The site itself was a regular Team Site, set up for external sharing. Since all the Board members were external users (without a Microsoft 365 account), we could not rely on the People Web Part (which draws information from the organization’s Active Directory). So I came up with an interesting solution to Display Team Members that I want to share with you below.
The idea behind this is that every member gets their own page that will contain a photo of them, as well as additional background text about each user. On the homepage, we will use the Quick Links Web Part to link to each and every team member’s page. Here is how it will look when all is set and done.
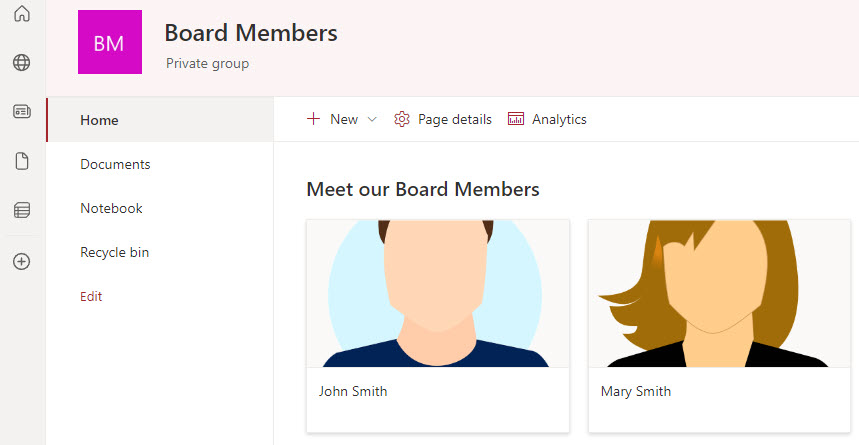
Like what you see? Well, then, let me show you how to make it happen. You are welcome!
Step 1: Create a Page for the first Team Member
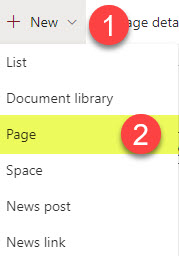
- From the Homepage, click New > Page
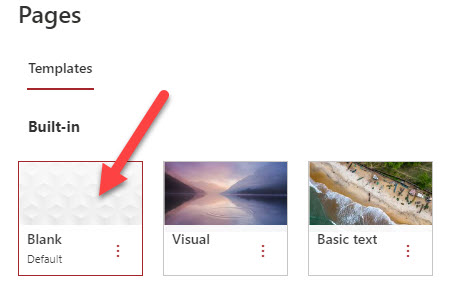
- Choose “Blank” Template and click Create Page
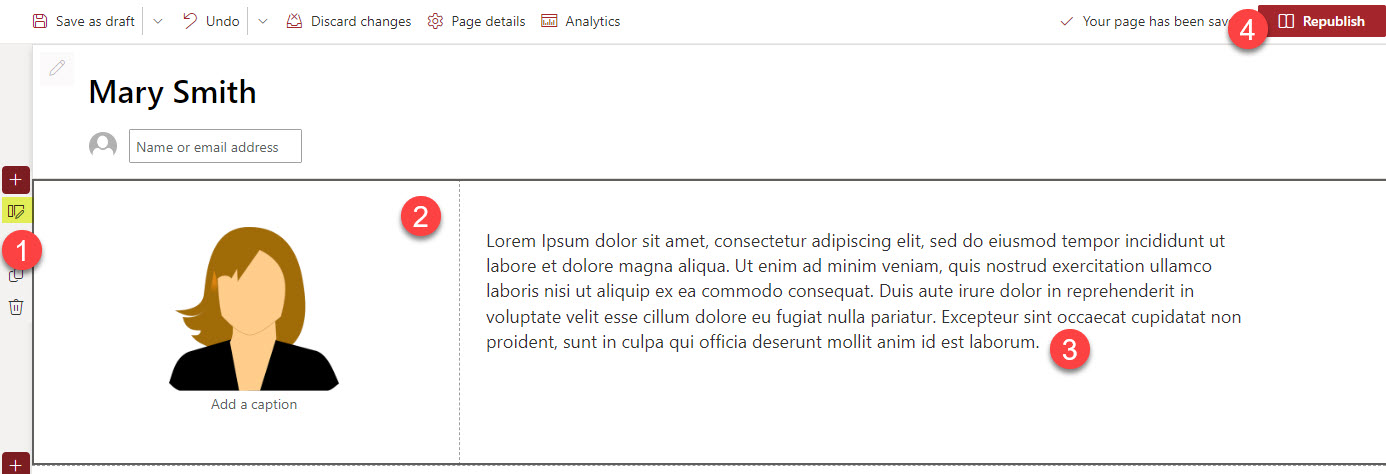
- Next, choose a 2-column layout, add an image to the left column, member text to the right, then click Publish to publish the page
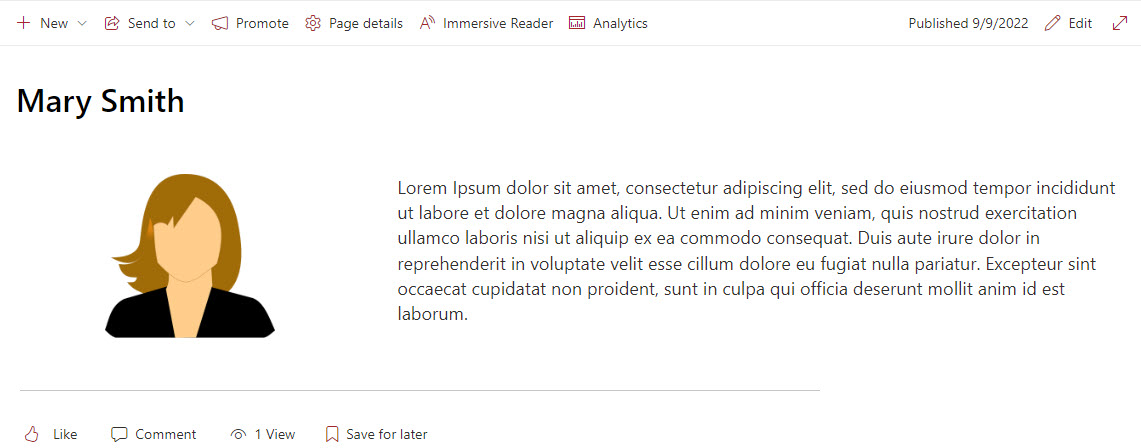
- This is what it looks like when it is published
Step 2: Create a Page Template
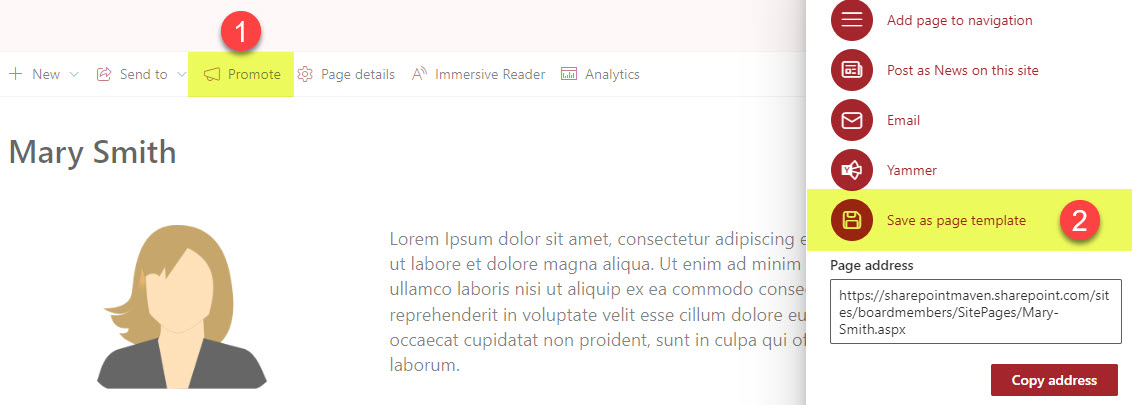
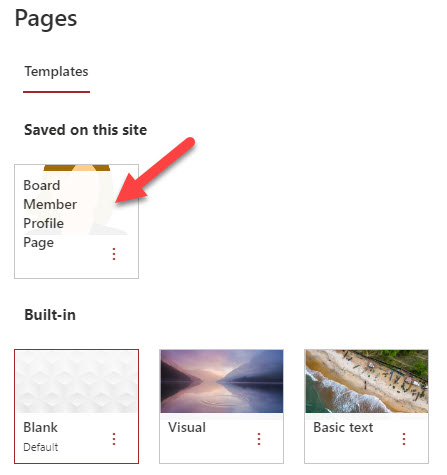
Next, you need to create a Page Template out of the page above. Please reference this post for step-by-step instructions on how to do this.
Step 3: Create remaining Pages for all team members
Next, you need to create the remaining member pages from the template you just created. Once again, I provide those instructions in this article.
Step 4: Add Quick Links Web Part to the Homepage
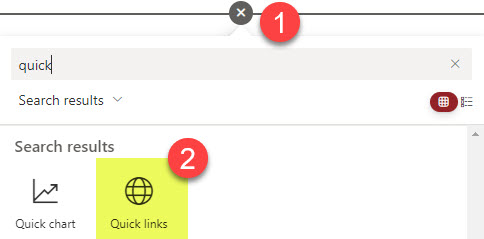
- Edit the Main (Home Page), add Quick Links Web Part
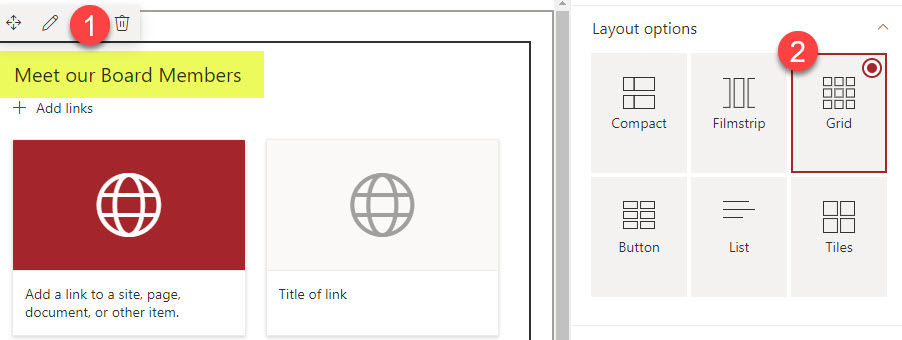
- Edit the settings of the web part and choose Grid Layout
- Click Add Links
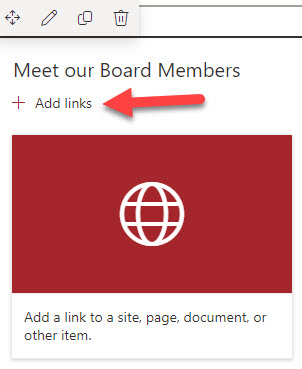
- Choose the member pages you just created and click Insert
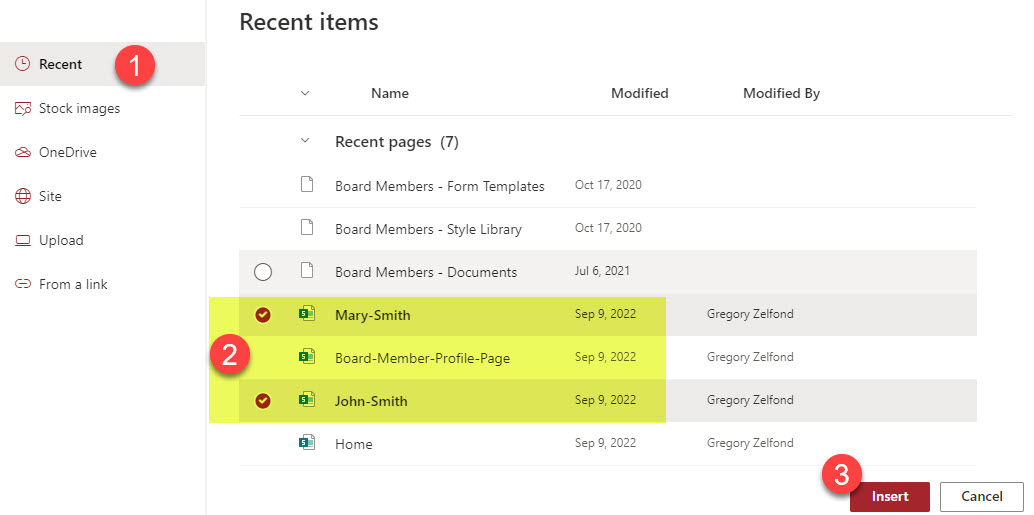
- It will now display the Quick Links and automatically draw the member photos from the pages. Since we chose the Grid Layout in one of the steps above, the images will be large enough to see the photos of individuals. Don’t forget to Republish the page
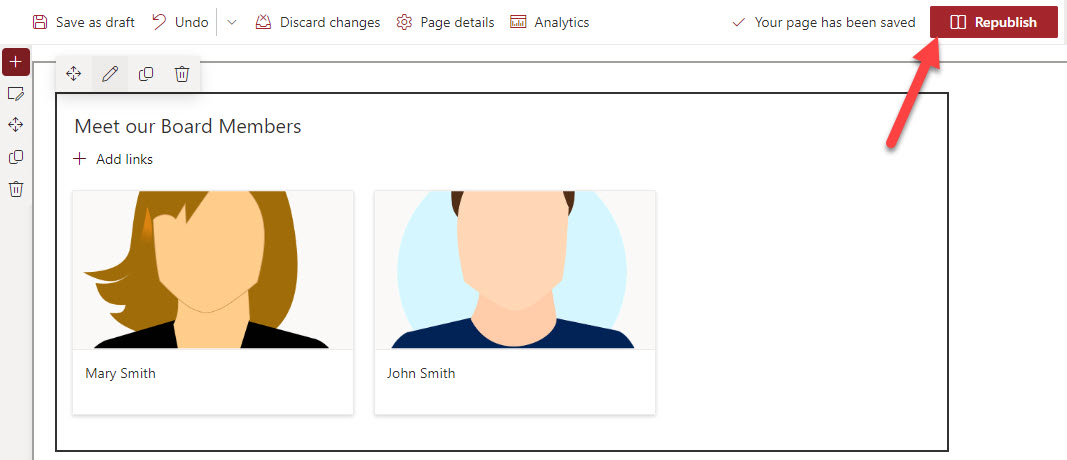
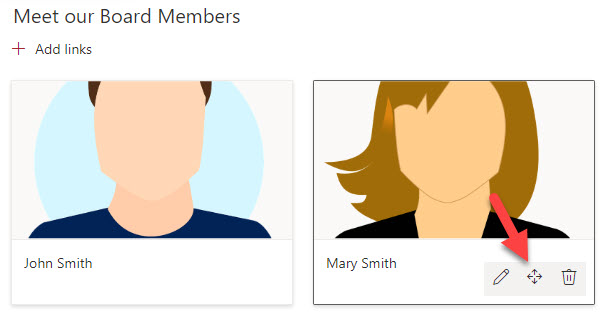
- You can also change the order of members by dragging their tiles (quick links) left or right using the arrows
