2 ways to create metadata in SharePoint
Those following my blog know that I am a staunch advocate of standardization and metadata. While metadata really is any additional information about a document or an item, like date created, author, etc., the majority of the time you want to standardize metadata using a list of drop-down choices (For example: department drop-down, document type drop-down, etc.)
What is Metadata?
Metadata is data that describes additional information about an item
How to create metadata in SharePoint?
Method 1: Use the Choice field type
The easiest way to create drop-down choice metadata is described below. To do this:
- Go to the list or library where you want to add metadata. For the purpose of this example, we will utilize a document library
- Go to Library Tab
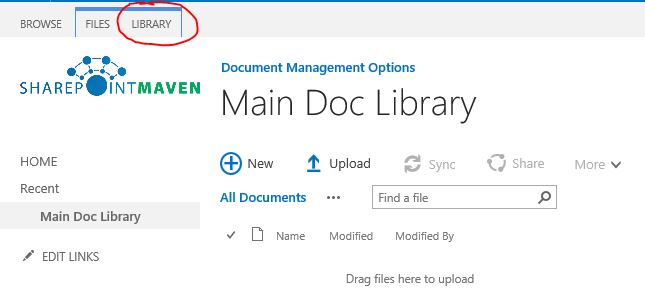
- Click on Library Settings

- Click on Create Column
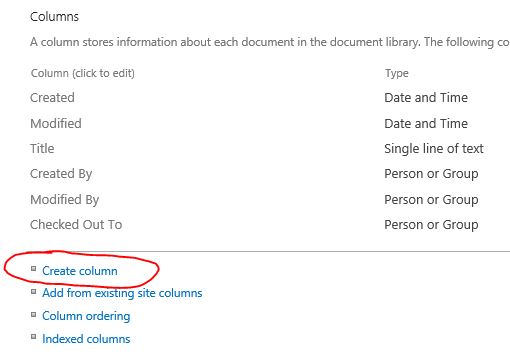
- In the Column name field, type in the name for your Column (i.e. Department). Under the type of column, select Choice radio button. Once you do this, the page will refresh and allow us to customize our column further.

- Scroll down a bit. In the middle of the screen, go ahead and type in your drop-down choices, one-by-one (1 choice at each row, do not use comas or anything else to separate them). It might also be a good idea to make the column mandatory (this way the user will be prompted to enter metadata when uploading a document and will not be able to leave the document untagged).
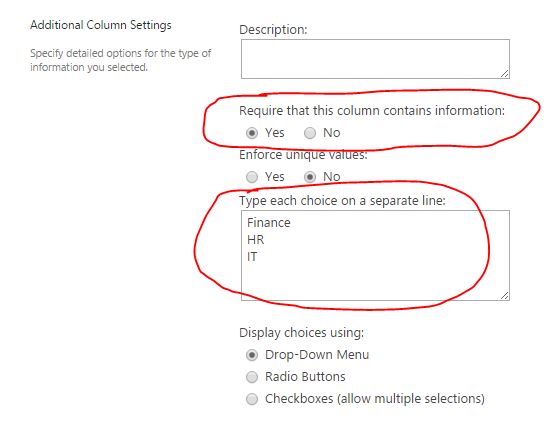
- Scroll down a bit. You can default to a certain value of metadata when you upload a document, but I usually like to leave it blank. Click OK

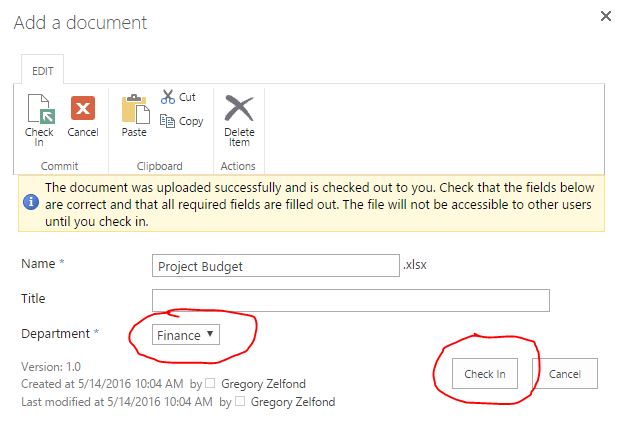
- That’s all – we are done! Go ahead and upload a document now to the library. You will be prompted to enter metadata (tag documents). Don’t forget to click Check-in, once you tag the document


Method 2: Use Managed Metadata (Term store)
Another great way to define metadata is via the functionality called “Term Store“. Sometimes this type of metadata is also referred to as managed metadata. In case you are confused by terminology, let me explain the concept here.
In order to utilize Managed Metadata or Term Store functionality, you need to follow a 2 step process:
- Step 1: Create/Define your metadata (tags, labels, whatever you want to call them) in the Term Store
- Step 2: Create your metadata column at a list or library level and associate it to the metadata you created in the Term Store
Hopefully I did not confuse you just yet. Think of the Term Store as 1 big box of metadata labels that can be references from any SharePoint Site or Site Collection. So the way it is setup is that you define all your metadata/taxonomy in the Term Store first and only after this you create your columns at a list/library/site level (and point them to the particular category (called Term Sets in the Term Store) of labels.
Let me include some step-by-step instructions and hopefully this will be easier for you to understand.
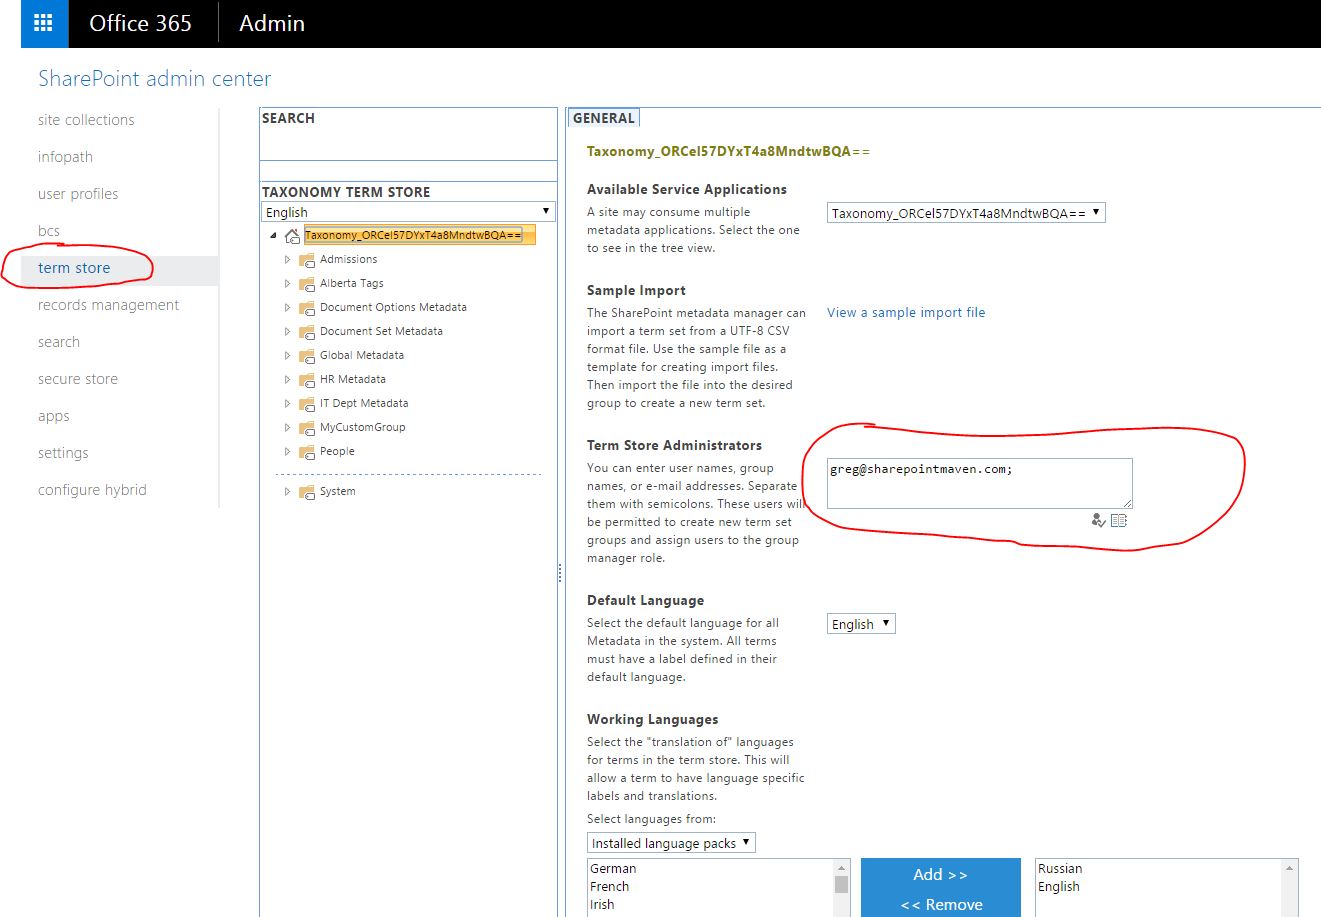
- Before we can create labels/tags/metadata in the Term Store, we need to access it. Even if you have Full Control permission to site sand the whole site collection, you would not have access to the Term Store. It is controlled separately, via Office 365/SharePoint Admin Center. Once in SharePoint Admin Center, go to Term Store and make sure to add your name in there. You obviously need to have Office 365 global administrator or SharePoint Corporate Administrator role to be able to do this. Click Save
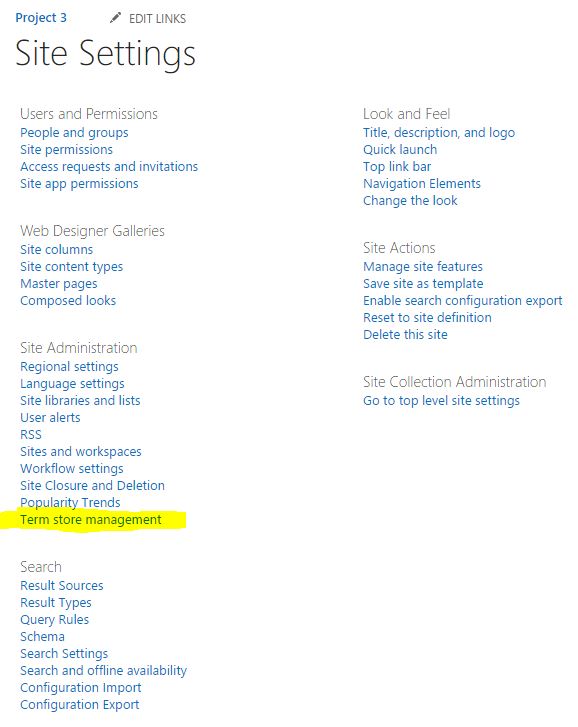
- Back on the SharePoint site, Go to Site Settings > Term Store Management (under Site Administration)
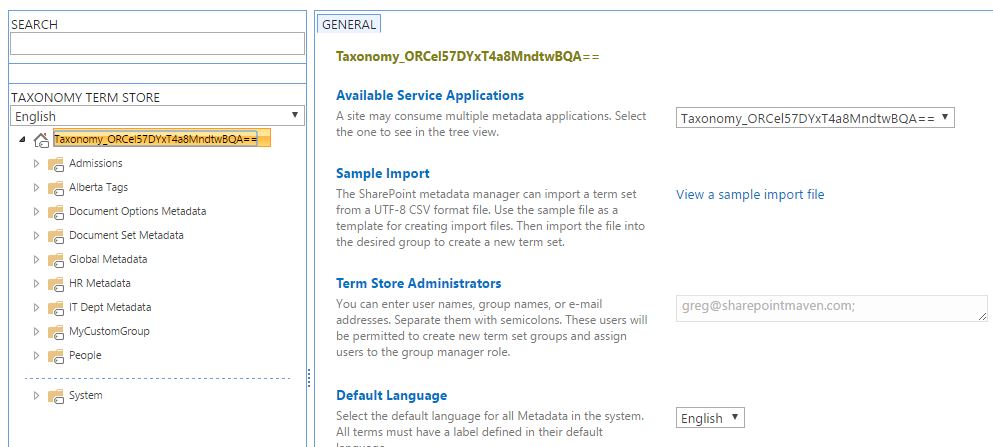
- You will now see the Term Store. You will not have many choices there if it has never being used before. The screenshot below is what my Term Store looks like, but obviously I have already configured it with custom metadata (term sets).
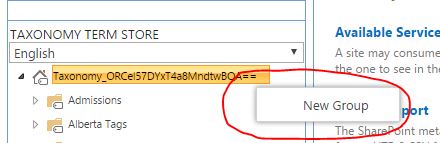
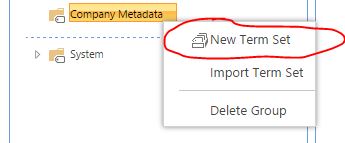
- Let’s go ahead and create our first category (Term Set) in the Term Store. To do this, we need to create a Group first (it looks like a yellow folder in the Term Store, it is used to store and organize multiple categories of metadata (term sets)). Click on the drop-down arrow to the right of the Taxonomy root and choose New Group. Let’s call it Company Metadata
- Next step is to create a Metadata Category (Term Set). Let’s call it Department. Once again, click the drop-down button, then New Term Set
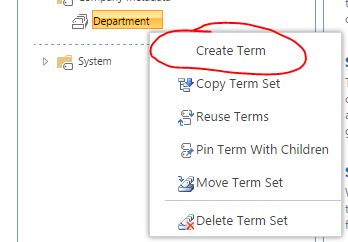
- Once first category has been created, we can add our choices (metadata) to it. To do this, click on the small arrow to the right of the Term Set and from drop-down, choose Create Term. Type in the first entry. For example, Human Resources. Repeat these step as many times as you need to add all choices
- We are done Step 1 – we defined our metadata. However, we are not done yet – our list or library does not know yet about this Term Set we just created. Next, we need to create a column and associate it to the Term Store Term Set we just created. To do that, go to the list or library where you want to add a new column.
- Go ahead and create a new column. This time though, instead if Choice field, select the last radio button, Managed Metadata
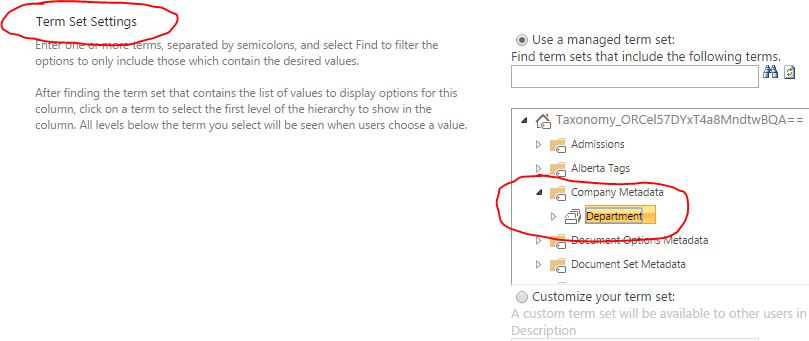
- Once again, the page will refresh and you will now be prompted to specify the metadata term set for this column. Scroll down to the middle of the screen and under Term Set Settings, choose the Term Set we just created. By doing so, we associate our new column with the choice of labels (metadata)
- You can make the column required if you wish
- Click OK
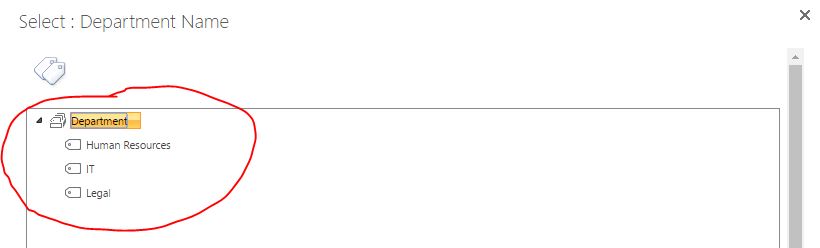
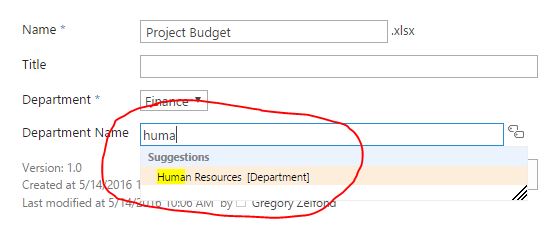
- Go ahead and upload a document to the library again. This time, you will notice that because we used Term Store to identify our metadata, the choice drop-down looks different. Instead, we have the “tags” icon to the right of the term field

- Clicking on that label, gives us a selection choice we need


Advantages of using term store over the choice field
While both methods achieve the objective, Term Store Metadata has some big advantages over the “conventional” choice drop-down. I will write another post down the road about all of the advantages, but would like to highlight a few here:
- Type-ahead functionality for metadata
- Ability to import metadata in bulk
- Term Store Metadata can be shared/used between site collections (unlike conventional metadata that are unique to sites/site collections they were created in)
- Ability to set owners to different metadata sets (i.e. HR can manage their own, IT – their own, etc.)


Share Article