How to add a rotating news slider in SharePoint Online
I just can’t get enough of the News Web Part. Every time I use it, I see some new option pop-up that makes the web part more sophisticated and refined. The feature I would like to describe in this article is not new, but will make your pages more dynamic and sexy. Today I want to explain how to add a rotating news slider to your pages in SharePoint Online.
Step 1: Add News Web Part to the site
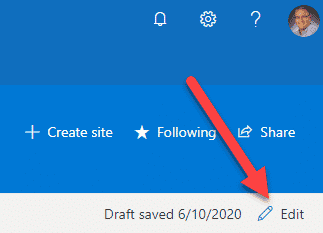
- When you create a new site, the News Web part is already part of the page by default. However, if it has been deleted, no problem. To add a News web part, Edit the page.
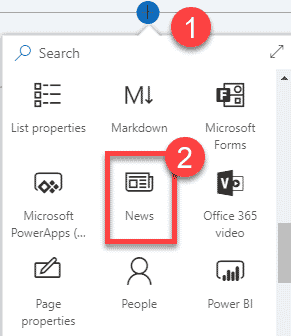
- Click the “+” sign where you want to add the News web part and choose the News app.
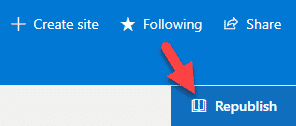
- Hit Republish to formally publish the page and make it available to everyone.
Step 2: Add some news
Go ahead and add a few news articles to the News widget. I described the process in this post.

Step 3: Configure the News web part
- Now the most exciting web part. Go ahead and Edit your page again.

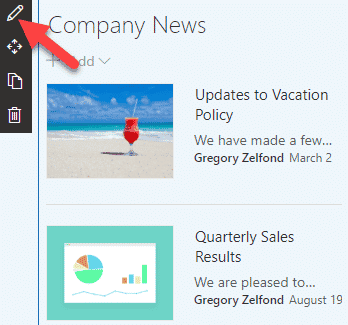
- While the page is in the edit mode, click the pencil icon to see additional settings for the News Web Part
- Change the Layout to Carousel. This is the layout that will allow you to “rotate” the news. You can also set the number of recent posts to show/cycle through, as well as a number of seconds (delay) before the news article switches to the next one
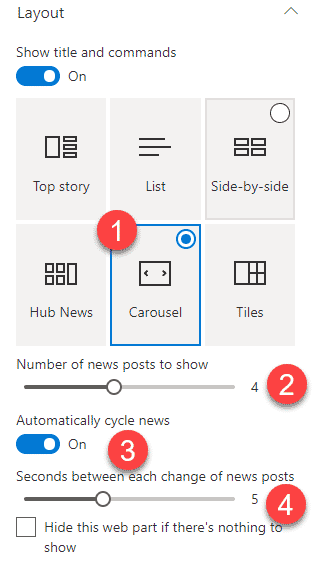
- Don’t forget to Publish the page again. You will now end up with a “rotating slideshow” of news.

In case you want to see instructions on how to add a rotating news slider in SharePoint Online in a video format, check it out below. Enjoy!


