5 Views in Project for the Web
If you create a schedule using the Project for the Web, you will notice that it has five distinct tabs/views available to manage, organize and assign tasks. So in today’s article, I would like to explain the available views in Project for the Web, their purpose, and limitations.
What is Project for the Web?
Project for the Web is a web-based task management application that allows teams to manage tasks with dependencies and also track the effort spent on those tasks. Think of Project for the Web as the step up from Planner, which is meant for less formal and smaller projects.
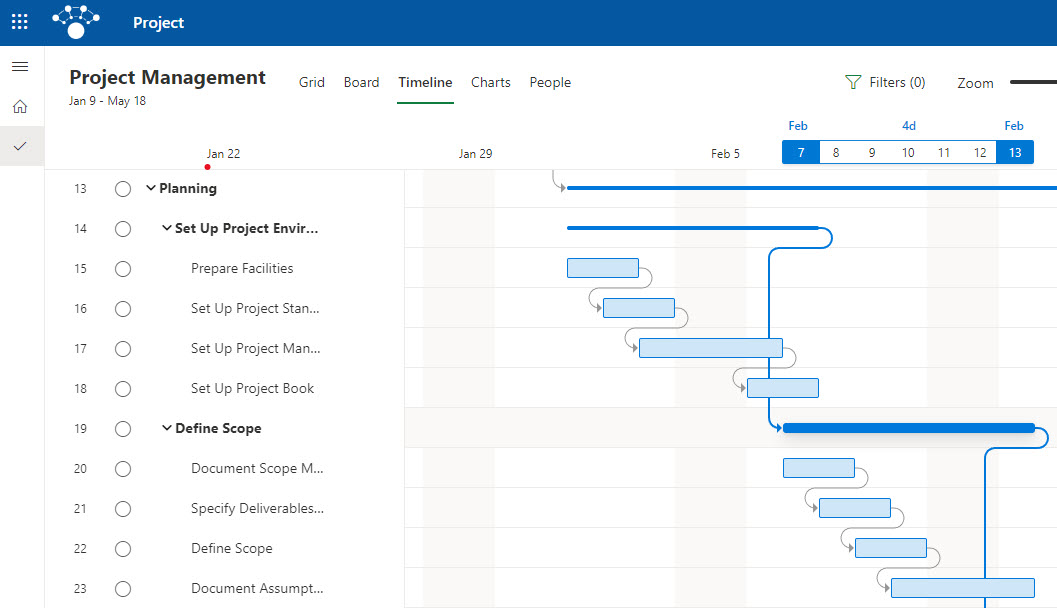
Example of the Schedule built in Project for the Web
Several views are available within Project for the Web, and that’s what I would like to explain in this article.
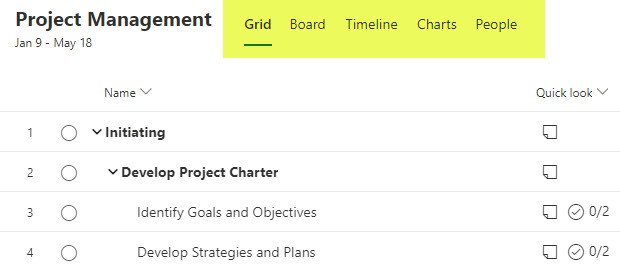
5 Views in Project for the Web
View 1: Grid View
This is a default view that opens when you access any given schedule within Project for the Web application. Essentially it is a table/excel-like list of tasks that allows you to quickly assign them, display built-in fields, create custom fields and organize them using the subtask functionality.
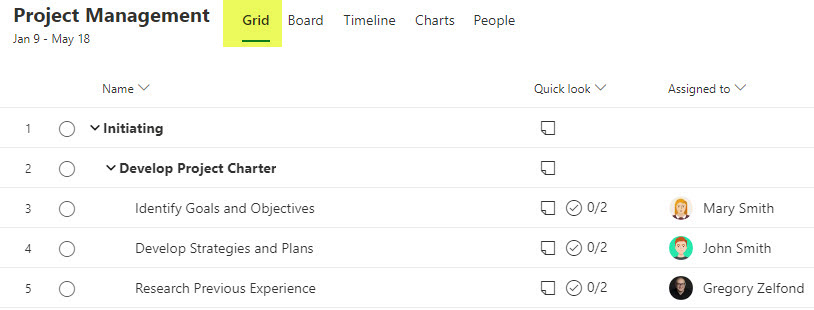
Grid View in Project for the Web
What is possible using the Grid View
Grid View, compared to other views listed below, gives you the most flexibility in terms of task management. It is a single place where you can assign tasks, change the start and finish dates, change durations and effort, attach documents, create checklists, add notes, and attach files. Essentially this is the view you will probably spend most of the time in while managing a project.
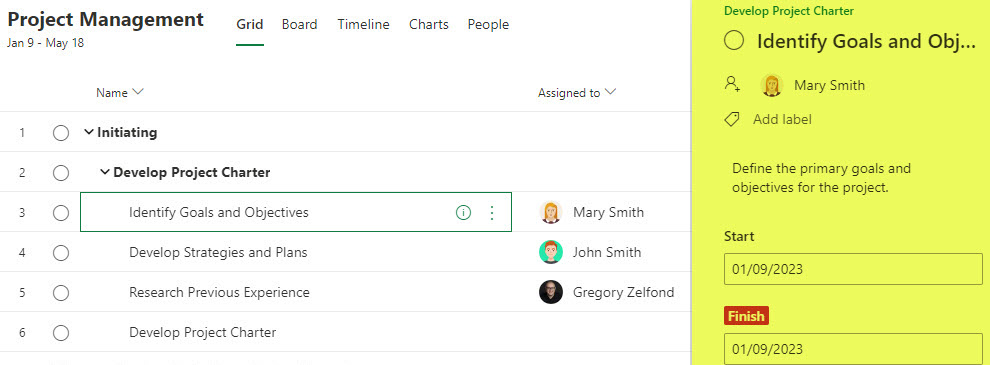
Managing a task in a Grid View of Project for the Web
View 2: Board View
The Board view displays the tasks in Kanban-style mode, similar to what we have in Planner. Just like we have buckets in Planner to organize tasks into various groups, in Project for the Web, we can also organize the tasks into buckets. The Board View takes all the subtasks that do not have children subtasks underneath and displays them in Kanban-style format. By default, they are organized into Bucket 1, but you can rename this default bucket and create additional ones as necessary.
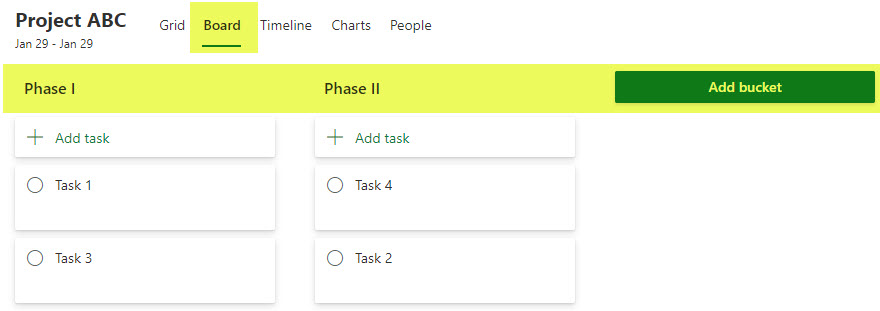
Board View in Project for the Web
Unfortunately, those buckets (bucket names) are not tied to any of the tasks/parent tasks on the Project Schedule. So however you organize your tasks into buckets on the Board View does not impact anything on the Grid View.
What is possible using the Board View
Clicking on a task in the Board View allows you to fill in the task details in a similar manner as you could on the Grid View. In addition to standard fields for the task, you would also see additional fields on the form related to the Board/Kanban-style project management: Bucket and Sprint.
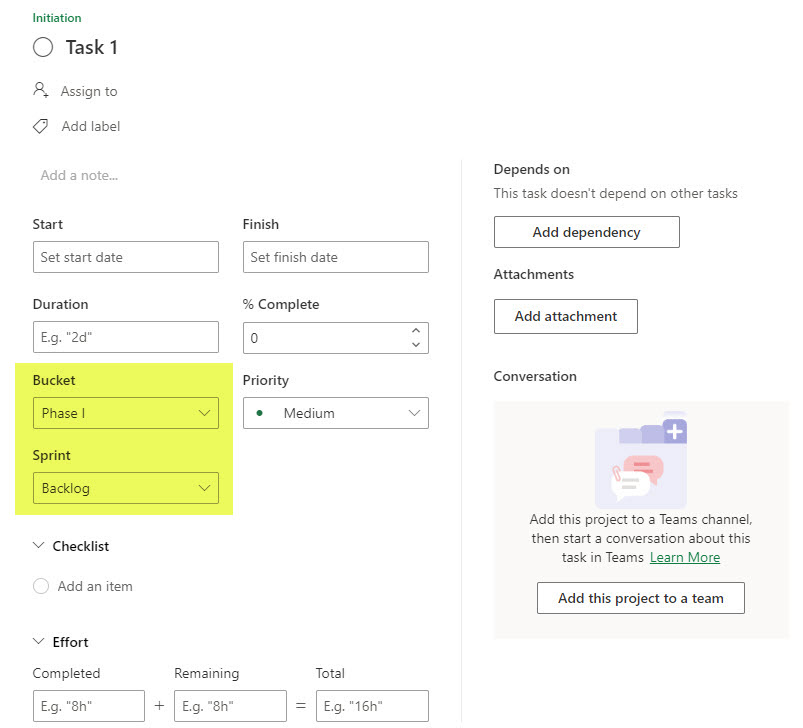
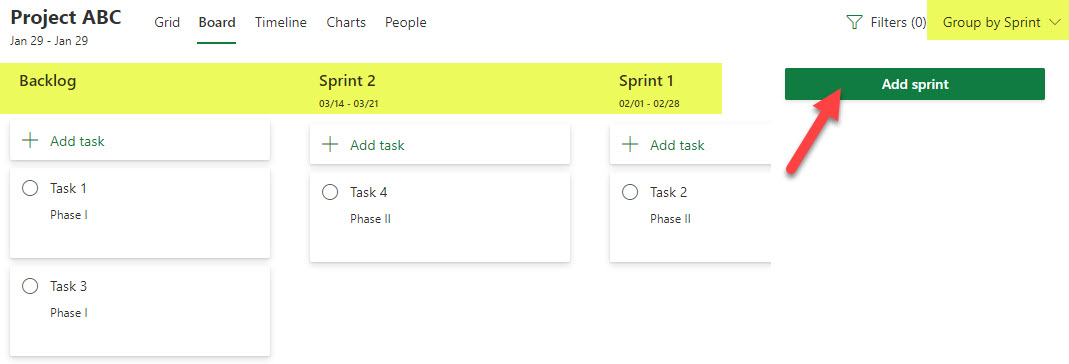
The Board View is useful if your project is more of an Agile type, rather than Waterfall, which requires you to set up dependencies. Another bonus available in the Board View is to group buckets by Sprint, in case you are once again using Agile/Scrum methodology to manage your projects.
View 3: Timeline View
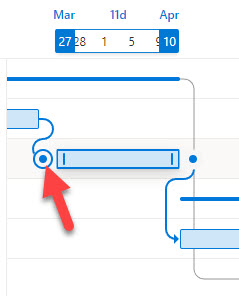
The Timeline View allows you to visualize the tasks in Gantt chart mode. Since we have dependencies on tasks, we can visualize those dependencies using the Gantt-type format.
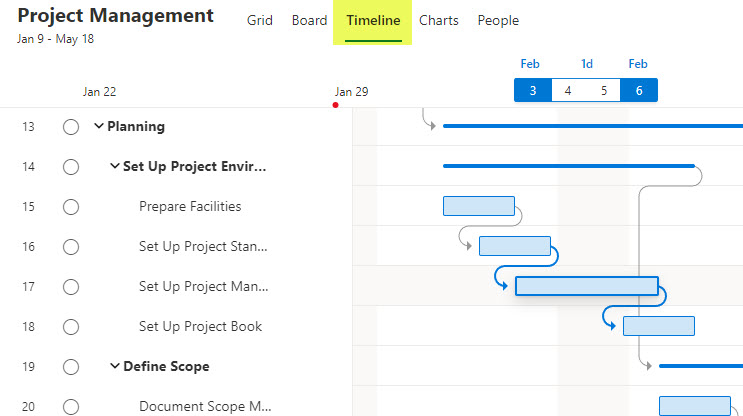
Timeline View in Project for the Web
What is possible using the Timeline View
When you display the task list using the Timeline View, it only displays the tasks, no other fields, and then displays the visual representation of a task (the Gantt Chart itself). Moving the bars allows you to adjust the start date, finish date, and duration. You can also create/adjust dependencies by dragging lines/arrows between the tasks on a Gantt Chart.
View 4: Chart View
The Chart view is not a view of tasks, but rather some basic reports/analytics on the schedule. It pretty much displays the general overview of the project, including which tasks are late, in progress, completed, and not started.
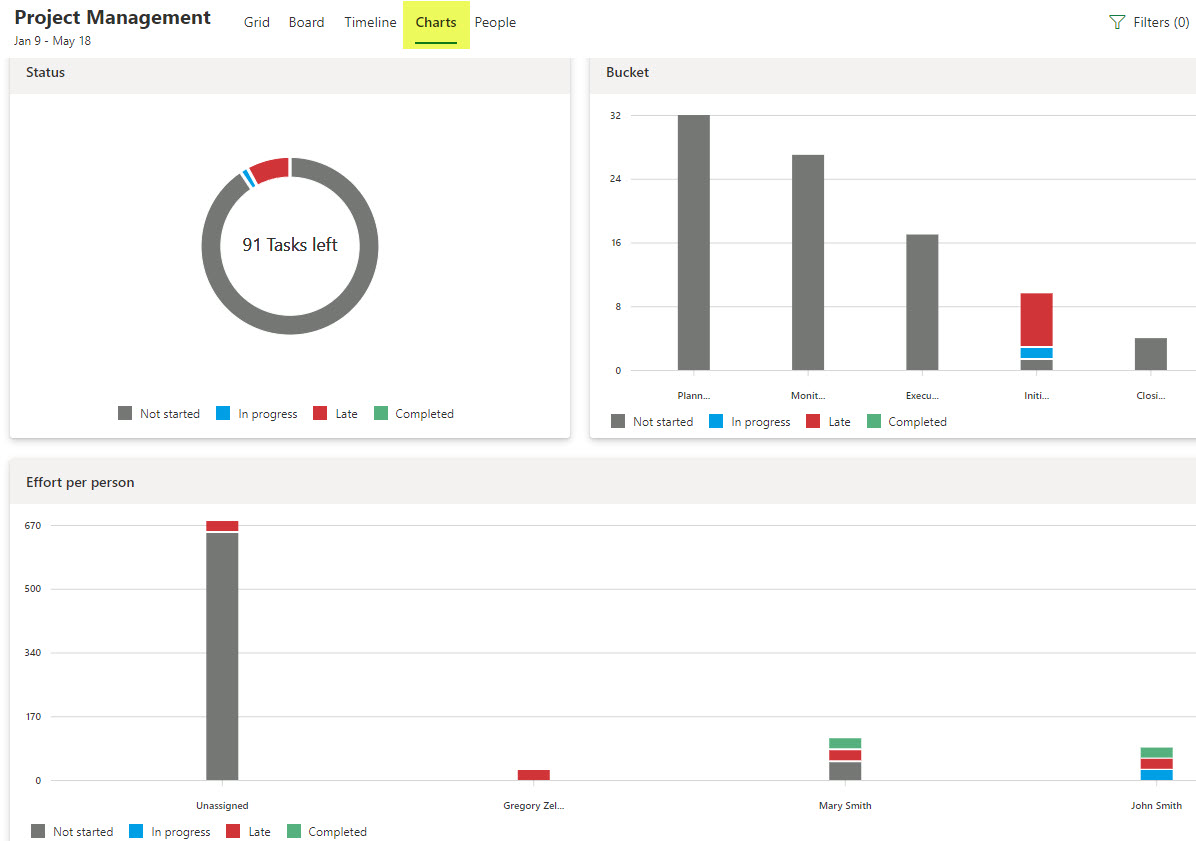
Chart View in Project for the Web
What is possible using the Chart View
In Chart View, you can’t really do anything. It is a read-only view where you can visualize a basic report that is available. You can’t really manage tasks from that view.
View 5: People View
Think of People View as another way to assign tasks. It essentially lists all the team members of the project (Microsoft 365 group) and allows you to visualize the distribution of tasks among team members. On the left-hand side, it shows Unassigned tasks, then next to it on the right, it displays the names of the team members with their assigned tasks underneath.
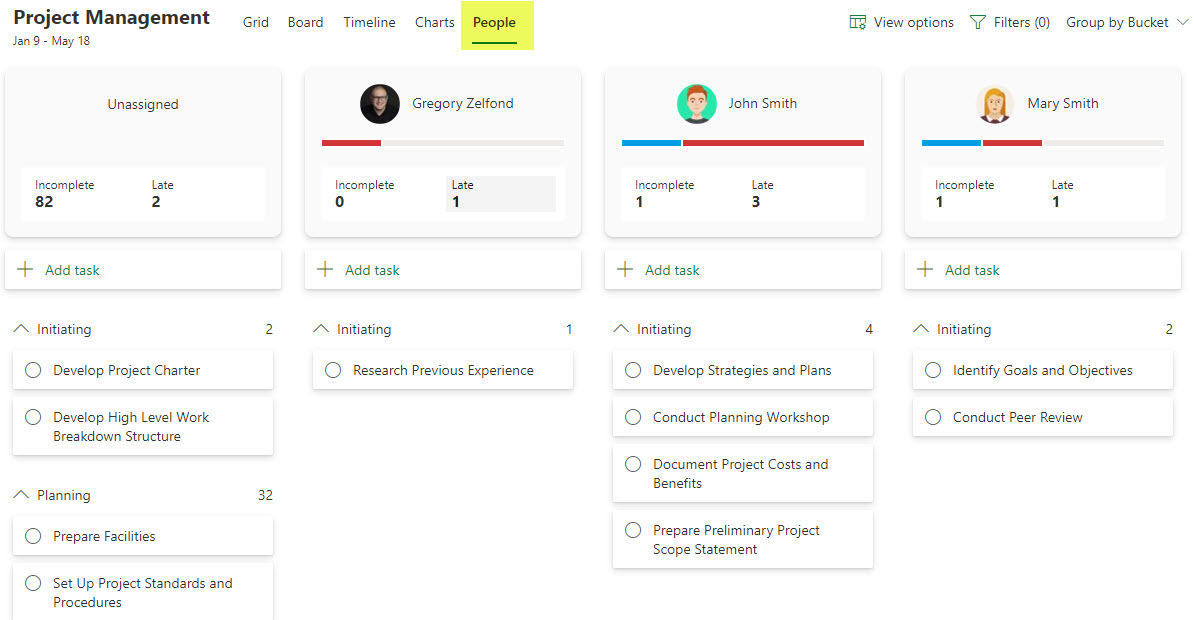
People View in Project for the Web
What is possible using the People View
Bu design, you can change task assignments easily by dragging the tasks from one column to another. To change other information about a task, you would just click on the task itself to open up a task form.


