How to create custom fields in Project for the Web
One of the capabilities we recently got in Project for the Web is the ability to have custom fields within a project schedule. So today, I want to explain how to create custom fields in Project for the Web.
What is Project for the Web?
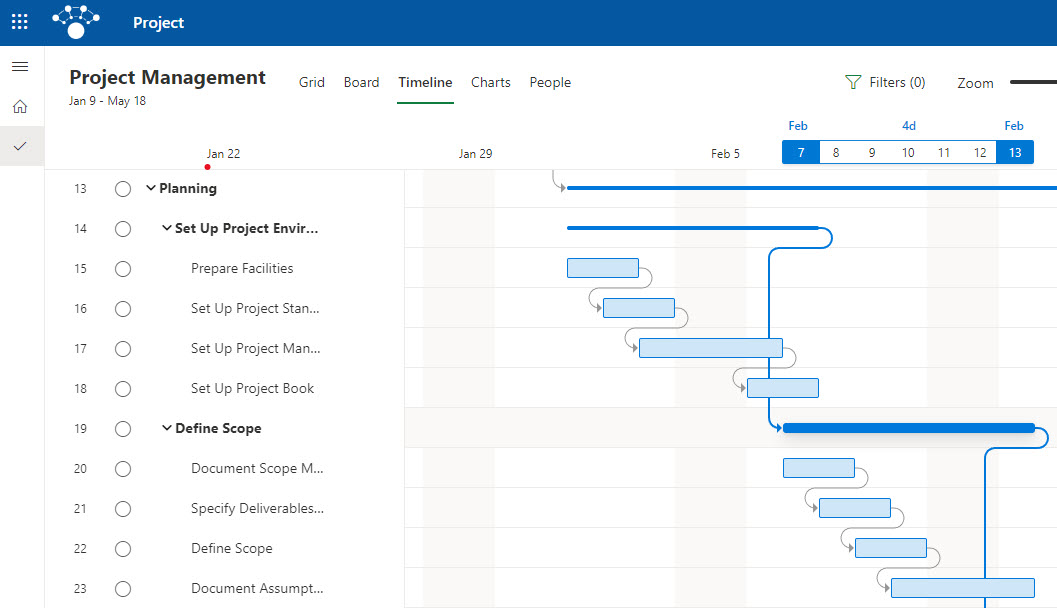
Project for the Web is a Microsoft application available within Microsoft 365 that allows organizations to manage projects. It fills the gap between Planner, which is more of an informal task management application, and Microsoft Project, which is a desktop project management application that is sophisticated in terms of capabilities but also a bit confusing and not unintuitive to regular users. I actually compared the various task management options within Microsoft 365 in this article, so check it out.
Example of a schedule in Project for the Web
Built-in fields in Project for the Web
Project for the Web already contains some built-in fields (columns) that you can add/display on any project. Essentially, these are core columns/fields that are either necessary for the Project for the Web to work/function or allow for some additional capabilities in terms of project tracking.
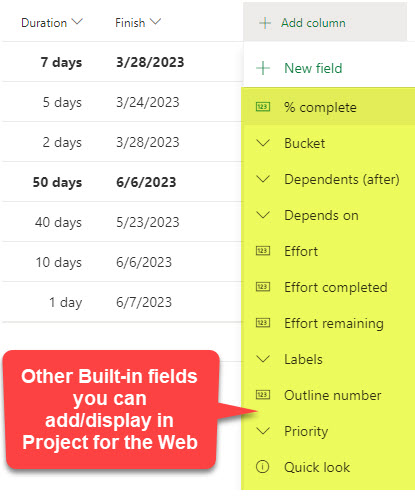
Some built-in fields include Start, Finish, Duration, % completed, Assigned to, and a few others.
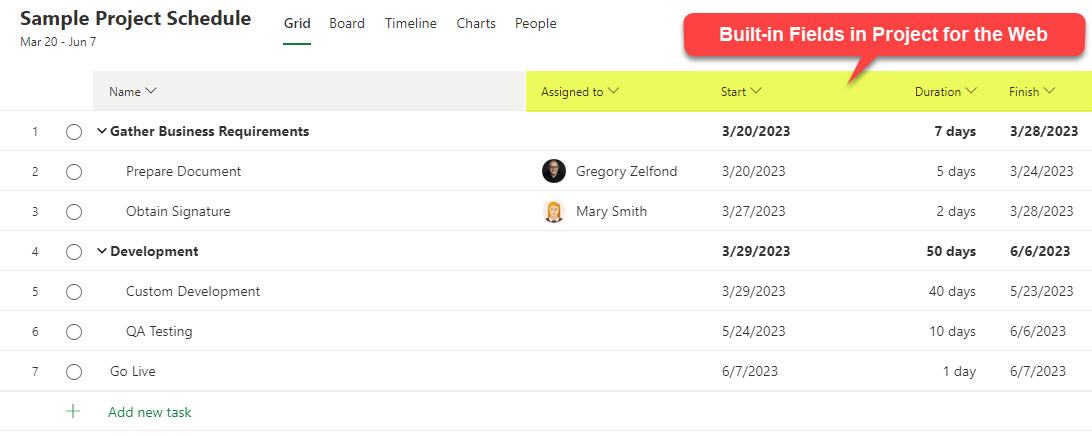
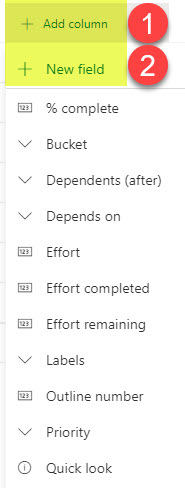
When you create a new project, some fields are displayed by default in a Grid, and you can always show/hide others by clicking on the + Add column.
How to create custom fields in Projects for the Web
Just like we can create custom metadata in SharePoint lists and libraries, we can also create custom columns in Project for the Web Task schedules. In Project for the Web, we call these custom metadata fields. Here is how to create a new custom field.
- Click the Add column button, then + New Field
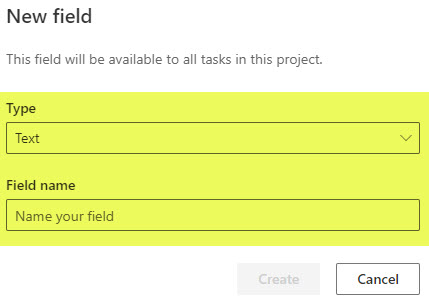
- On the next screen, choose the type of column you want to create and its name
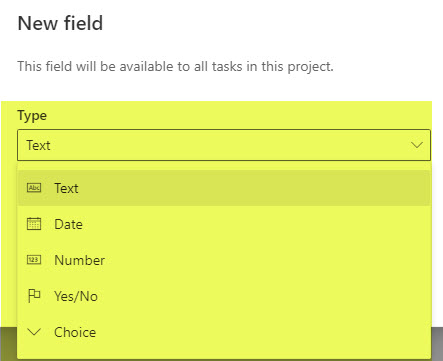
- As of the writing of this post, only certain types of columns are supported (shown below)
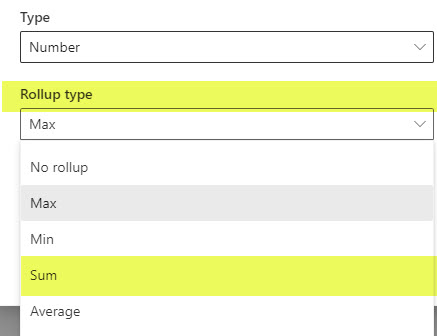
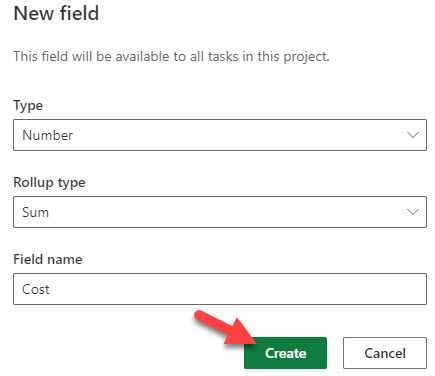
- For this article, I would like to add a Cost column (number field), to track the cost of each task on my schedule. The roll-up question is whether or not the numbers for the subtasks will be added together (rolled up/summed up) on the parent tasks.
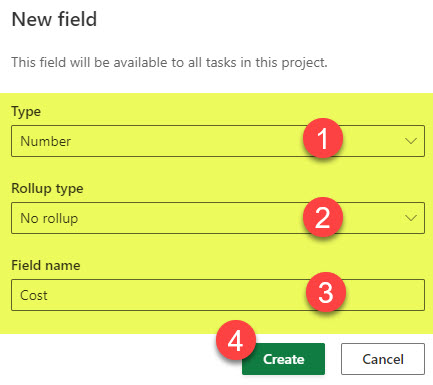
- In my case, I will choose to sum up all the subtask costs (roll-up). You may select other math functions as well (i.e., show the min or max, or an average of the task numbers).
- Click Create to create the field
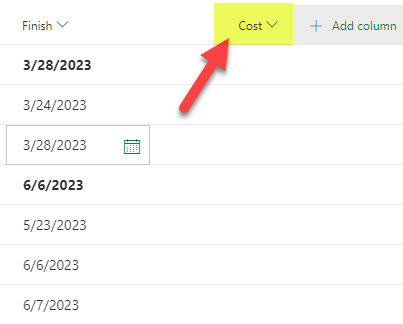
- The custom field will now appear in the schedule
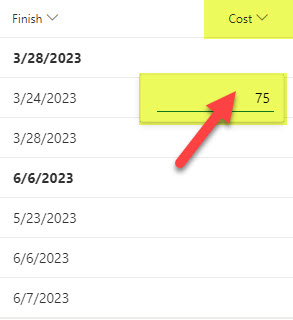
- By the way, in case you chose roll-up, this is what it looks like. In my case, I chose Roll up Sum of all subtasks, so it totals up the numbers (costs in my case) for the parent task.

How to fill in information for the custom fields in Project for the Web
If you want to fill out the custom fields with specific task information, you do so by filling it out like any other field on a task. You have two options:
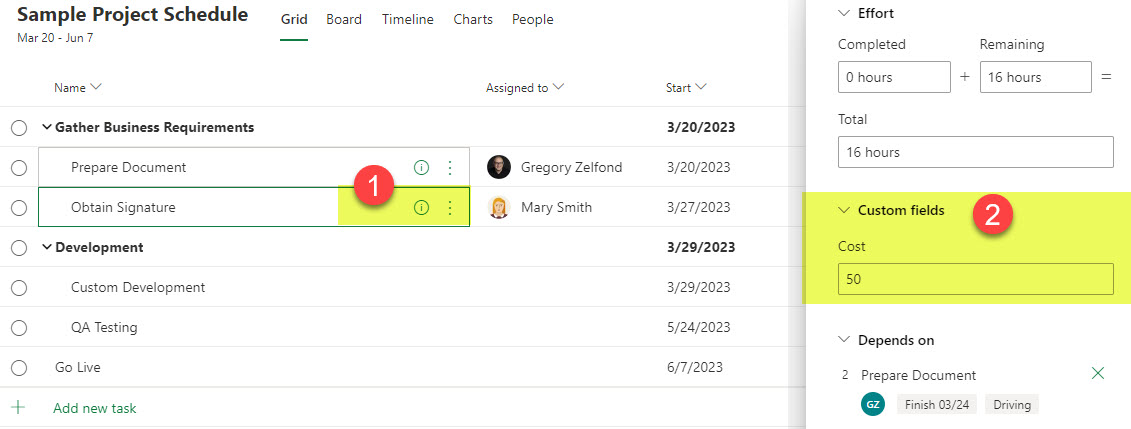
- Option 1: Complete the information by filling out a field in the Grid mode (like you do in Excel)
- Option 2: Click in the Task Details Panel and complete the information there
