4 Ways to create a Schedule in Project for the Web
There are a few ways to create a new schedule in Project for the Web application. So in today’s post, I would like to summarize them all.
What is Project for the Web?
Project for the Web is a Microsoft web-based application, one would use to manage projects. It is meant to be more sophisticated in terms of task management/project management capabilities and is intended to be a step up from the Planner application. Check out this post to learn more about the app.
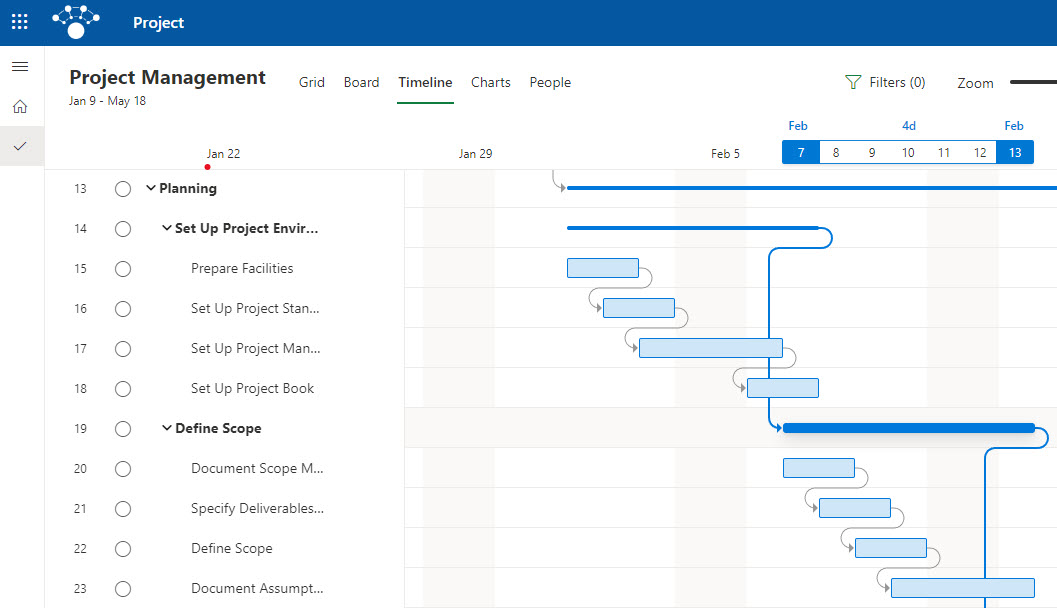
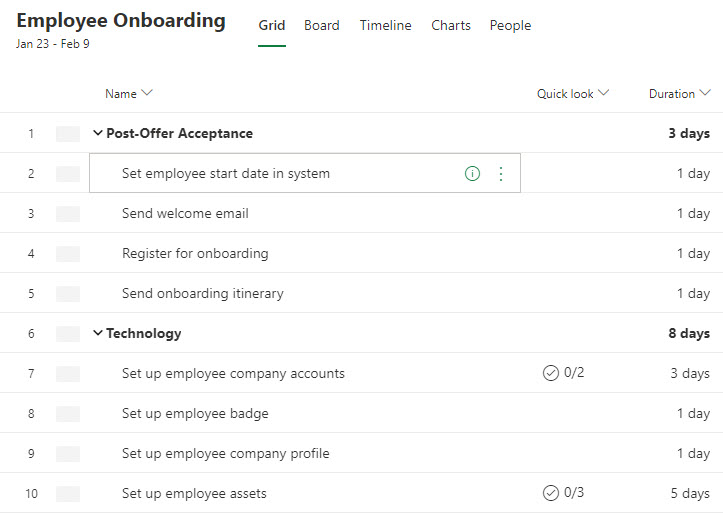
Example of a schedule in Project for the Web
How to create a schedule in Project for the Web
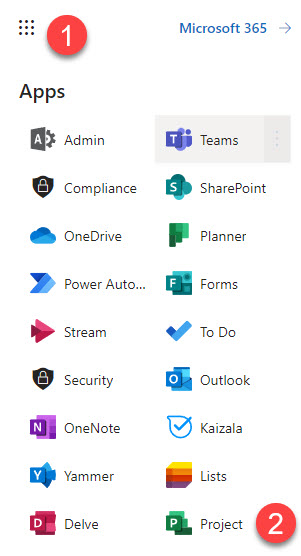
There are several ways to create a new schedule in Project for the Web. To access all the options, first, navigate to https://project.microsoft.com/ or click on Project for the Web from the Microsoft App Launcher.
Option 1. Create from Blank
The first way to create a new schedule is to start from scratch.
- From the Project for the Web Homepage, click New project
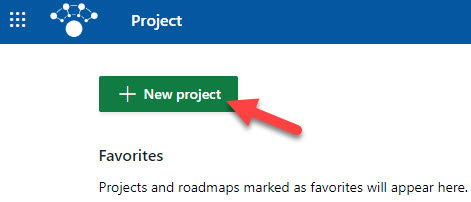
- Next, click Blank project
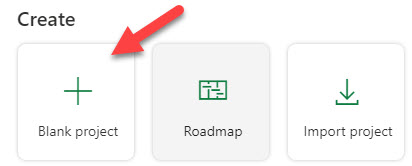
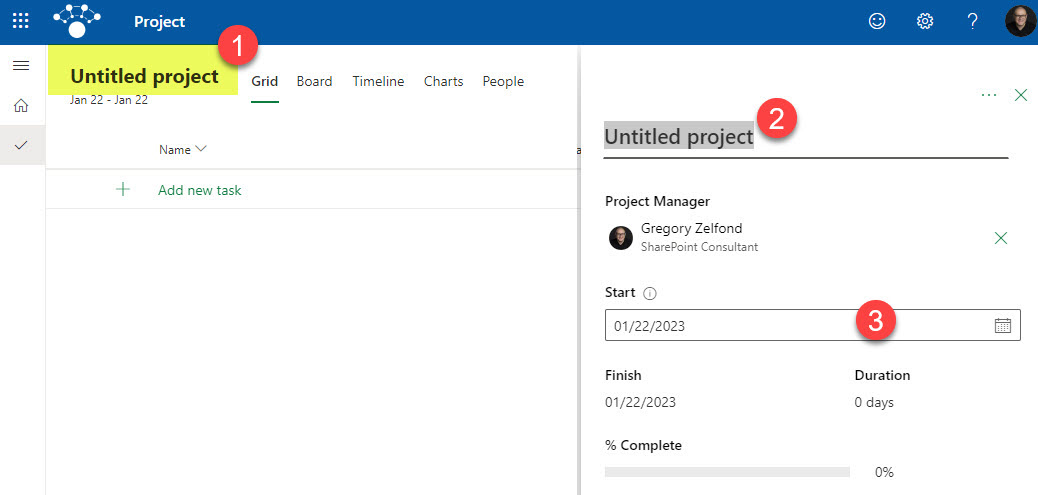
- A blank project schedule will then be created

- You can then click on the title of the Project to change its default name from Untitled Project + change some other parameters about it (i.e., Start Date)
Option 2. Create from Template
Another way to start a new schedule is to create one from a template. Just like in Lists, we have the option to create a list based on a certain business use case, we do have the same capability in Project for the Web. Microsoft has a few templates available to give you some ideas about tasks/dependencies based on certain use cases. For example, there are sample schedules for construction projects, software development, etc.
- From the Project for the Web Homepage, click New project

- Next, on the pop-up that appears, choose a template from the ones presented on a screen
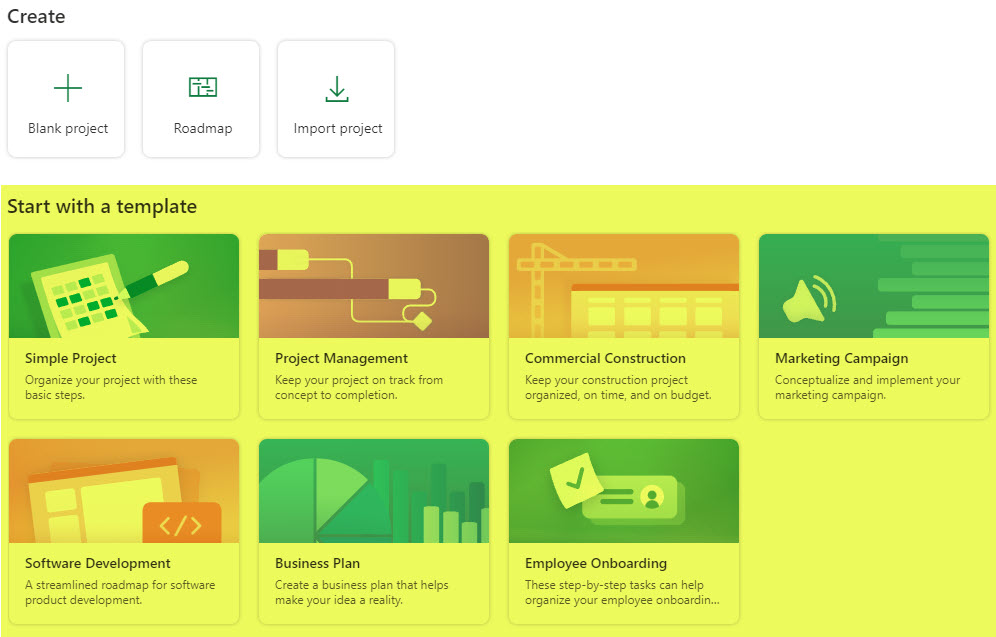
- Once you choose a given template, it will show you a preview of it. Click the Use template button.
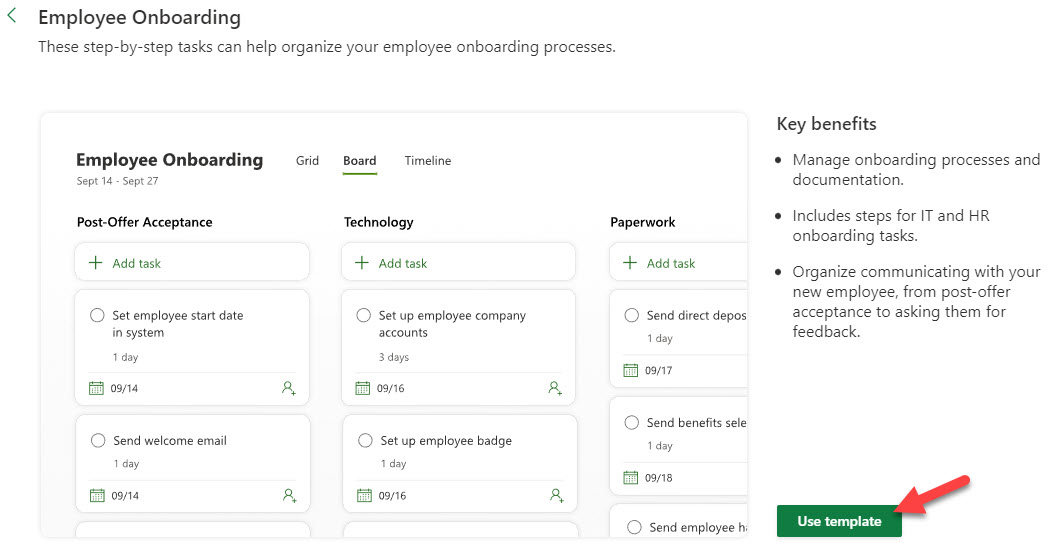
- The schedule with sample tasks will now be created in the Project for the Web. You can change it/customize to your process from there.
Option 3. Import from MS Project .mpp file
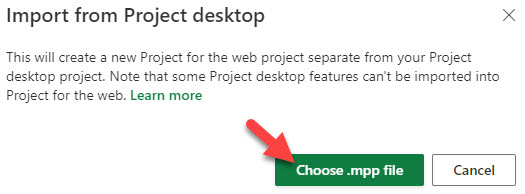
This option is great if you have used MS Project (the desktop version) in the past and have some schedules already created there. This option allows you to (almost) seamlessly import a desktop .mpp file to Project for the Web. I blogged about this method in this article a bit earlier. The article mentioned above also discusses some of the limitations you will encounter with the import process.
Option 4. Copy from existing schedule
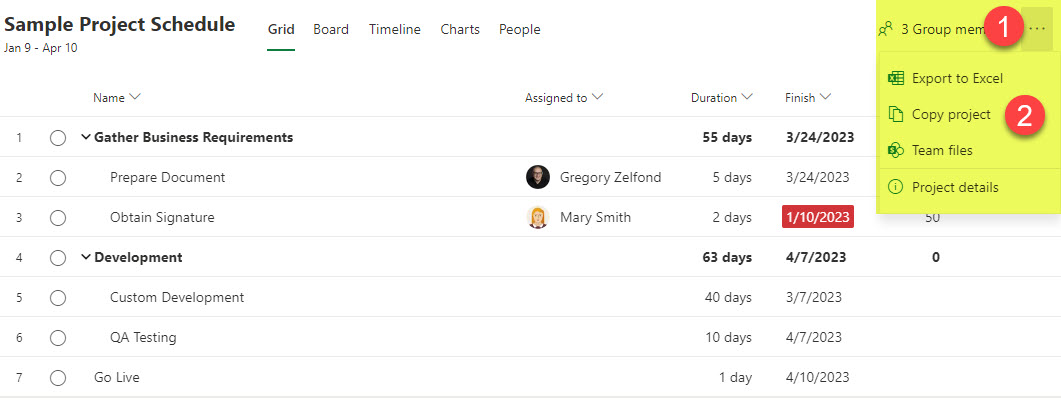
Finally, we have an option where you can take an existing schedule and copy it over to a new schedule. This option is great when you or someone else has already created a Project Schedule in Project for the Web, and you need to copy it for a similar project.
- On a given project, click three dots in the upper-right-hand-corner, then choose Copy project
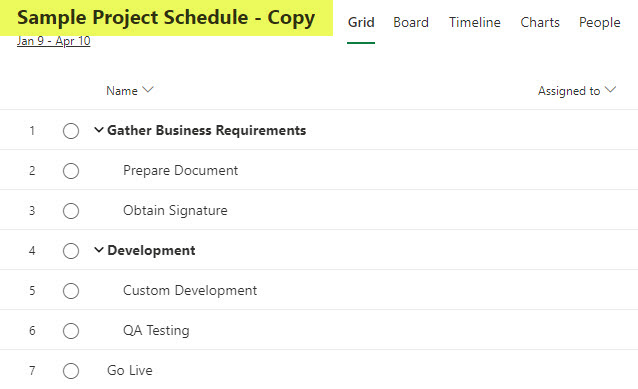
- This will create a copy of the Project. You can then change its name and customize it further.
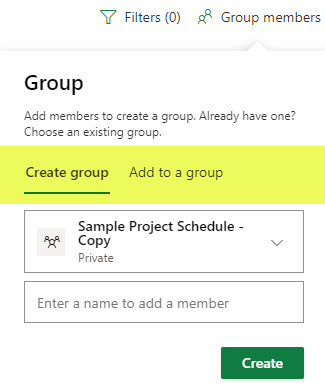
- It is important to note that if the original Project you copied was already part of a certain Microsoft 365 group, the copied Project would not be part of that same group. You will need to manually associate that new schedule with the same group or another group.
