3 ways to create custom lists in SharePoint
I love custom lists! They are a great way to organize non-document information. Whether it is a list of issues, a list of projects, or a list of vacation requests – lists allow for a great web-based alternative to Excel. By the way, I compared the two in the past. Over the years, lists evolved, and we now have several ways to create them too. In this article, I would like to document a few ways to create custom lists in SharePoint that currently exist out of the box.
Option 1: Create a new custom list manually
The first option is probably going to be the most frequent one – by creating a custom list from scratch. This option gives you the most control in terms of custom metadata, columns types, etc. I documented how to create a custom list in this post in the past.

Use this option when…
- Your list is brand new and you do not have any data you need to import from Excel.
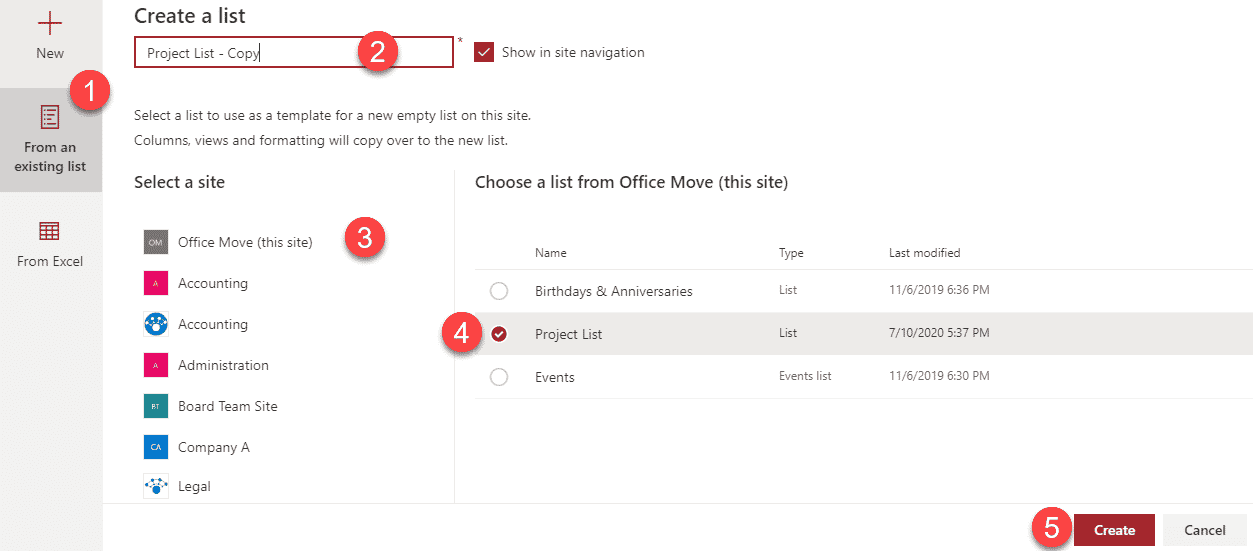
Option 2: Copy from an existing list
An excellent new feature we now got too is the ability to create a custom list by copying an existing one. Say, your colleague Mary has created an excellent issues log on her site that you would like to replicate it. Not a problem at all – check out this post for step-by-step instructions!

Use this option when…
- You are a lazy schmuck who does not want to create a list yourself :-)
Option 3: Import from Excel
An absolute gem is the ability to create a list from Excel. You will have the ability to import columns, set column types, etc. Again, I do have step-by-step instructions on how to do this as well.

Use this option when…
- You have existing data residing in Excel and need an easy way to convert it to a SharePoint custom list.
As I am writing this article, Microsoft announced a new Lists App (called Microsoft Lists), which will take lists to the next level and allow for additional ways to create and organize custom lists. So once the new functionality is rolled out, be rest assured that I will blog about it.


