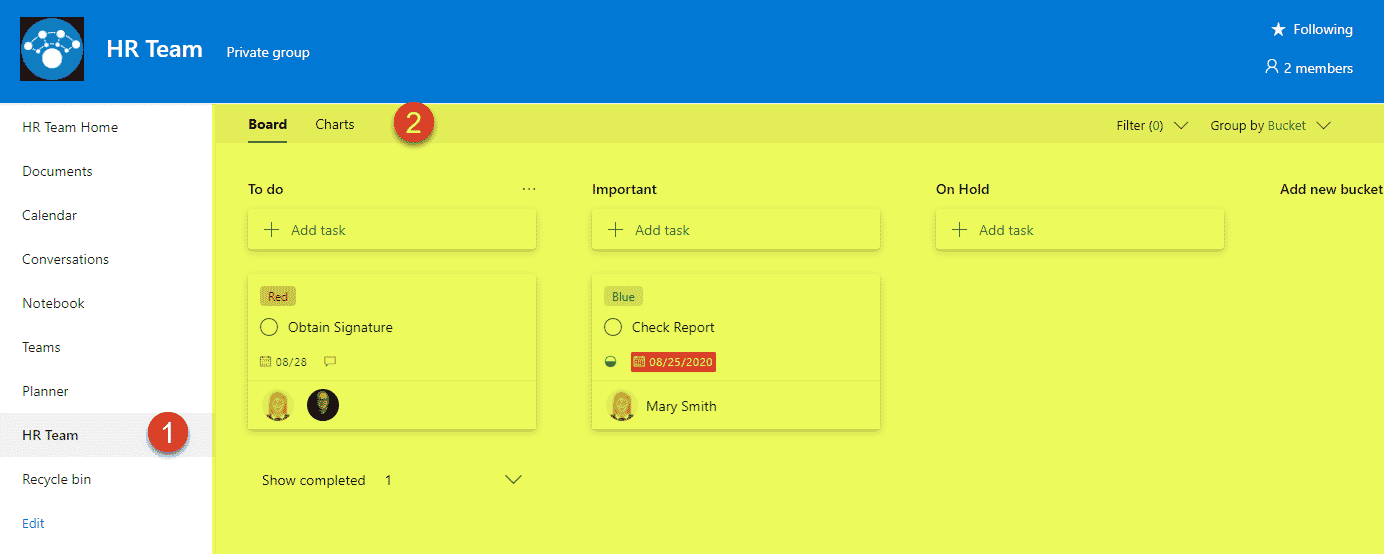
3 ways to add a Plan to a SharePoint page
Planner proved to be a great and easy-to-use task management option for many organizations. I blogged about this wonderful tool in the past. It seamlessly integrates with Teams, SharePoint and can also be automated using Power Automate. In today’s article, though, I would like to explain a few ways you can add a Plan to a SharePoint page.
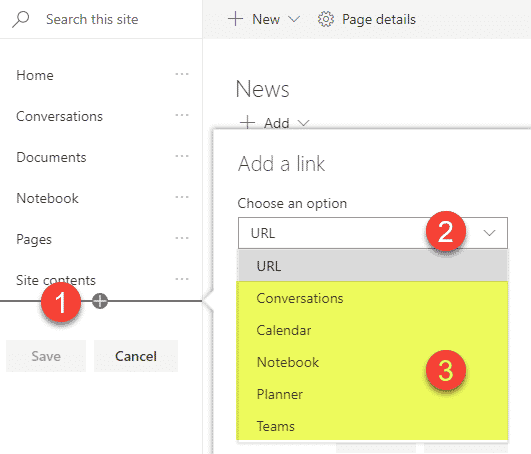
Option 1: Link via Site Navigation
The easiest thing you can do is a link to a Plan from the Site Navigation. What’s cool about this option is that you do not even need to know the URL of your Plan – it automatically gives it to you when you select Planner from available link options. I documented this trick in this post.
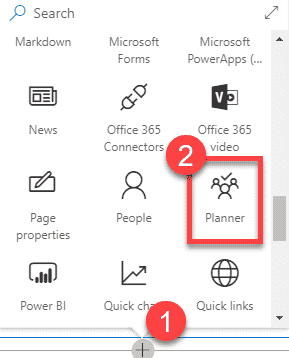
Option 2: Embed on a SharePoint Page via Planner Web Part
The next option would be to embed the Plan right on the page. For that, you will need to add Planner Web Part to a page and then choose a plan you would like to add.
Option 3: Embed on a SharePoint Site via New Drop-down
An option that I also really like when you want to add a Plan to a SharePoint page is to use the New Drop-down menu. With the first opinion, we just created a link to Planner Application. With the second option, we embedded a Plan on a page using the Planner Web Part. However, the real estate on the page is limited, and your plan will compete for space with other web parts/content as well.

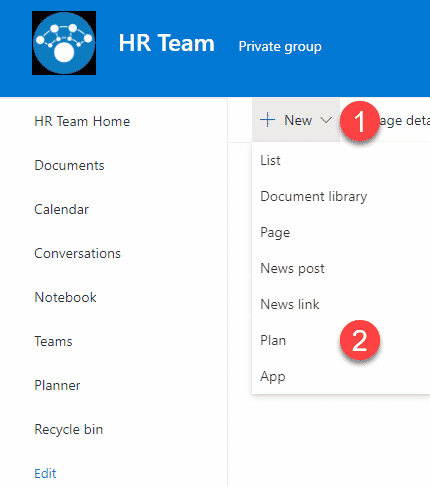
When you add a Plan using the New Drop-down, the plan will take over 100% of the screen. And there will be a link added to the left-hand-side site navigation as well!
- From the Main Homepage of the site, click New > Plan
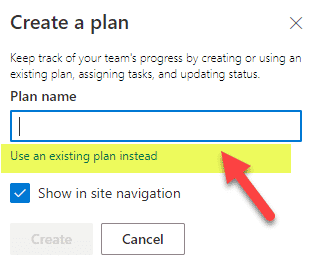
- If you are creating a brand new plan, type its name; however, if you already have an existing plan, click Use an existing plan instead
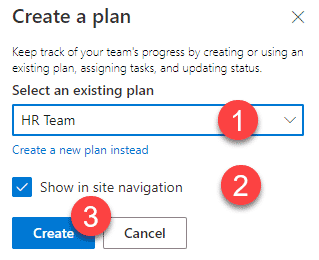
- Choose an existing plan from the drop-down, make sure Show in site navigation box is checked, click Create
- You Plan will be added to the site (full-width page layout), and a link will be added on the left.
