3 major components of Microsoft Flow (Microsoft Power Automate)
I just love Microsoft Flow! Having worked with Out of the Box SharePoint workflows as well as SharePoint Designer workflows in the past, Microsoft Flow provides the most intuitive way for users out there to build custom business processes. Of course, Microsoft Flow is new and can’t yet replace SharePoint Designer, but new functionality is added daily and the day when Flow will be THE business process application is just around the corner. What that means for us, business users, who are not the developers and don’t know anything about code, is that we will be able to create our own workflows that suit our company business processes without spending much time and a fortune.
For those who are new to Flow, I have explained what it is all about in this post. Today, I would like to dive in further and explain the three major components that make up the Flow. Of course, there is a lot for you to learn about the new application, but what I am covering below are the nitty-gritty fundamentals one must know and understand to be able to create workflows using Flow.
Here they are, the three fundamental blocks (components) of Microsoft Flow
- Triggers
- Actions
- Conditions
Triggers

A trigger is something that triggers or starts the workflow. It could be a new file uploaded to a document library, a new item created in the list or an email sent to your Inbox – something that will start (kick-off the workflow). There is always just one trigger per workflow.
There are two types of triggers:
- Automatic trigger is pre-programmed into the workflow based on a certain rule (i.e. new document or item created, email sent, etc.) Automatic Trigger can also be passed from another application, like PowerApps. For example, at a certain point of the data collection using PowerApps app that you created, a workflow is started to carry the item/data through say an approval cycle. In this case, Microsoft Flow will start automatically from within another application
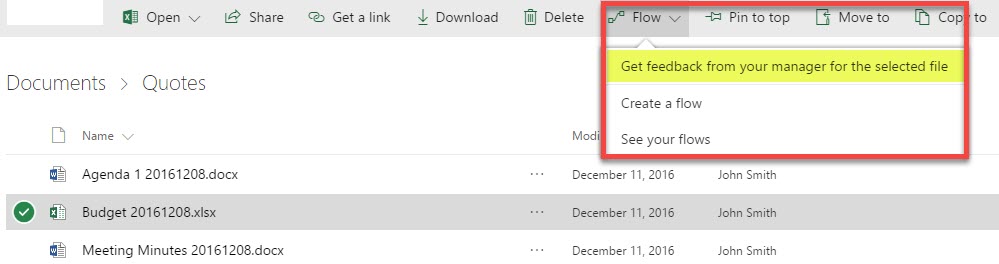
- Manual Trigger is a trigger initiated by a user. Unlike with automatic trigger above, the workflow will only start when initiated manually by the end user (for example, from the Document Library for a selected file). Manual trigger is only supported for certain types of workflows (i.e. Get feedback from your manager for the selected file)

How to create a trigger:
You can’t build a workflow without specifying a trigger first, so you will be forced to fill in the trigger as the very first step in the flow building process. Just choose one that suits your needs from the screen when you create your flow (from scratch). It will be auto-populated for you if you choose to create a flow based on a certain template.

Actions

An action is something that occurs as a result of the workflow. Below are some examples of the out of the box actions that exist in Microsoft Flow:
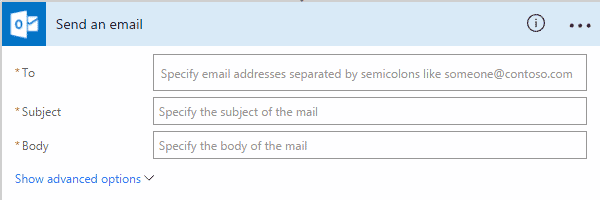
- Send an email
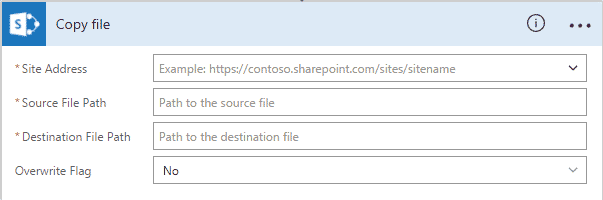
- Copy file
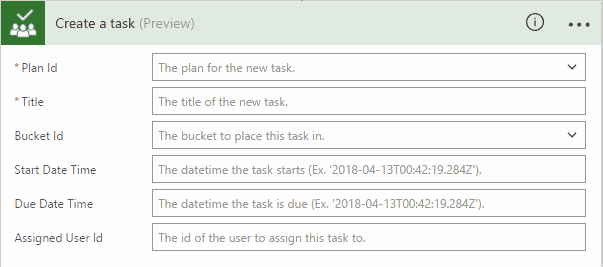
- Create a task in Planner
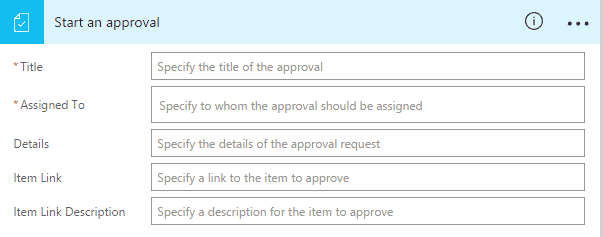
- Start an approval
- Update item


You can have as many actions as you wish in the Flow. Essentially, Action is what makes Flow run as it goes through the different steps.
How to create an Action:
As you build your workflow, you will see a New step menu appear on the screen, just click Add an Action and choose the action that suits your needs.


Conditions

A condition is essentially your “If Statement”. If this happens – do this, if that happens – do something else. A classical example is an approval process. If the user approves an item or a document – send an email with approval, if a user rejects – send an email with rejection. Another example could be based on metadata. For example, if you have a Purchase Order approval process and PO dollar value is less than $10,000 – send it to Finance Manager for an approval and POs > $10,000 – send them to CFO (Chief Financial Officer).
In business process diagrams, this step is represented as a diamond (rhombus) – a universal flowchart symbol for decisions.

How to add a Condition:
Same as with Actions, as you build your flow, just click on Add a Condition and populate with the logic that is relevant to your particular scenario.

So pretty nice and simple and straightforward, right? Did I tell you that I love Microsoft Flow?

Share Article