How to create a Blog in SharePoint
Time flies. It’s hard to believe that I last wrote an article about this topic in 2017. That was when we still had SharePoint Classic. But now we have a modern version of SharePoint, so the methods I outlined back then are no longer relevant. So, today’s blog post will be about a… blog 😊. Specifically, how to create a Blog in SharePoint. As I help my clients migrate to SharePoint Online and help them build an Intranet Portal, I often hear a need to create a site with a blog capability.
An example would be a blog site where the CEO can publish company updates. Or some general company blog about various company happenings. So, below, please find step-by-step instructions on how to create a Blog Site in SharePoint. Let me rephrase it. From the best, award-winning SharePoint blog on the web, here are instructions on creating a blog in SharePoint. Yeah, I like it, that’s better 😊.
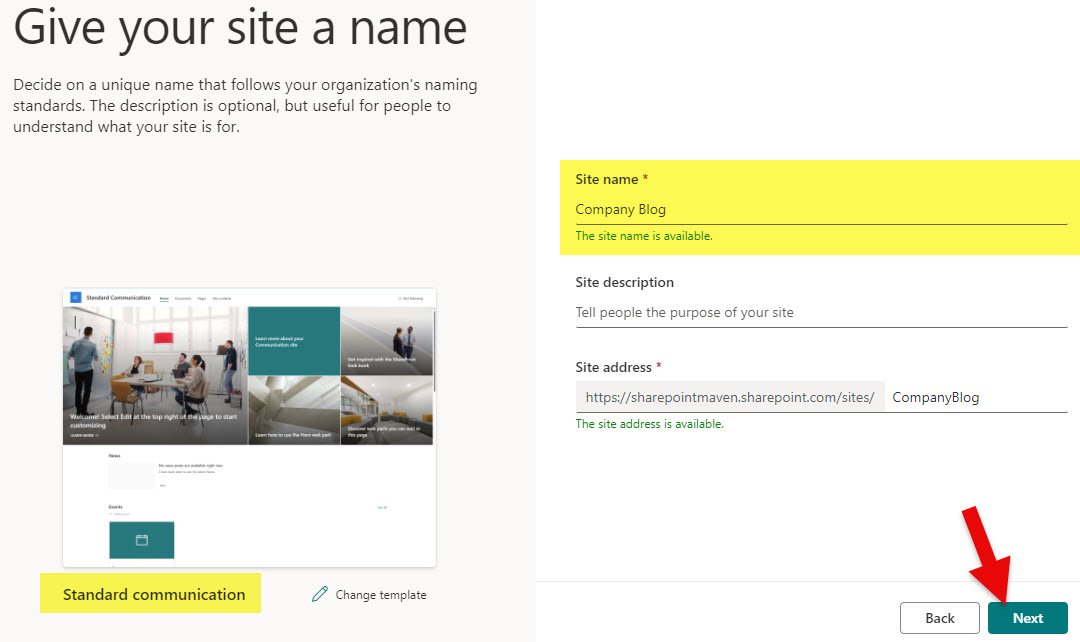
Step 1: Create a Communication Site
The first step in the process is to create a dedicated SharePoint site. You typically do not want to mix the blog with other site content (e.g., Intranet or HR Site). So, a separate site is a wise decision. The Communication Site type is also the best fit here, given the objective.
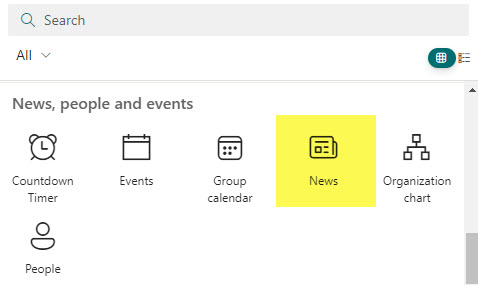
Step 2: Add News Web Part
The mighty News Web Part will allow us to publish blog posts. Many site templates already have a News Web Part embedded on the page. If you don’t see it, add it.
Step 3: Create Blog Categories
What makes blog posts stand out from regular news posts is that they typically have various categories of which a blog article is part. This functionality does not exist by default and has to be created. Here is how to do this.
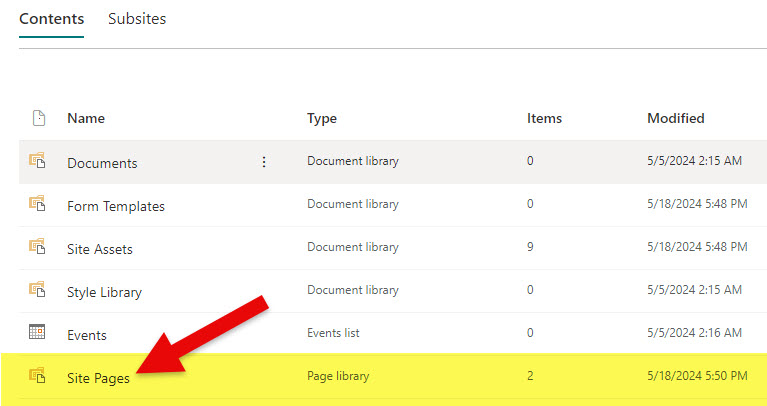
- Navigate to the Site Pages Library, that is where all the post pages will reside (Gear Icon > Site Contents)
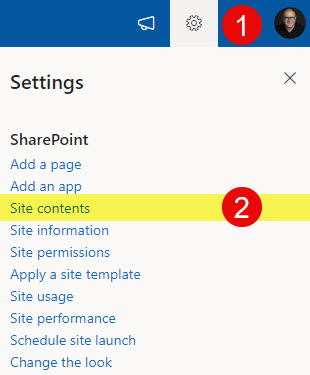
- Click on the Site Pages Library
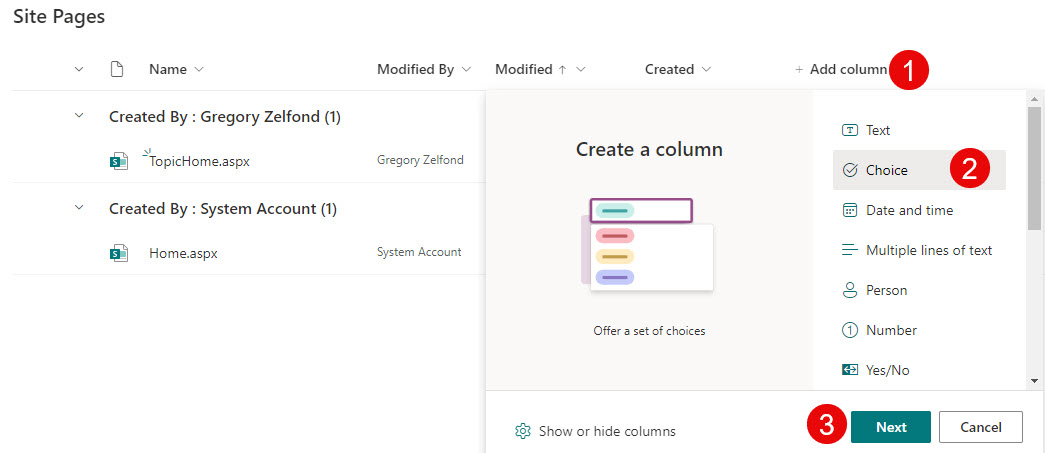
- Click + Add Column and choose Choice column. Click Next.
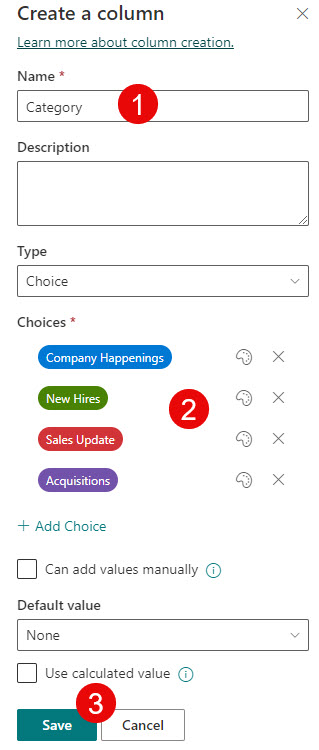
- Name the column Category and add all the possible choices for Blog Categories. Click Save.
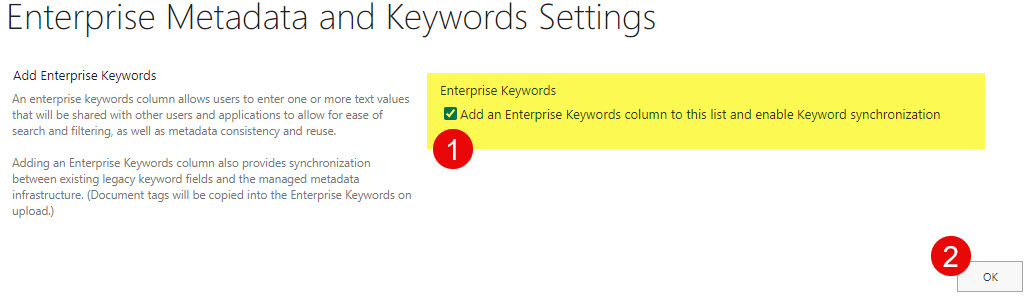
Step 4: Enable Enterprise Keywords
Being a SharePoint blogger myself for the last 10+ years, I am pretty familiar with the whole blogging mechanism. One other feature of blogs is the ability to assign tags. This provides the ability to tag an article with multiple keywords that will help users discover (search for) or organize blog posts in a certain way. In most cases, the Categories column might be enough, but I think the Enterprise Keywords feature is a perfect fit if you want to add tags. It allows users to type in any keyword they wish, and you can easily add multiple ones as well. I explained how to add Enterprise Keywords here.
Step 5: Build a sample Blog Post Page
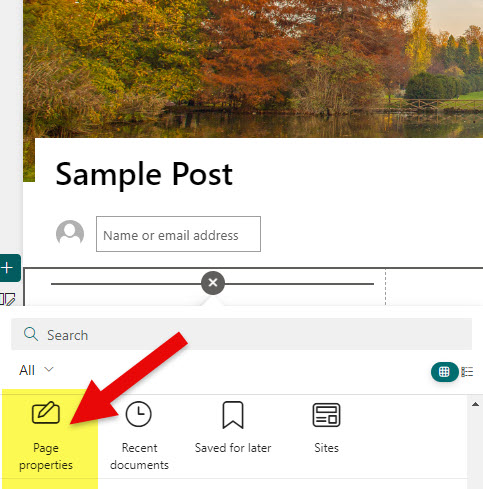
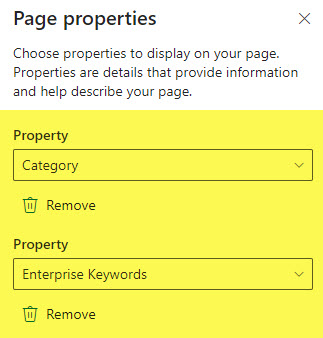
Now that we have built the necessary pieces, it is time to put them together and create a sample Blog Post Page that will later be converted into the template. It is really up to you how you want the post to look. I usually like to add a Page Properties Web Part that will display Category and Enterprise Keywords metadata on a blog post page—which might be really handy.
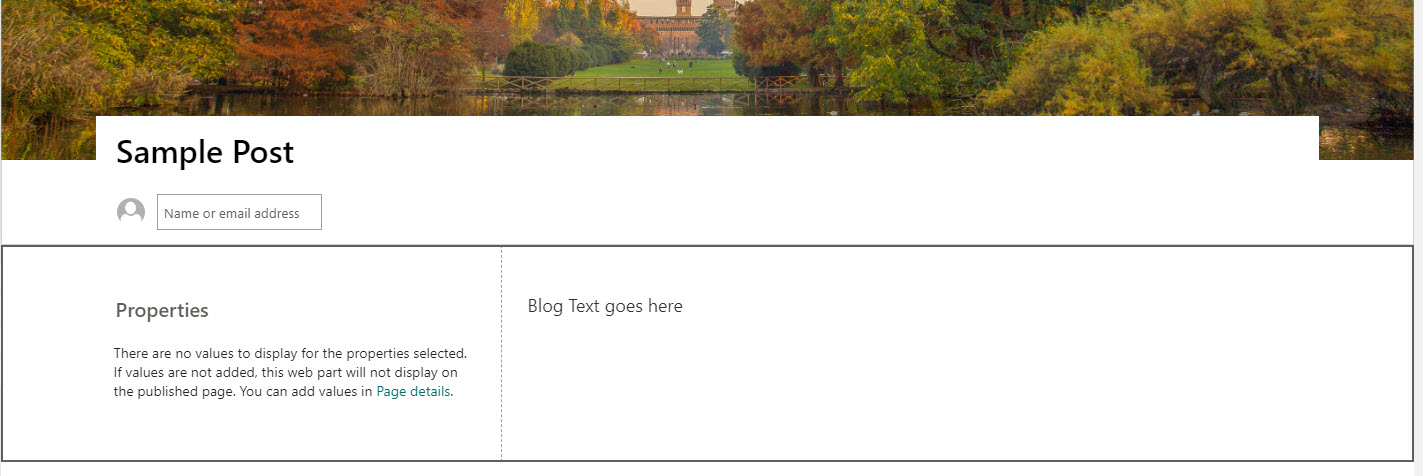
This is what my sample post looks like once completed.
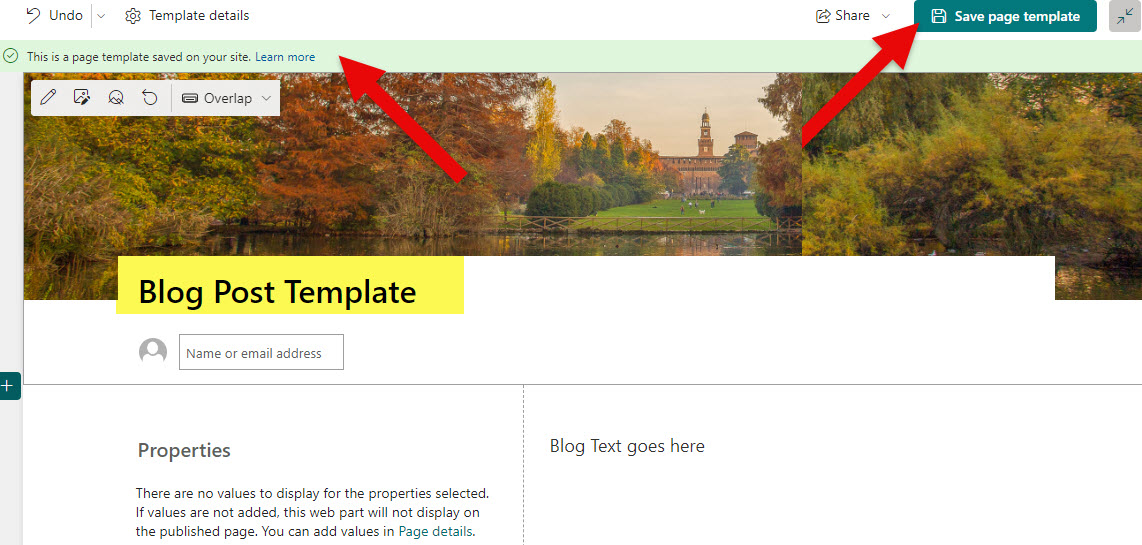
Step 6: Create a Blog Post Template
Next, we need to convert the page above into the template. I explained how to do this here.
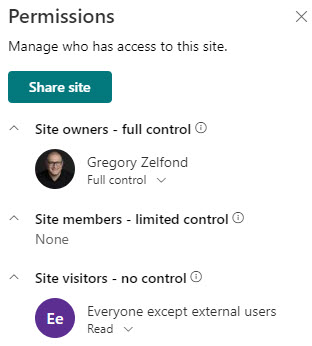
Step 7: Set up Site Security
In this next step, we configure the security. Instructions on how to set up permissions for a Communication Site are available here.
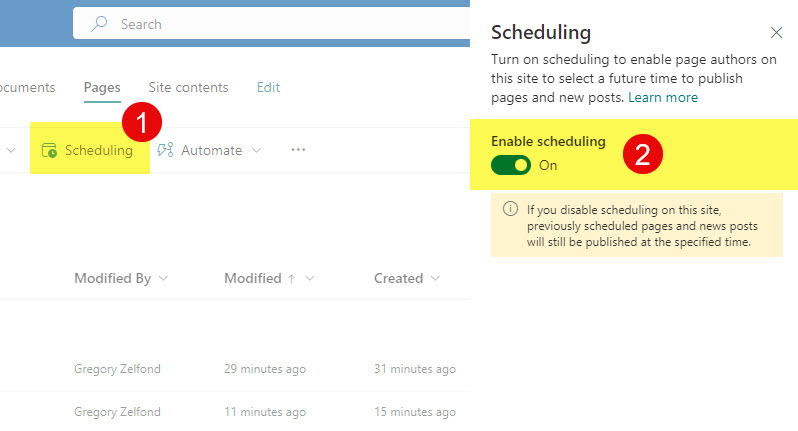
Step 8: Enable Scheduling
One of the things I truly enjoy about my blog is that I can schedule posts in advance. We also have that ability in SharePoint. I published a separate article on this; here are the instructions.
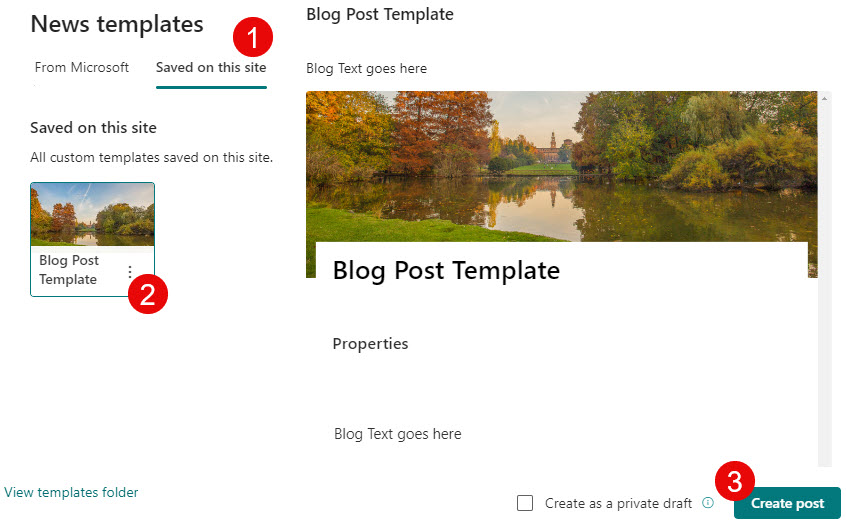
Step 9: Publish some blog posts
Next, you might want to publish a few posts to see how they will render. Make sure to use a template we created in Step 6.
When you populate a blog post with content, make sure to click on the Page Details tab to fill out the metadata fields we created (Category and Enterprise Keywords).
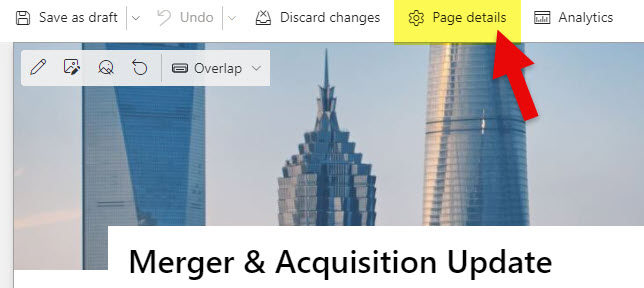
Page Details Tab on a Blog Post in SharePoint
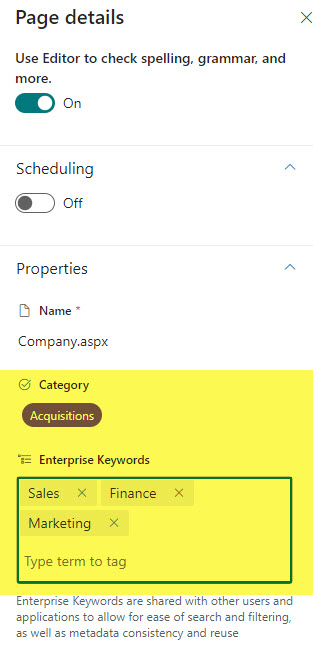
Page Details Pane where you can add Metadata and schedule a post if necessary
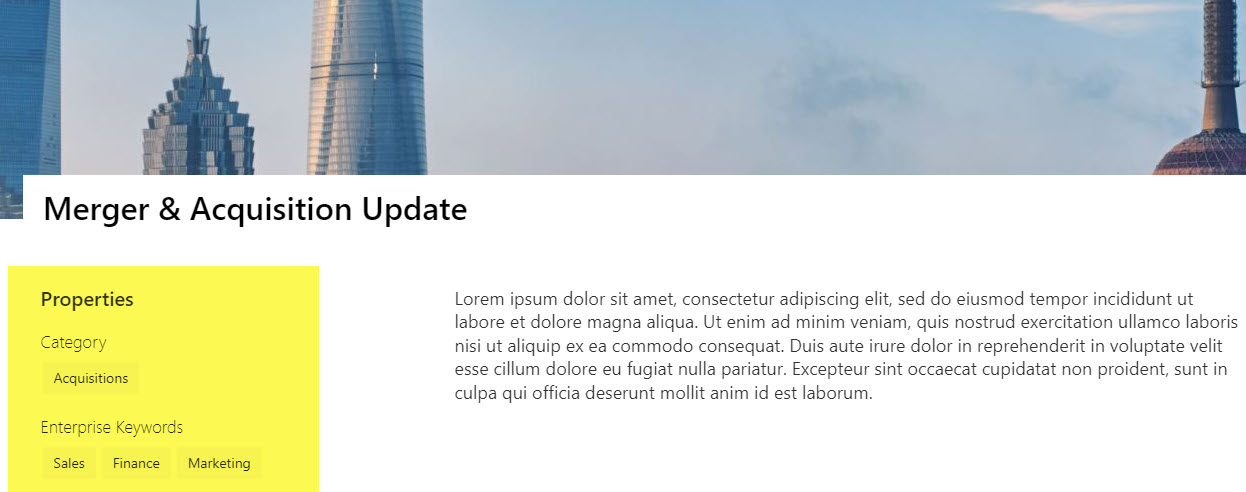
Here’s an example of the Blog Post once published. The pane on the left shows the metadata fields we added using the Page Properties Web Part.
Step 10: Configure News Web Part
The final step is to configure the News Web Part we added in Step # 2. You can control how many blog posts are displayed on a page, change the display layout, and so on.

Another thing you can do is display various categories of blog posts at once on a page by adding several News Web Parts and filtering each one to one specific Category. This is quite useful if you publish many blog posts and want to make it easier for the user to find the right content. I explained how to do this in this article.

Filtering on News Web Part to display a certain Blog Category

Example of a Blog created in SharePoint, once completed
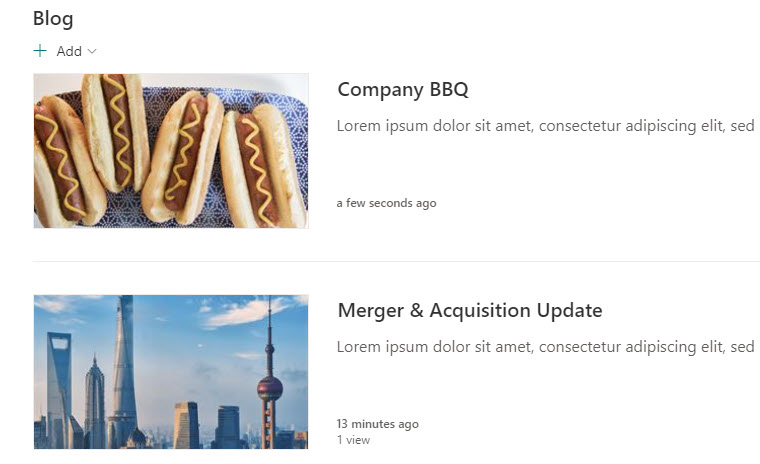
Another example of a Blog created in SharePoint

Share Article