< All Articles
Share a Page between multiple Loop Workspaces
One of Microsoft Loop’s unique capabilities is the ability to share a single Loop Page among multiple workspaces. This is in contrast to a SharePoint model, where a single SharePoint page can only be part of a single SharePoint site. Today, I want to explain how this feature works in Loop.
How to share a Loop Page among multiple workspaces
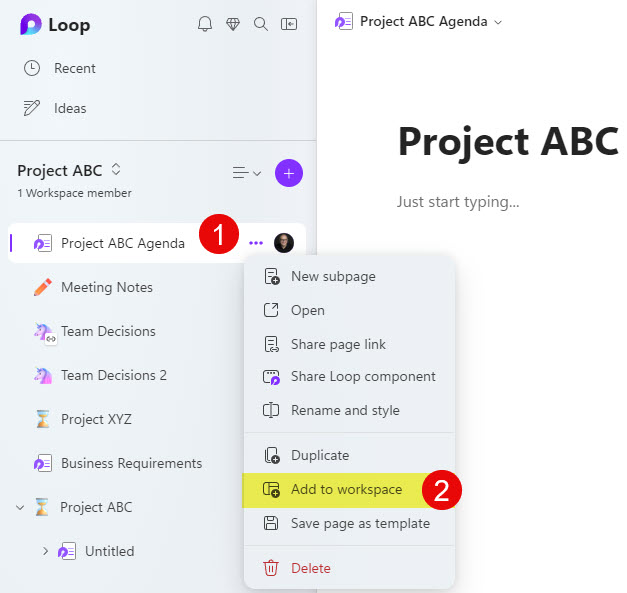
- After you created a page in one workspace, click three dots next to the page and choose Add to workspace
- On the next screen, select another workspace to which you want to add this page. You can either create a new workspace or select an existing one.

- You will now see the page added to the other workspace
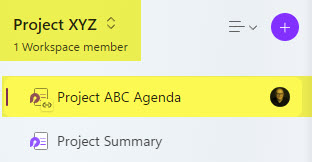
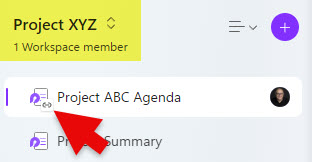
- Note that physically, the page resides in the original workspace. All the other workspaces pretty much link to the source and display/render the “original” page. You will notice a small “link icon” appear on those linked pages.
Nuances about “shared” Loop Pages
- Change to a page in one workspace is made instantly to the same page in another workspace
- If you delete a page from the second workspace you added the page to, it will be removed from that workspace but will still remain in the original workspace.
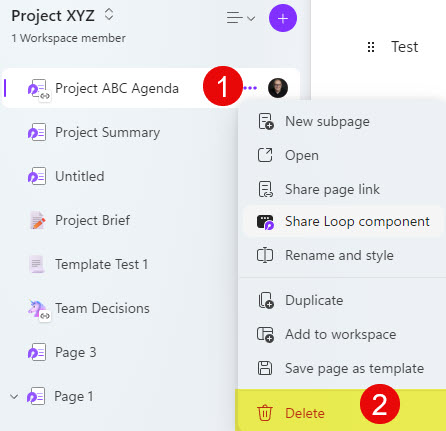
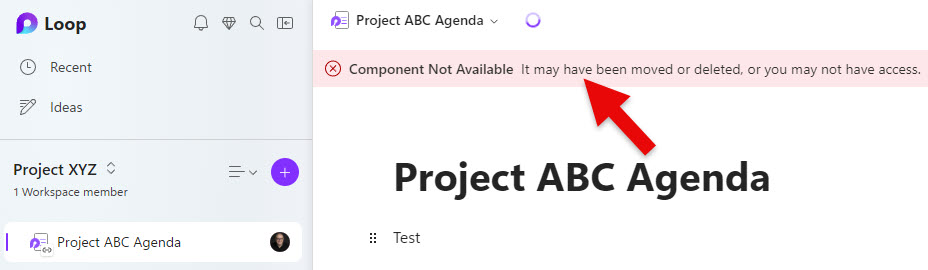
- However, if you delete the Loop page from the original workspace, the page will not be available/accessible from the second workspace anymore. You will receive the following error message: “Component Not Available It may have been moved or deleted, or you may not have access.”
- Access to the shared Loop page is controlled by the Workspace membership or Page Sharing settings.

Share Article