Microsoft Planner Best Practices
Having spent a large chunk of my career in Project Management, I really appreciate the lightweight and easy-to-use Planner tool we have available within the Microsoft 365 ecosystem. Microsoft Planner provides an awesome way to communicate tasks and due dates to the rest of the Project Team. Having used Planner in the capacity of a Project Manager, I would like to share a few pieces of advice/best practices that will help you make the tool more efficient.
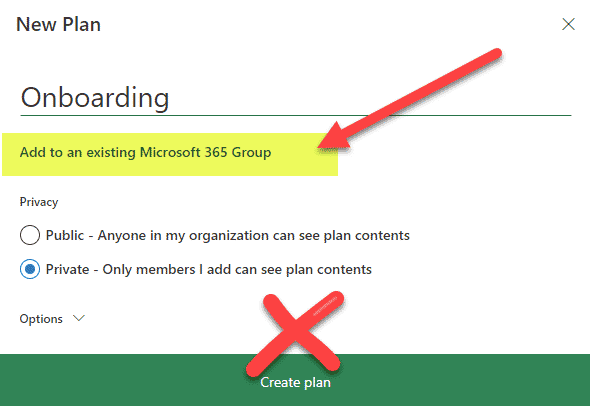
1. Create multiple Plans within the same group
This has got to be the biggest annoyance when you create new plans and wish this is something that was more transparent. By design, when you create a new plan – it creates a brand new Microsoft 365 Group with a site, calendar, and other assets. That said, most of the time, when you create a new plan, you probably want to create it under the existing group. In such a case, make sure to add a Plan to an existing group instead of creating a brand new group altogether. I previously blogged about it here.
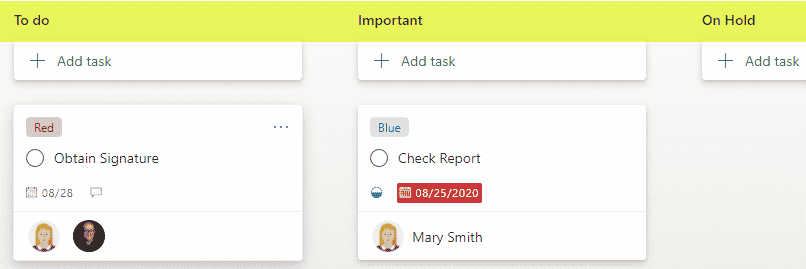
2. Create multiple buckets
This might not be apparent right away to many users, especially if you are new to Kanban boards/project management, but the whole objective of Planner is that it should be broken down into buckets of tasks. If you do have a very long list of tasks, multiple buckets might help visualize things on a screen and help you stay organized. So make sure to create multiple buckets according to different phases of a project and other categories.
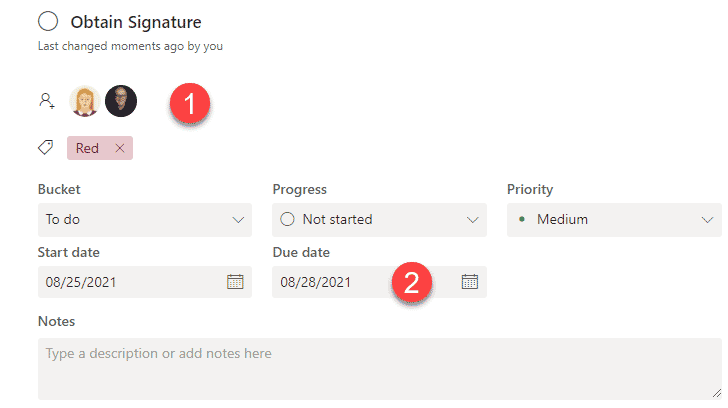
3. Fill out Assigned To and Due Date fields
This might not be possible in all cases, but make sure most of your tasks have Assigned To and Due Date fields completed. You see, the tasks without the Task Owner (Assigned To field) and a deadline (Due Date) tend not to be looked at or completed at all 😊. So make sure to populate those two fields if possible.
4. Sync to Outlook
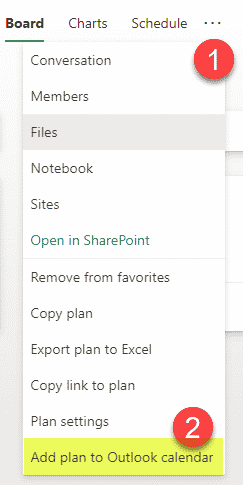
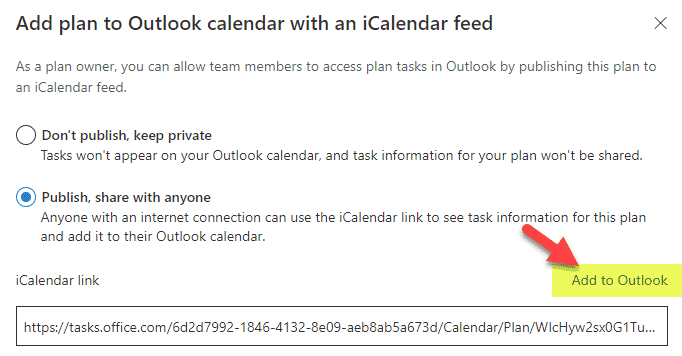
The ability to sync Planner to Outlook might be a compelling way to view things in perspective. It is one thing to see huge lists of tasks and buckets; it is another when it is also combined with a calendar view which overlays with other events you have in your Outlook calendar.
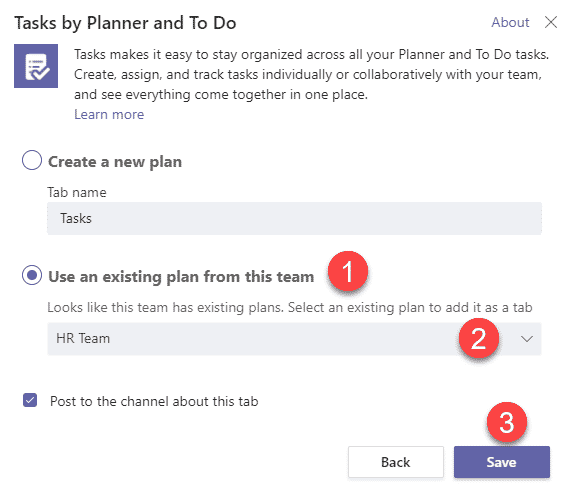
5. Add Planner as a tab in Teams
The reality is that, most likely, you live in Teams. That means that you might want to access your tasks from Teams as well. In that case, make sure to add a Plan from Planner as a Tab in Teams. While this won’t give you a full feature set like the one available in Planner, you will be able to manage tasks without leaving the Teams interface.
