How to Transcribe Stream Videos
One important feature that can tremendously help with productivity and content search is the ability to transcribe Stream videos. In other words, transform the spoken words in the video into written text/captions. I am sure you know what I am talking about, as you have probably seen similar functionality in YouTube videos. Well, guess what? We can do this with Stream Videos in Microsoft 365, too! Let me explain how this works.
Example of Closed Captions/Transcript for a Teams Video recording
How to Transcribe Stream Videos
There are five (5) different ways your videos can be transcribed in SharePoint (Stream).
- Option 1: Transcribe the Teams Meeting by recording it
- Option 2: Transcribe the Teams Meeting by transcribing manually
- Option 3: Transcribe automatically when you upload a video to SharePoint/OneDrive
- Option 4: Transcribe Manually
- Option 5: Transcribe by Uploading the transcript
Let me briefly explain each option below.
Option 1: Transcribe via Teams Teams Meeting
The first two options for transcribing videos are specifically for the Teams meetings you have via the Teams app. Unless IT disabled that feature within your organization, once you press the Record button on the Teams Meeting, its transcript is also generated automatically.
- Once in a Teams Meeting, click three dots > Record and transcribe, then Start recording.
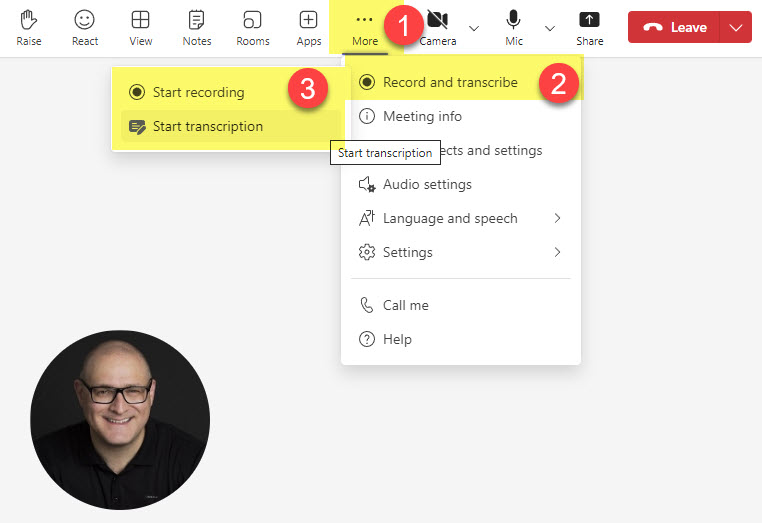
- You will then get a notification that both Recording and transcription have started

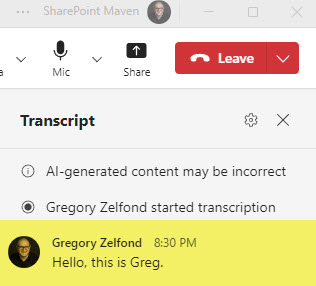
- The transcript will automatically be generated in real-time as attendees speak. This is what the transcript will look like live during the meeting.
Option 2: Transcribe the Teams Meeting by transcribing manually
If you do not want to record the meeting, you can still start the transcription. To do so:
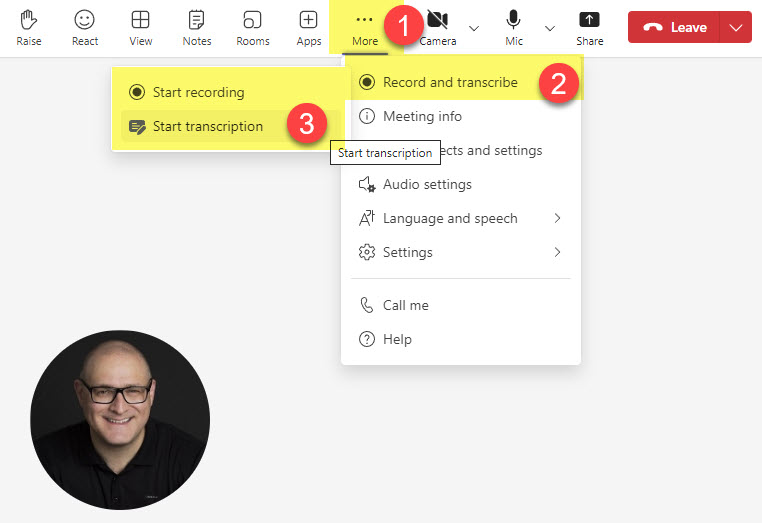
- Once in a Teams Meeting, click 3 dots > Record and transcribe, then Start transcription
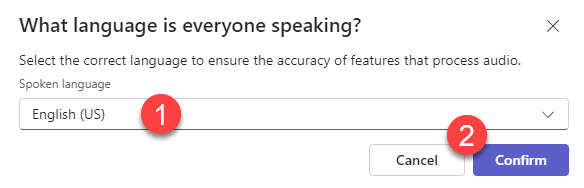
- You will then be prompted to confirm the language to be spoken during the call. Select one and click Confirm.
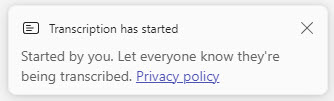
- Once again, you will get a confirmation message, and the transcript will start.
Option 3: Transcribe automatically when you upload a video to SharePoint/OneDrive
The previous two options allowed you to transcribe Teams meetings. However, let’s say you have some video files generated outside of the Teams app (i.e., a video recording of a Message from a CEO or a training video). In this case, you can simply upload the video to SharePoint or OneDrive. By default, all videos uploaded get transcribed automatically.
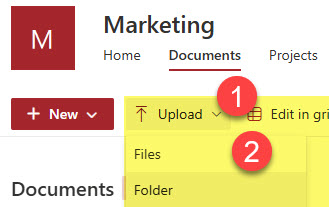
- Upload a video to SharePoint.
- Once uploaded, click on the video so that it opens up in Stream Video Player.
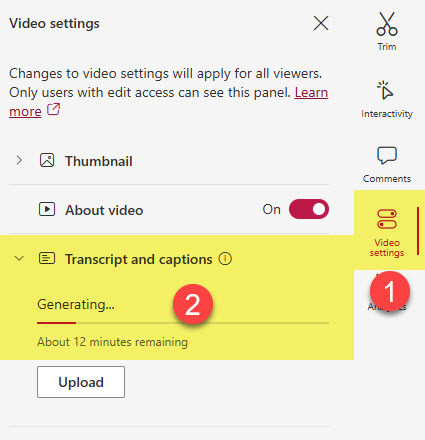
- Click on Video Settings > Transcript and captions. You will see the transcript being immediately generated (it will take several minutes depending on the size of the video)
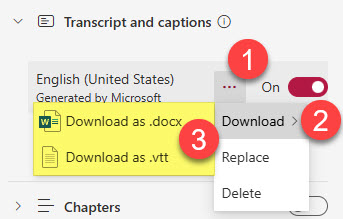
- Once finished, the transcript will appear and can be downloaded if necessary.
Option 4: Transcribe Manually
You can also generate the Transcript manually. If, for whatever reason, the transcript was not generated automatically, you can do so manually from Stream. To do so:
- Click on a Video from SharePoint/OneDrive
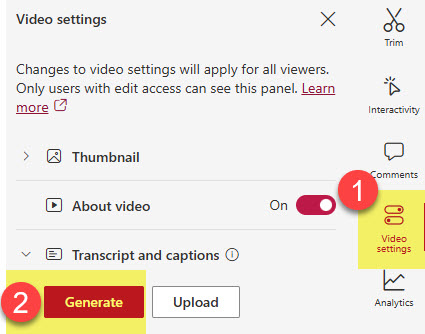
- Click on Video settings, then Generate
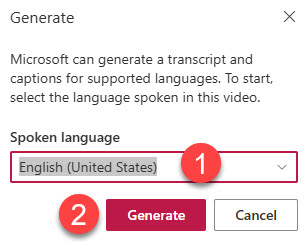
- Choose the language spoken in the video, then Generate
Option 5: Transcribe by Uploading the transcript
The final option is to manually upload the Transcript/Closed Captions. This option is great when you want to upload your own transcript with the exact verbiage, grammar, and spelling. A good example could be a training video that was recorded in one language, say English, but you want to provide instructions to non-English speakers via Closed Captions in their language.
The transcript file must be in.VTT file format, which is an industry-standard for capturing transcript information. Essentially, it is a file that captures a time stamp and spoken words at that time.
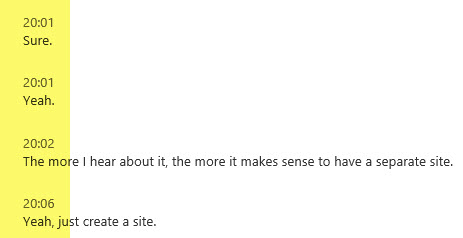
Example of the contents of the.VTT file
Here are the steps to upload the transcript:
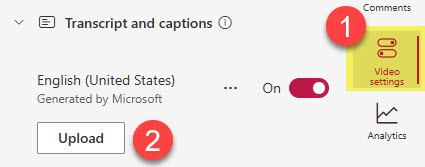
- Click on Video settings, then Upload
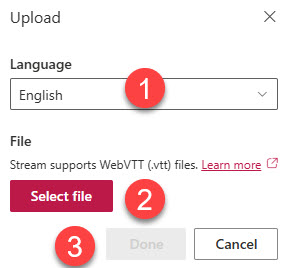
- Select a Language for your transcript, and click Select file.
- Once transcript(s) are uploaded, you will see them all appear under different languages.
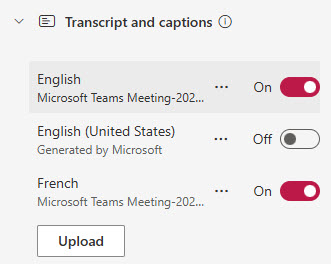
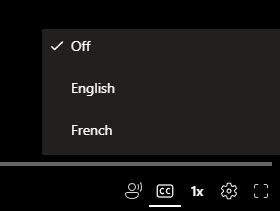
- Different languages will allow the users to select a transcript in their own language
Nuances about Stream Transcripts
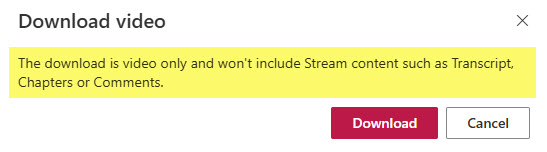
- If you decide to download the video locally, the transcript will not be downloaded with the video.
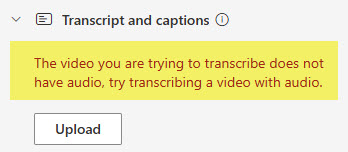
- I believe this is pretty obvious, but transcripts can only be generated for videos with audio. If the video does not have any audio, you will get an error message when generating a transcript.
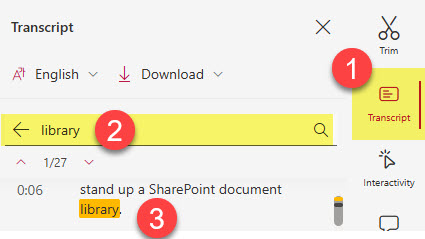
- You can also search transcripts – a super powerful feature! It is great when you want to find the specific keywords/phrases spoken during the meeting

Share Article