How to sync Microsoft 365 Message Center with Planner
If you have the lucky job of Microsoft 365 Administrator, Mazel Tov! I also feel bad for you because that means that you, my friend, are suffering from information overload all the time. I am, of course, talking about all these emails you are getting from Microsoft 365 Message Center with “Urgent” announcements. The chances are, most announcements will probably be non-important and not relevant. However, some might be important and might require you to act upon and make some changes within Microsoft 365/Teams/SharePoint setup, alter training, or communicate to the staff. In this article, I will explain how you can easily sync Microsoft 365 Message Center with Planner, so you can track announcements and get your life back.
How to access Microsoft 365 Message Center
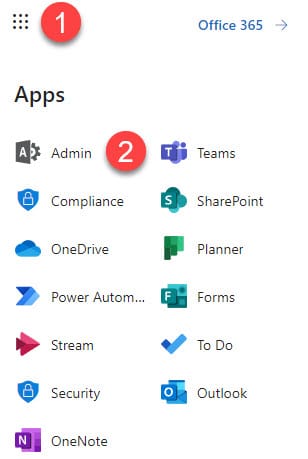
First, we need to access the Microsoft 365 Message Center. You have to have a Global Microsoft 365 Admin role to do this.
- App Launcher > Admin
- Expand Health > Message Center
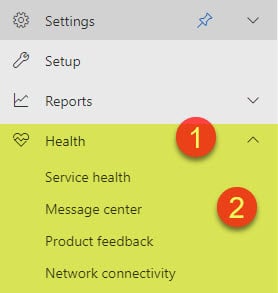
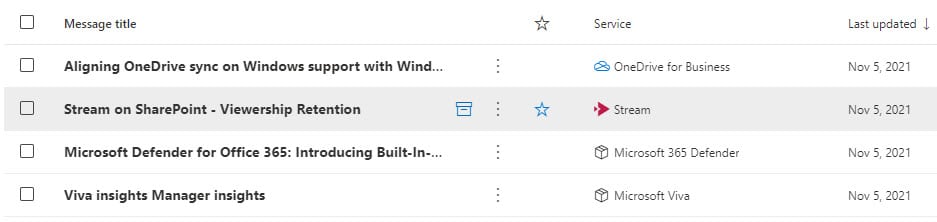
- You will now see all the announcements within the Message Center


How to sync Microsoft 365 Message Center with Planner
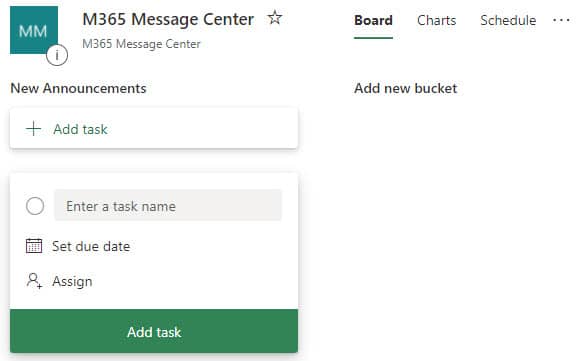
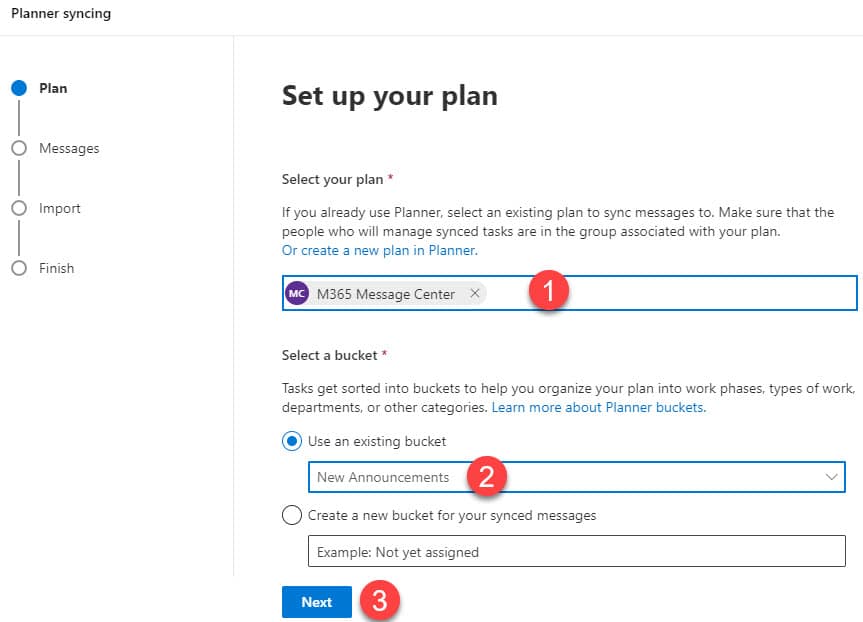
- First, I recommend creating a Plan in Planner where you would be syncing Message Center announcements. I recommend creating a new plan so it is not mixed up with any other tasks. You can also create a dedicated bucket on your plan where the announcements will be loaded/synchronized.
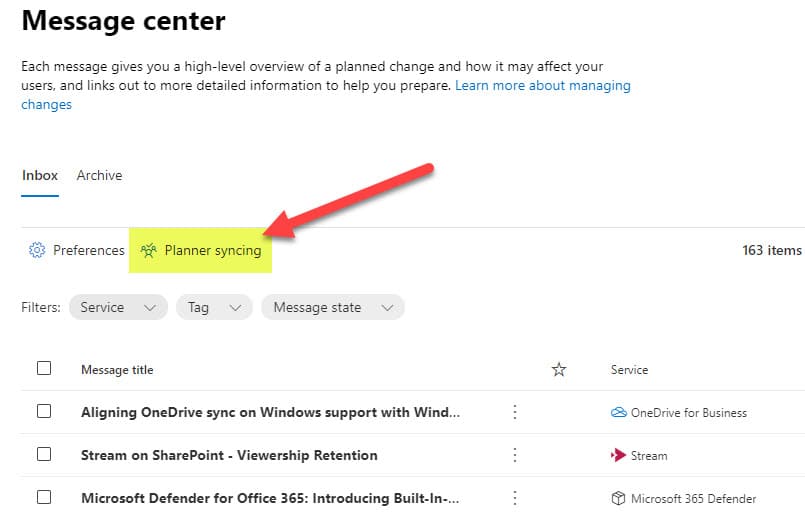
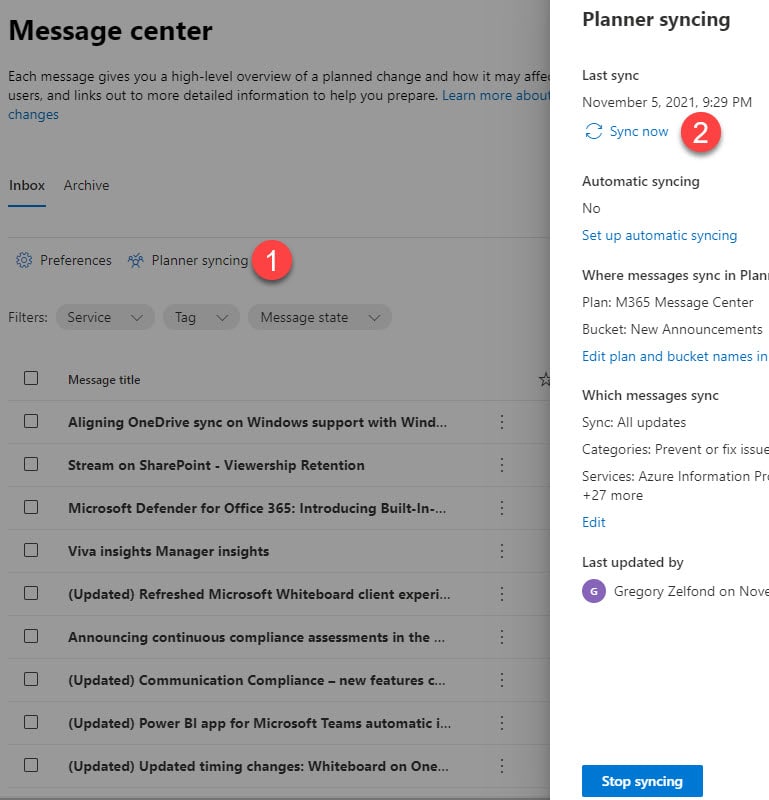
- To sync with Planner, from the Message Center, click Planner sync
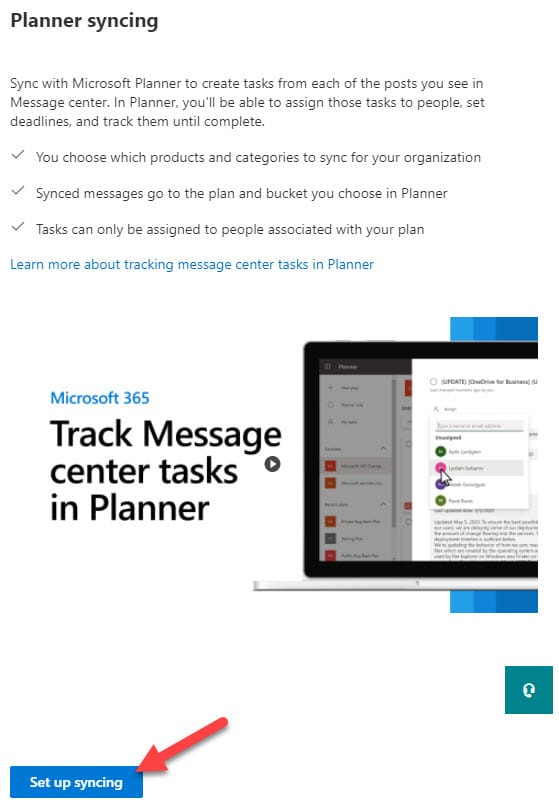
- On the next screen, click Set up syncing
- On the next screen, choose a Plan and a bucket you will sync to. Click Next
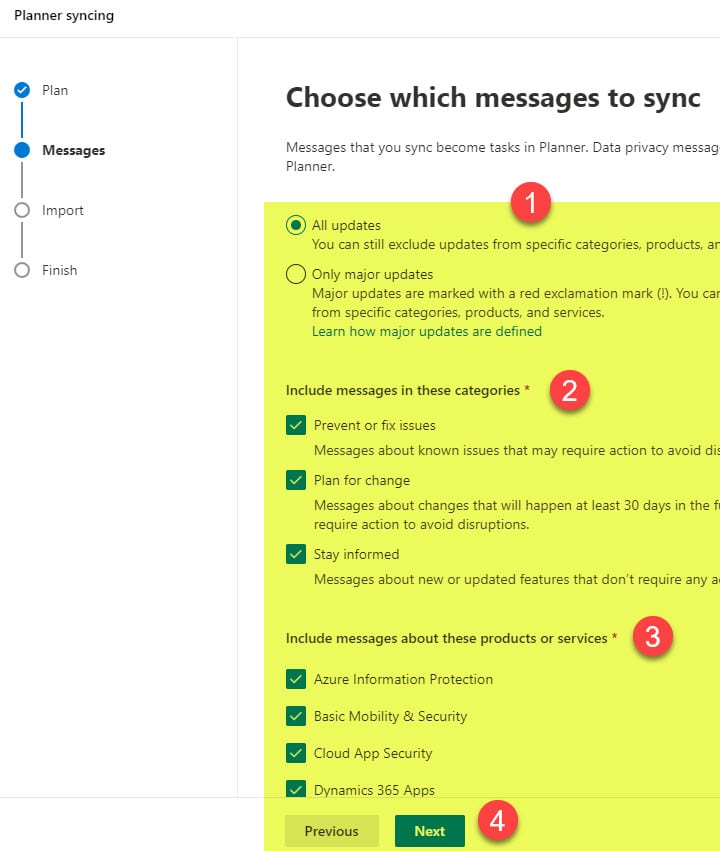
- Customize which messages you want to sync. Click Next
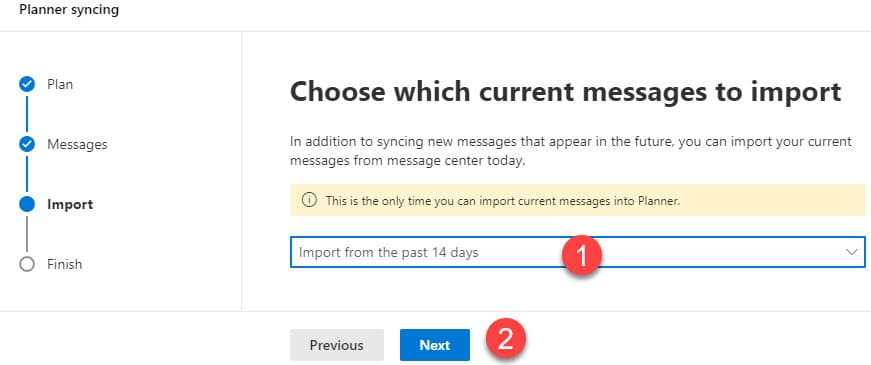
- Choose whether or not you wish to import current messages. Click Next
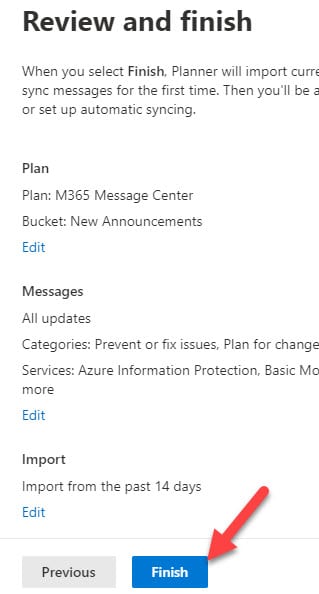
- On the final screen, review the settings and click Finish
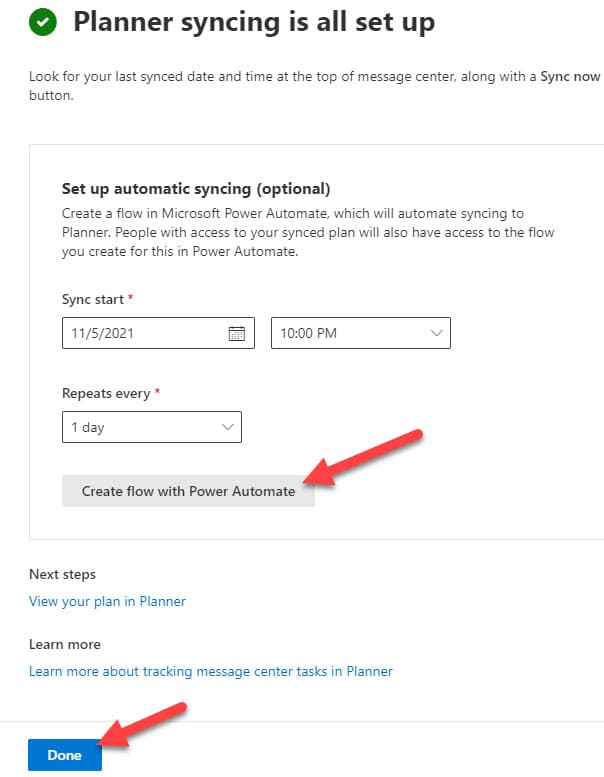
- That’s it! You will manually sync the future announcements to the Plan in Planner by clicking the Sync now button. However, you can also automate the process by creating the Power Automate workflow (which it prompts you to do as well – this is optional, though). Click Done.
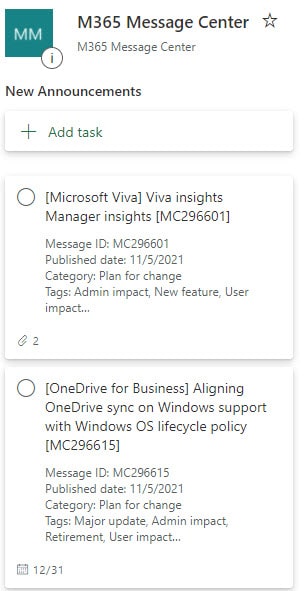
- All the messages will now show up in the corresponding Plan in Planner. From there, you can assign individual tasks to your IT members, track progress, complete them, etc.
- Next time you want to resync the new messages to your plan, you will need to click Sync now button


Share Article