How to manage comments on a Microsoft list
If you work with lists, you probably noticed the ability to add comments to the list items. In this article, I would like to explain how to manage comments on a Microsoft list and disable them if need be.
What are Microsoft Lists
If you are new to the whole concept of lists, you might want to check this article first to get familiar with the application.

Comments feature on Microsoft Lists
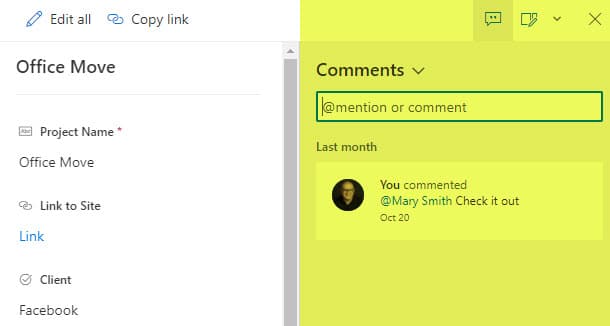
Comments feature on Microsoft Lists works very similar to the comment ability on documents. It allows users to leave comments on individual list items. The comments show up in reverse chronological order.
How to add a comment
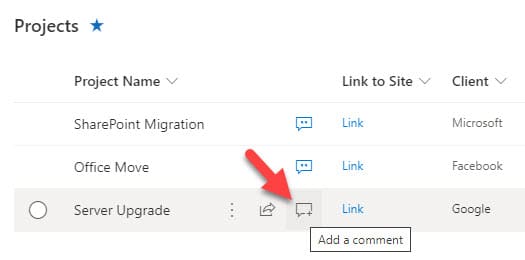
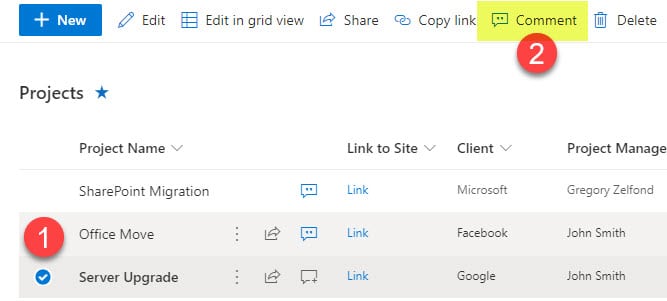
- Hover over the list item and click on the Comment Icon or check the box next to the item and choose Comment from the menu
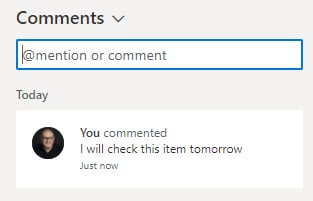
- In the pop-up on the right, enter your comments and click the “Send” button to enter the comment
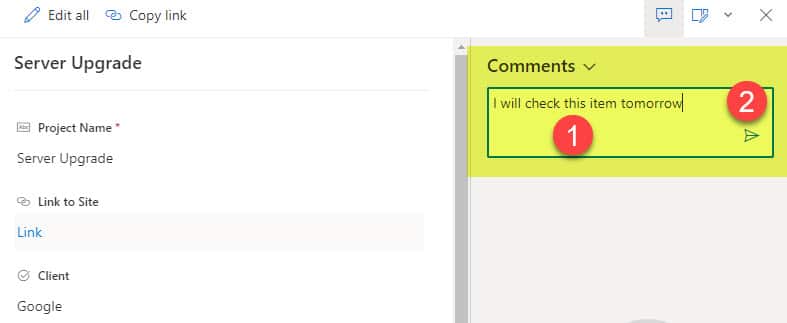
- The comment will now appear in the list of comments
How to use the @mention feature
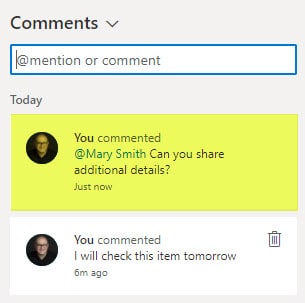
- Just because you leave the comment does not mean someone will see it. To draw the user’s attention, you can use the @mention feature, just like you do on social media. This will send the recipient an email notifying them about the mention.
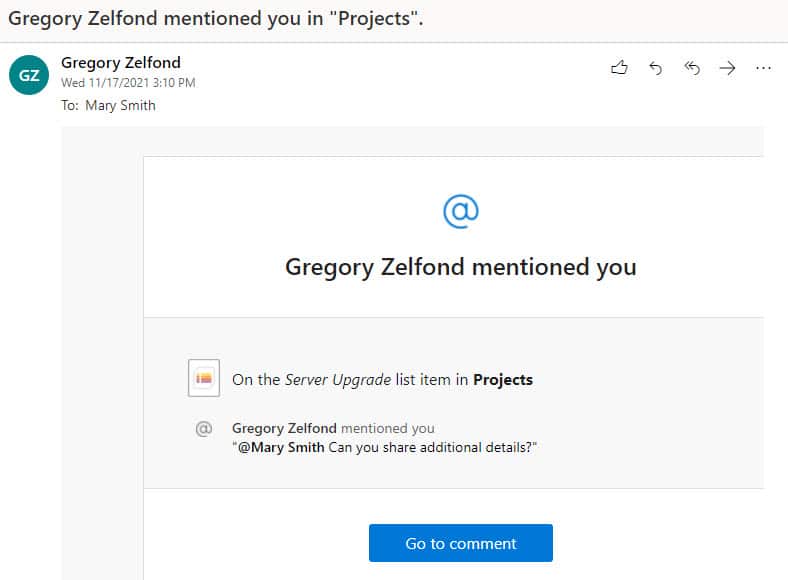
- The recipient will also receive an email when their name is mentioned
How to delete a comment
- Hover over the comment you want to delete and click on the Delete button

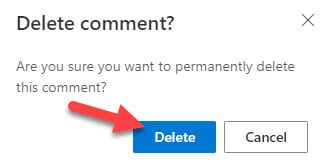
- Click Delete when you see the confirmation message
How to disable comments on a list
Sometimes you might not want to have the ability for users to leave any comments. In this case, you can disable it.
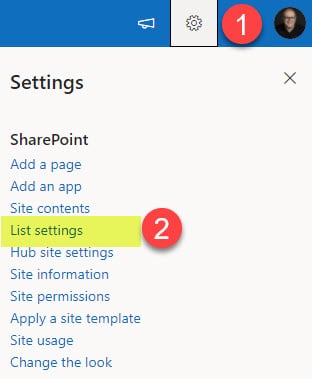
- Gear Icon > List Settings
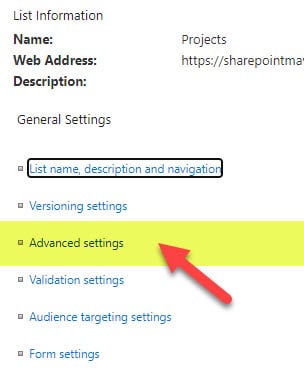
- Click on Advanced Settings
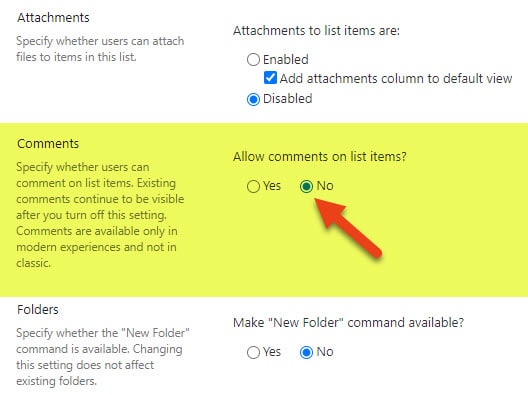
- Under Comments Sections > Allow comments on list items, change the radio button from Yes to No
- Click OK at the bottom of the page
As of the writing of this post, you can disable comments on a list-by-list at the moment. If you want to disable comments globally on all lists in your tenant, you would need to use PowerShell.
