How to embed Viva Engage Community on a SharePoint Page
One way to spice up your SharePoint Intranet and make it a bit more social is to embed a Viva Engage Community in it. I actually wrote a post about it back in 2019. But that was when Viva Engage was called Yammer, and the interface and options were quite different then. So, I decided to update the instructions and release this new article. Enjoy!
How to embed Viva Engage Community on a SharePoint Page
There are two ways to embed Viva Engage Community on a SharePoint Page. You can embed a given community as-is (via the Conversations Web Part) or highlights from a given Community (via the Highlights Web Part).
Embed Viva Engage via Conversations Web Part
- Edit the Page

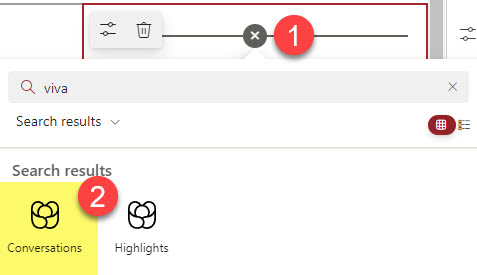
- Add a Web part and select Conversations Web Part
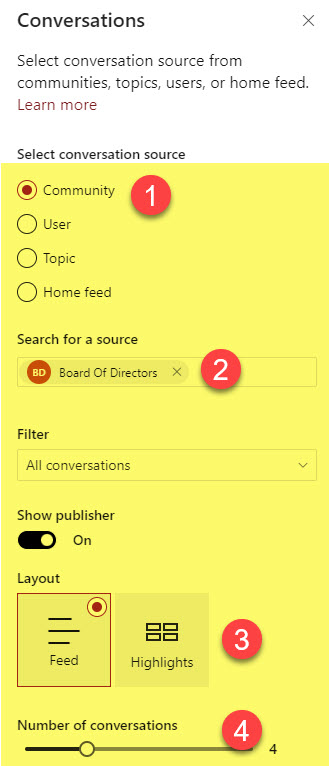
- Choose the Community radio button, then under Search for a source, type in the name of the Viva Engage Community you would like to embed. You can also configure other options as well.
- Republish the Page.
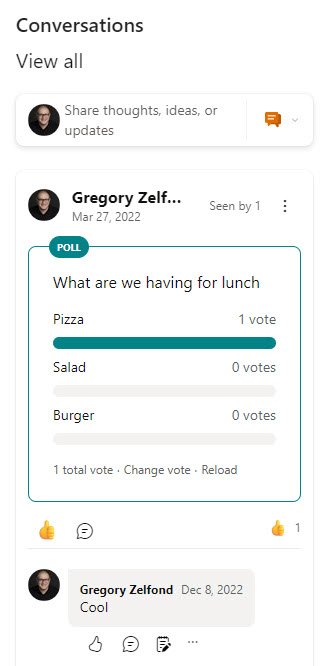
- This is how the Viva Community will appear on the SharePoint Page. Users can like, post, and comment on the Viva Enagge Community right from the SharePoint Page.
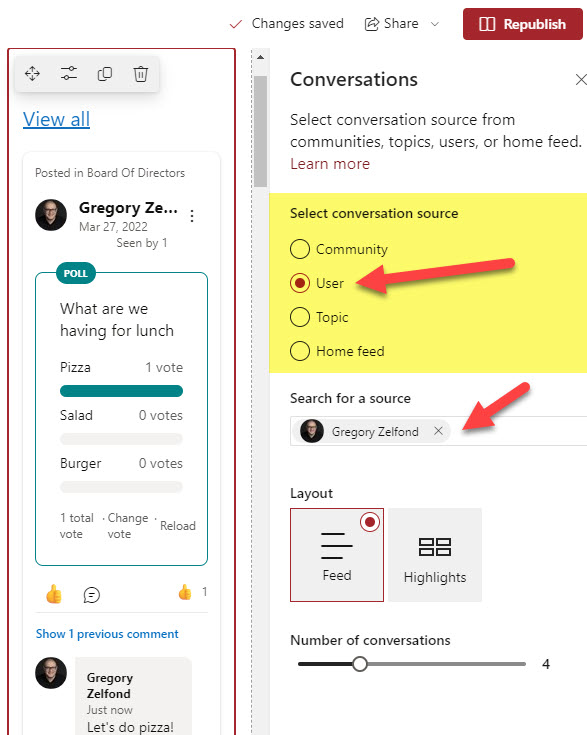
- You can also select the other radio button options (i.e., User or Topic) to display the posts for a particular user or topic only.
Embed Viva Engage via Highlights Web Part
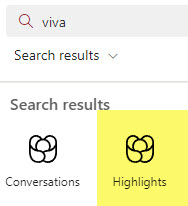
- You can also display only specific posts from the given Viva Engage Community by choosing Highlights Web Part.
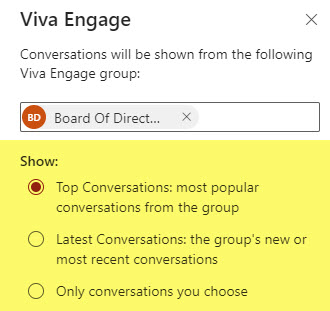
- In that case, you still need to select a specific Viva Emgage Community, but you can then toggle between the most popular conversations only or the latest. You can also limit it to the particular conversations you choose. In other words, you can alter the conversations to be displayed on the SharePoint page.
To see how this looks when actually built, explore my LookBook 365 portfolio site.


