How to create an approval workflow to join the Hub using Power Automate
By default, when you create a Hub Site in SharePoint Online, anyone can join it. It does not really matter whether they can access the Hub Site or not and whether they have any permissions to it at all. As long as the Hub Site exists, any Site Owner can associate their site to your hub. That’s just how it is. This is not necessarily good news to the Hub Site Owner. I obviously do not want anyone to join the Hub I created and maintain. There is a way to restrict who can associate sites by listing users in the SharePoint Admin Center (instructions here), but you constantly need to maintain that list. Luckily, there is a way to create a workflow using Power Automate to establish an approval process to join the Hub. In this post, I would like to explain how to build and configure this workflow using out-of-the-box functionality.
Create a Hub Site
The first step in the process is the Hub Site itself. I documented what it is and how to create one here.

Create an approval workflow to join the Hub
Once the Hub Site has been created, it is time for us to do the magic!
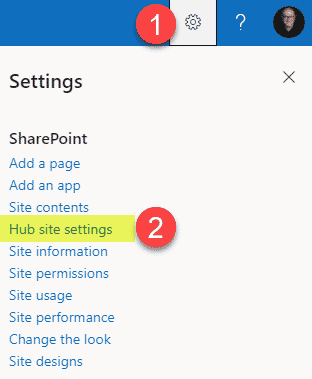
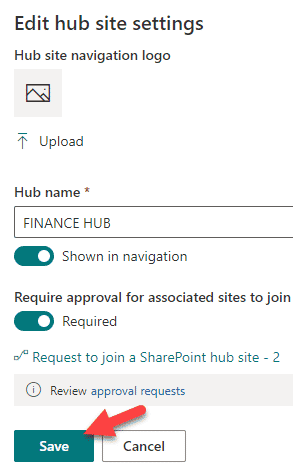
- From the Hub Site, click Gear Icon > Hub Site Settings
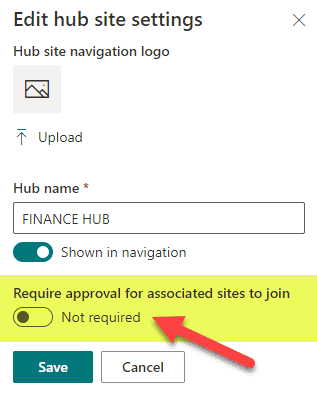
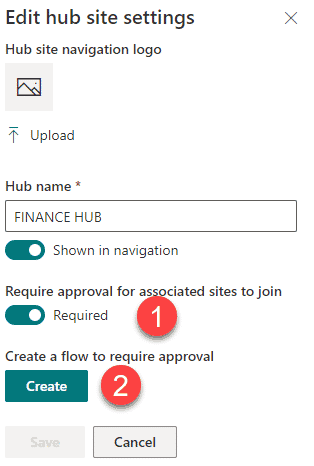
- Toggle the Require approval for associated sites to join switch on
- Once enabled, hit Create
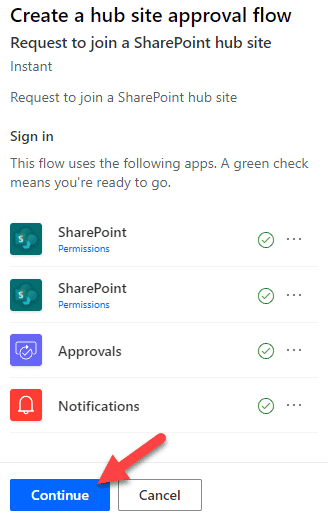
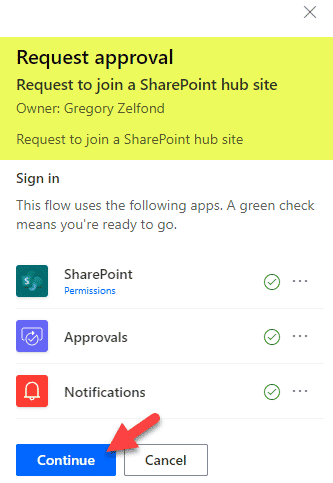
- On the following screen, you will see the actions/connections necessary for the workflow to work – this is a standard screen you get when you create a Power Automate Workflow. Just hit Continue.
- On the next screen, you can specify the names of the approver(s). If you list multiple users, the first to respond will approve the request. If multiple people need to approve the request – you can change that logic later in the Power Automate Workflow. Add the name(s) and click Create.
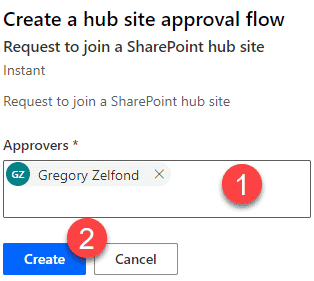
- At this point, the workflow has been created, and you need to click Save


What happens behind the scenes
Behind the scenes, a workflow has been built for you in the Power Automate App based on the info provided. You can access and make changes if need be.
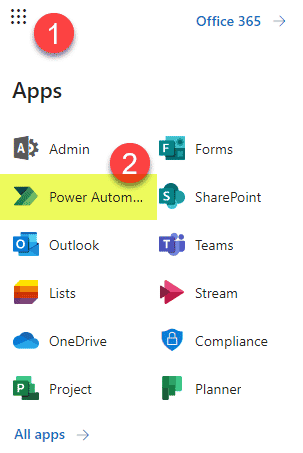
- Click on Microsoft 365 App Launcher > Power Automate
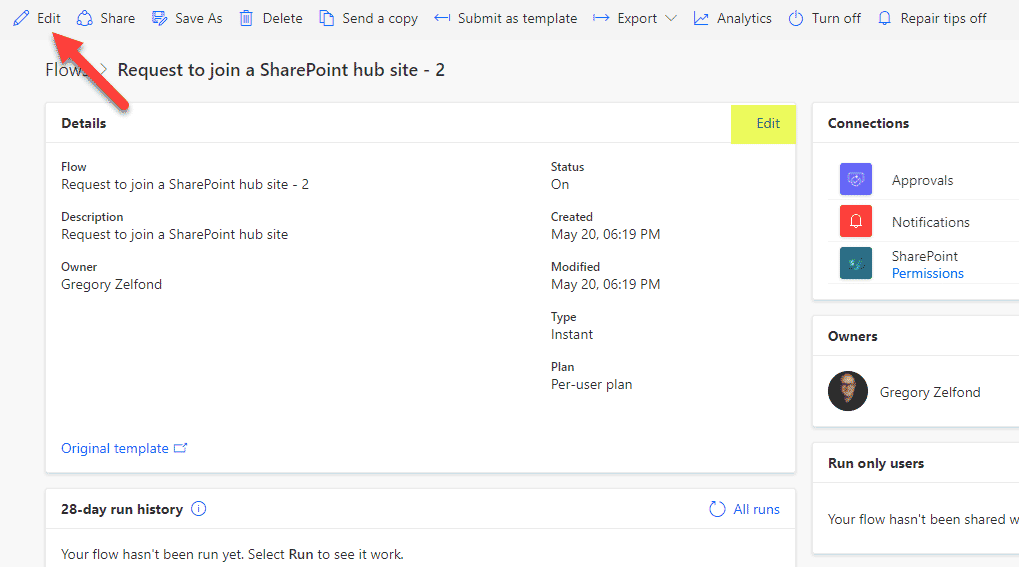
- Under My flows, click on the workflow you just created
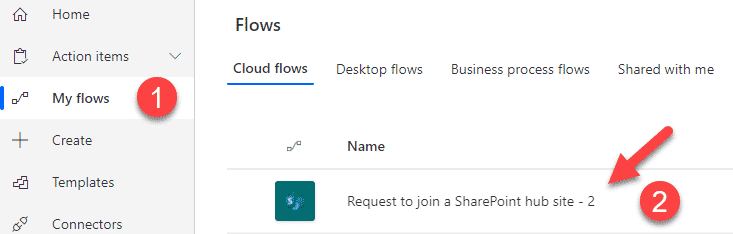
- You can change the name of the workflow if need be as well. But if you would like to see or change the workflow logic, click the Edit button in the upper-left-hand corner.
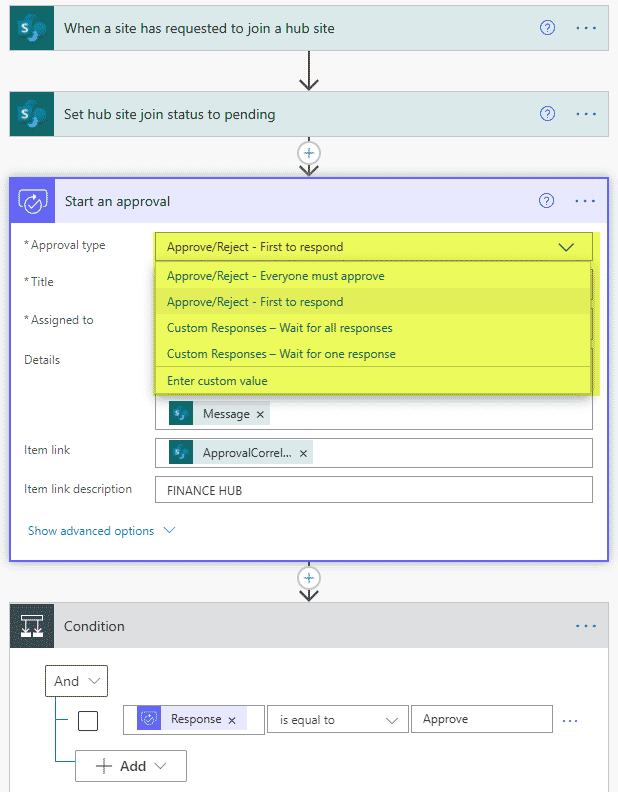
- This is where, if you are comfortable with making changes, you can tweak the approval logic, specify custom messages for the approver or Site Owner in case of approval/rejection. Make sure to save the changes if you adjust the logic.


Experience for the Site Owner
Let’s now see what the experience will be for a typical Site Owner.
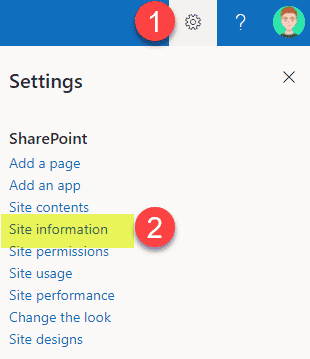
- Site Owner clicks on Gear Icon > Site Information
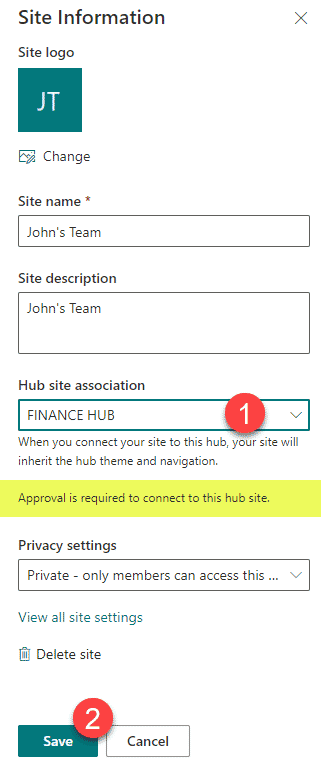
- Chooses the Hub to connect to from the list of available Hubs. The user will notice Approval is required to connect to this hub site message appearing. Clicks Save.
- In the next step, it would check the user’s credentials to run the workflow. The user hits Continue.
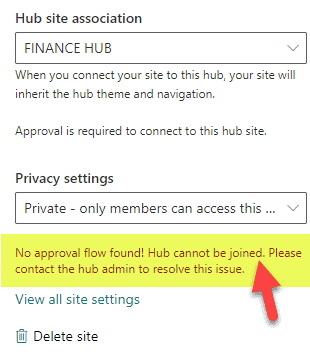
- By the way, in case the user encounters the following message: No approval flow found! Hub cannot be joined. Please contact the hub admin to resolve this issue. This happens when the Site Owner requesting to join the Hub does not have access to the Hub (at least the Visitor’s Read-only access). So the Site Owner will not be able to run the workflow until at least the Read access to the Hub site is granted by the Hub Owner.
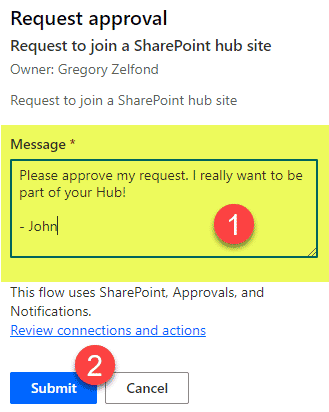
- Next, the Site Owner types in the message for the Hub Owner, with the reason to join the Hub and clicks Submit
- That’s all! The approval request has been sent to the Hub Owner. While the request is being approved, the Site Owner will see this in the Site Information panel.
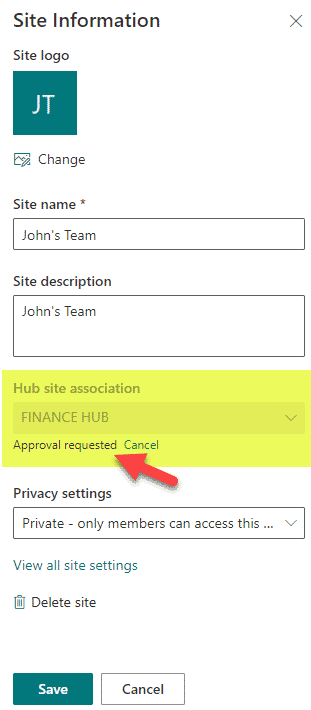
- The Site will not be part of the Hub until the Hub Owner approves the request


Experience for the Hub Owner
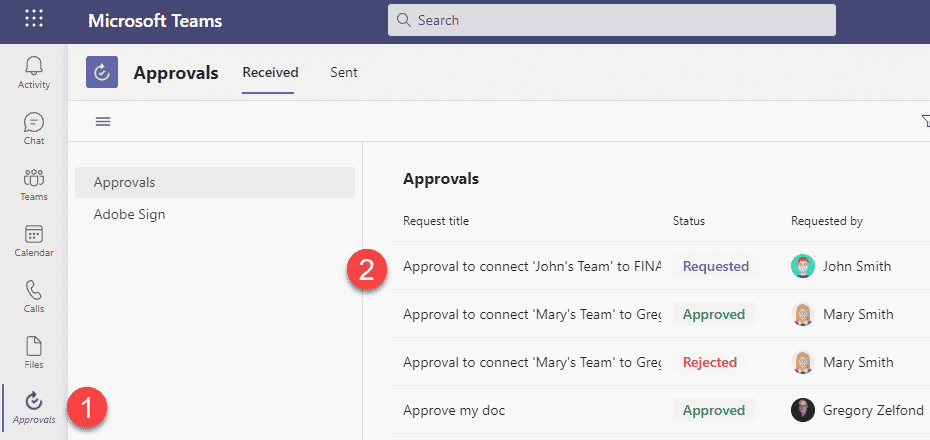
- The Hub Owner will receive an approval request via email, and the approval can occur right from the email as well. However, it can also be done via the Teams Approval App we now have or Power Automate itself. For this exercise, we will approve from Teams.
- The Hub Owner clicks on the request from the Teams Approval App
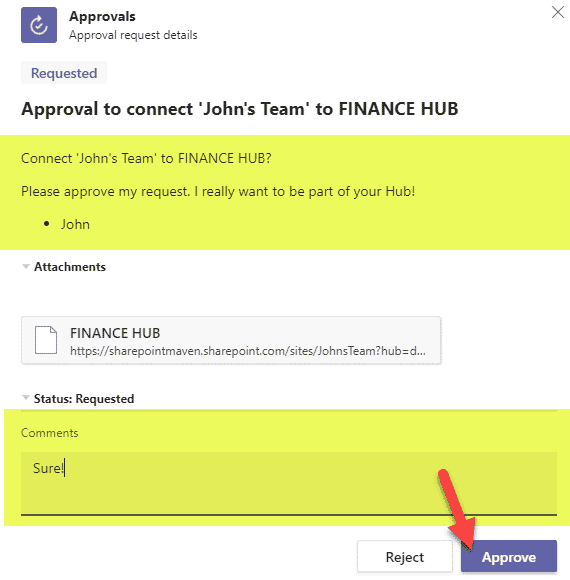
- The Hub Owner either approves or rejects the request
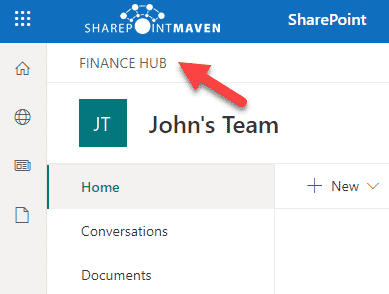
- At this point, the Site Owner will receive an email advising that the site has been connected to the Hub


Share Article