How to add IT Help Desk contact information to the Microsoft 365 Navigation Bar
Help! I need somebody, Help! This Beatles song has stuck with me since childhood. In the context of the corporate environment, I am sure you needed help from your company’s IT Department at some point. Whether you need your password reset or assistance with your laptop, I am sure you have to contact the IT Helpdesk.
I blogged about ways to set up an IT Help Desk Ticketing system in SharePoint. However, did you know you can also fill out your IT contact information within Microsoft 365 and have it available/accessible to the users in SharePoint and other applications? Let me explain.
How to add IT Help Desk Contact Information in Microsoft 365
You need to be a Global Microsoft 365 Administrator to update this information.
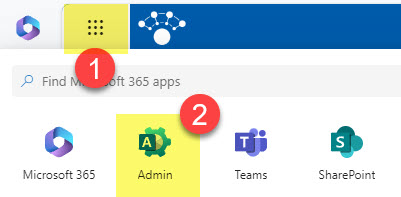
- Click on the Microsoft 365 App Launcher and choose the Admin tile
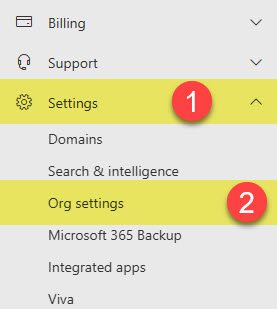
- Once in the Microsoft 365 Admin Center, under Settings, click on Org settings
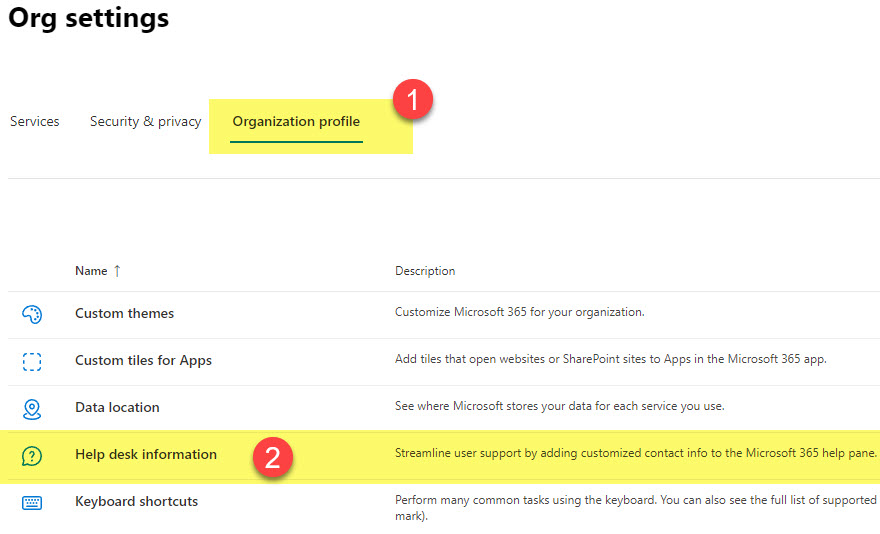
- Click on the Organization profile tab, then Help desk information
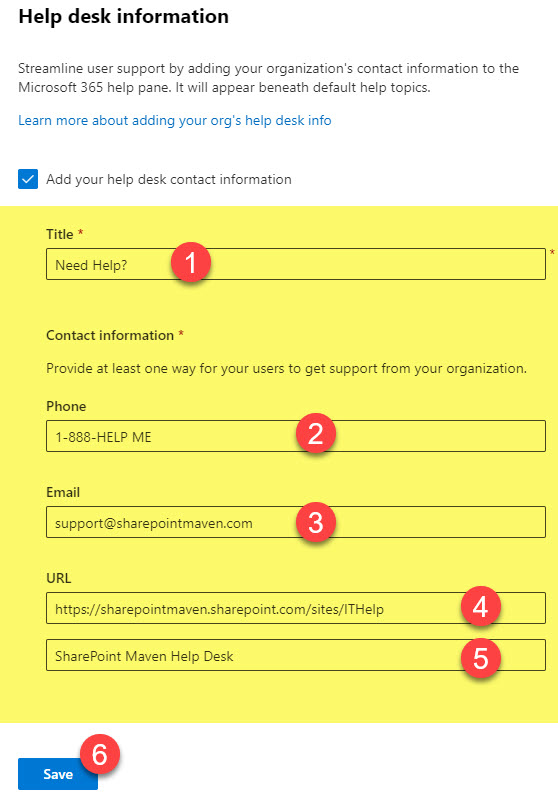
- Check the box next to Add your help desk contact information
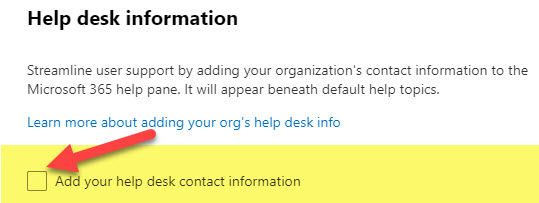
- Once you check the box, additional fields appear. Fill them out as necessary. You can specify Help Desk’s Phone Number, email, and website address. Click Save.
Experience for the end users
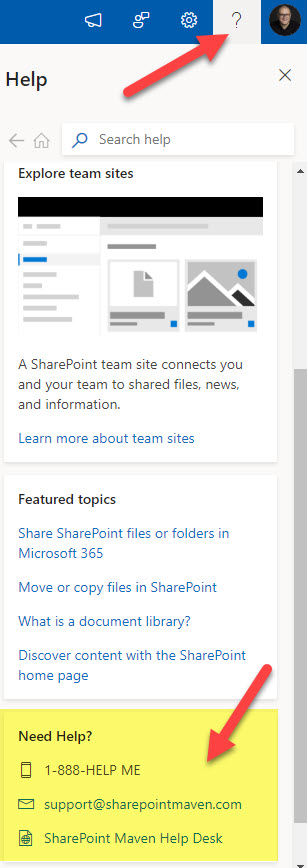
When users click on the question mark from the Microsoft 365 application (i.e., SharePoint), they will see the IT Help Desk Contact information at the bottom of the side pane.
Which Applications will display IT Help Desk Information?
The question mark in the upper-right-hand corner and the accompanying Help Desk Contact Information are displayed in most, but not all, Microsoft 365 applications. Specifically, they are visible/shown in the following apps only:
- SharePoint
- OneDrive
- Outlook
- Planner
- Lists
- Forms
- Stream
- Viva Engage

Share Article