4 ways to Export a Microsoft List
I blogged previously about the ability to import data into a Microsoft List. Today, I want to explain the opposite – the ability to export an existing Microsoft List to Excel and other formats. This might be handy if you would like to work with the data and analyze it further using the functionality that’s not available in a list but available in the other applications. There are a total of 4 ways to export a Microsoft List.
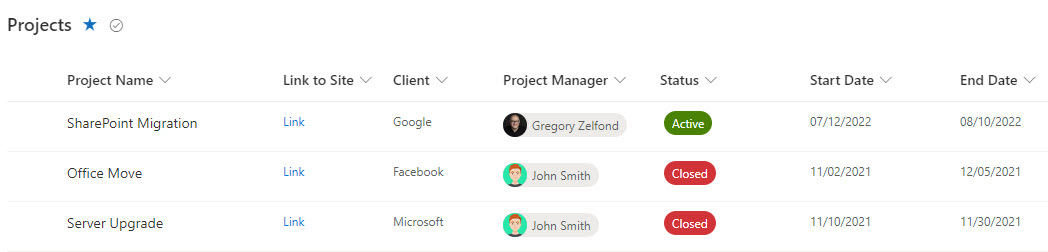
For this exercise, I will use a small project list I have.
Option 1: Export Microsoft List to CSV
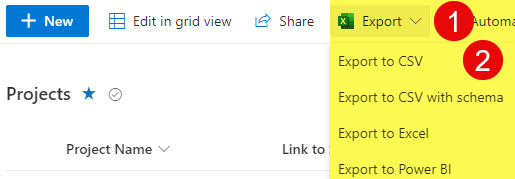
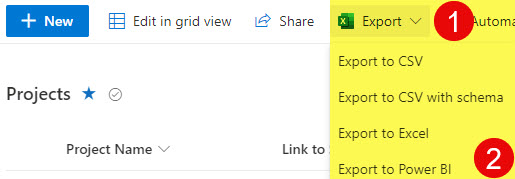
- Click Export, then Export to CSV
- The CSV file will then be downloaded to your computer

Option 2: Export Microsoft List to CSV with Schema
CSV with Schema is like a regular CSV file but also includes encoded information on the type of metadata/column used within CSV. This helps standardize and assure the accuracy of information when exchanging and working with data and data sets. To read more about CSV with schema, check out this article.
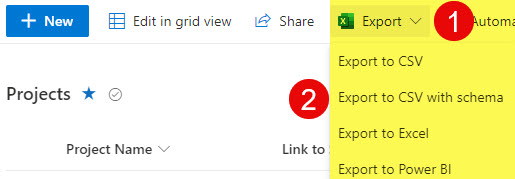
- Click Export, then Export to CSV with Schema
- The CSV file with Schema will then be downloaded to your computer

Option 3: Export Microsoft List to Excel
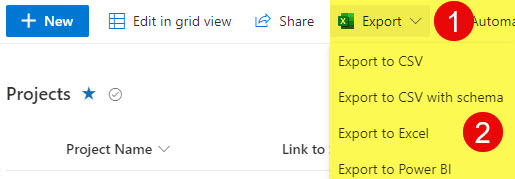
- Click Export, then Export to Excel
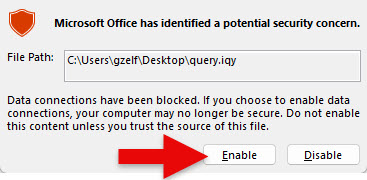
- This will download the query.iqy file on your computer

- Double-click on the query file above to open Excel. When you get a warning message, just click Enable.
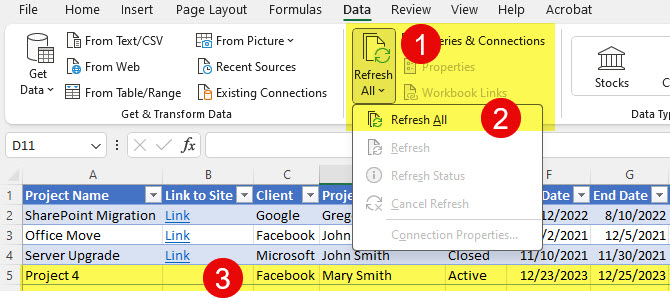
- Excel will open up with Data from the List

- You can then save the file as a regular .xlsx (Excel) file. What is interesting about this Export option is that Excel maintains a one-way connection from the list to Excel. So, if you change the list, they will be reflected in Excel. You just need to remember to refresh the data in Excel (Data > Refresh All)
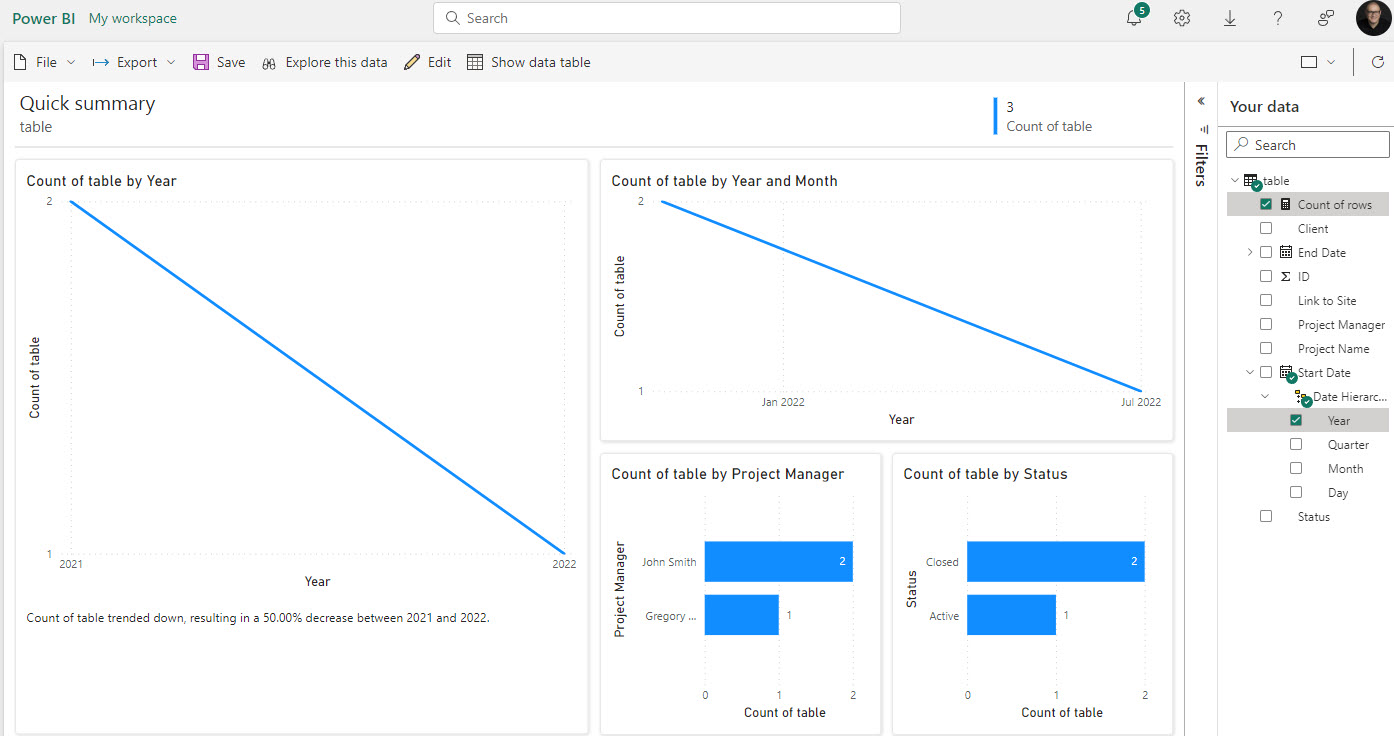
Option 4: Export Microsoft List to Power BI
This option is great if you need to analyze List data and prepare reports via Power BI.
- Click Export, then Export to Power BI
- You will then be asked to name the dataset
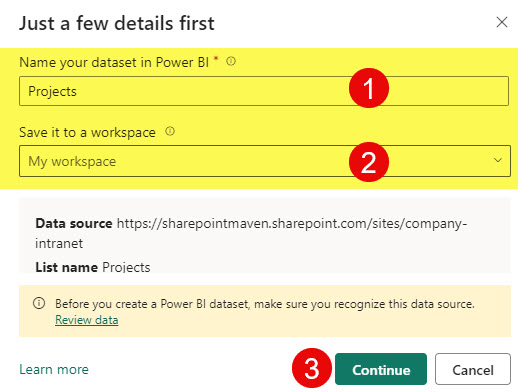
- After that, the dataset will be ready for further Power BI analysis.

Share Article