Pages and Subpages in Microsoft Loop
As I explained in one of my previous blog posts, Pages are one of the core elements of the Microsoft Loop application. It is also a “mandatory” part of the Loop Application when accessing Loop Components from the Loop Application. Even when displaying just 1 Loop Component within the Loop Application, a Loop Page is created for you automatically. In this article, I would like to explain a few ways to organize Pages and Subpages in Microsoft Loop.
Scenario 1: Page without a Workspace
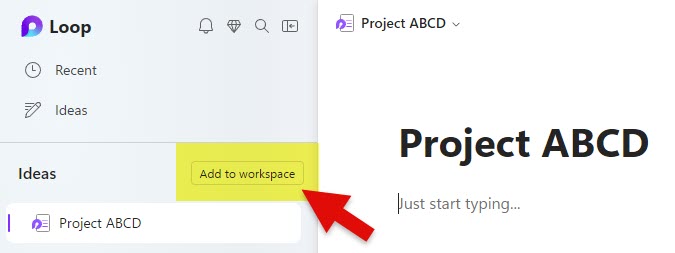
When you create a new page in Loop, it is not part of any workspace. As such, you can’t really do much to organize it. To organize pages in any shape or form, the pages have to be either part of the Loop Workspace or be converted into a Loop Component, which is something I will explain in the following few paragraphs.
Scenario 2: Page as part of Workspace
Once a page becomes part of the Loop Workspace, you can organize pages via Subpages. This is just a way to visually represent pages within a given workspace. There is no roll-up of data between pages and subpages.

How to create a new Subpage
- To create a subpage, click the 3 dots next to the Page and choose New subpage
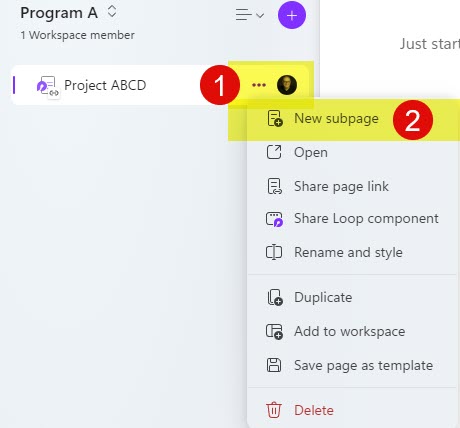
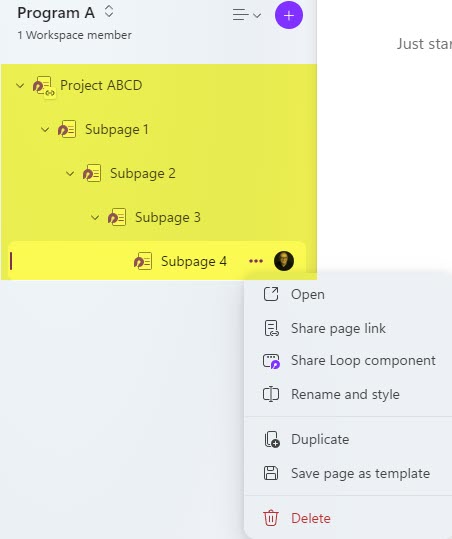
- This will create a subpage

- It is important to note that you are restricted to a Maximum of 5 subpage levels.
Scenario 3: Page Embedded inside the other Page as a Loop Component
There is also another way to organize pages in Microsoft Loop. You can convert an existing page into a Loop Component and embed that Loop Component in another Page. This option allows you to “merge” 2 pages into 1 in a way.
- Take an existing Page you want to embed elsewhere
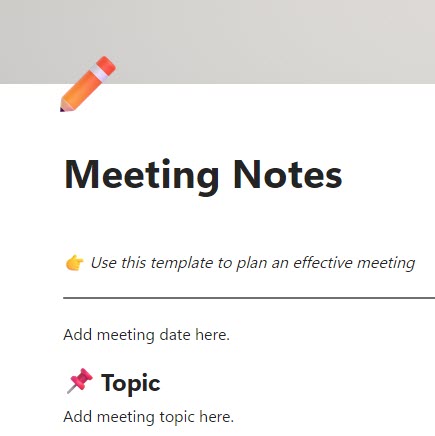
- Convert the page into a Loop Component (Share > Loop Component)
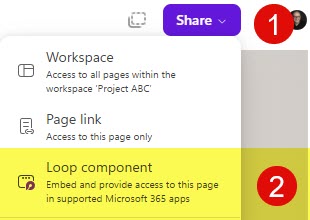
- Copy the link

- Paste the link generated above inside the other page
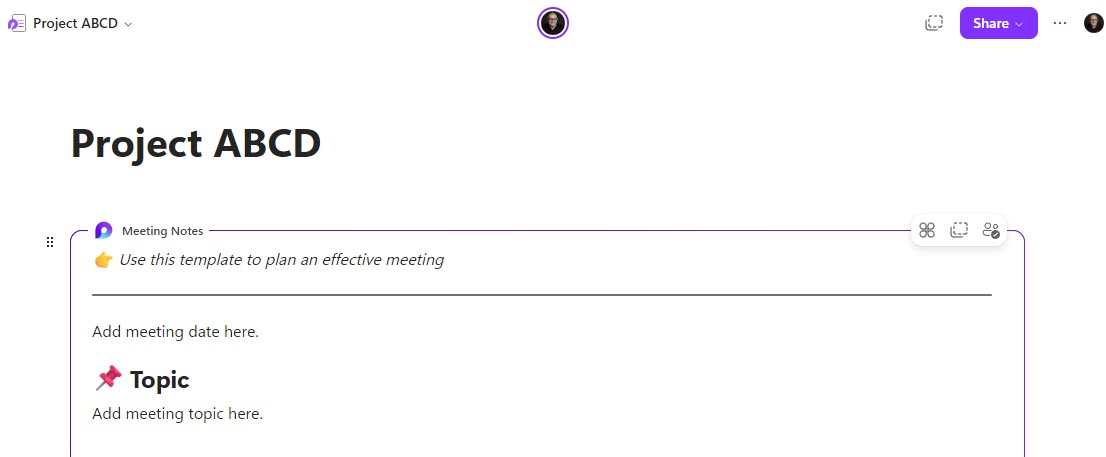
It is important to note that you can only embed a page into another page once. In other words, you cannot embed another Loop Page into a Loop Page that you embedded elsewhere.
