How to embed Planner in Microsoft Loop
In one of my recent blog posts, I explained how you can synchronize the tasks you create in Microsoft Loop with Planner. Today, I want to explain the opposite – how to embed a Plan you created in Planner inside the Loop page in the Microsoft Loop application.
There are two ways to embed Plan from Planner in Microsoft Loop.
Option 1: Embed Plan by inserting the Planner Link
- From a given Plan in Planner, click three dots, then Copy link to plan.
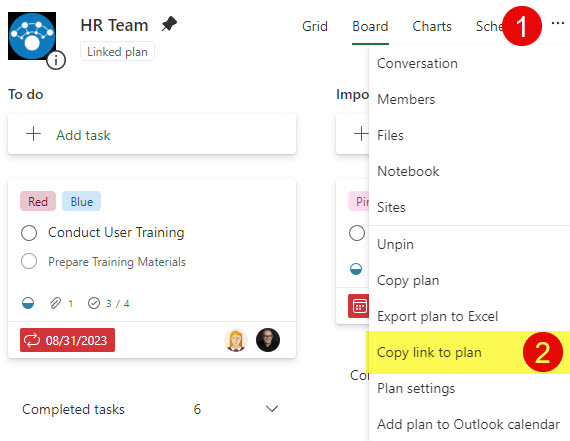
- The link will be copied to the clipboard

- Next, navigate to the Loop Page and paste the URL from above
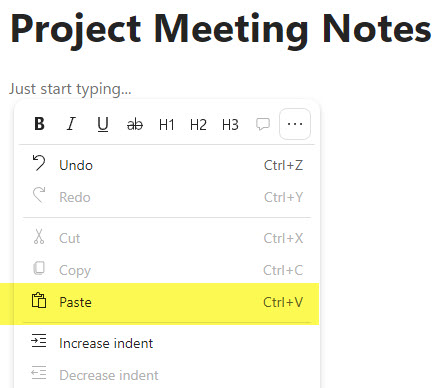
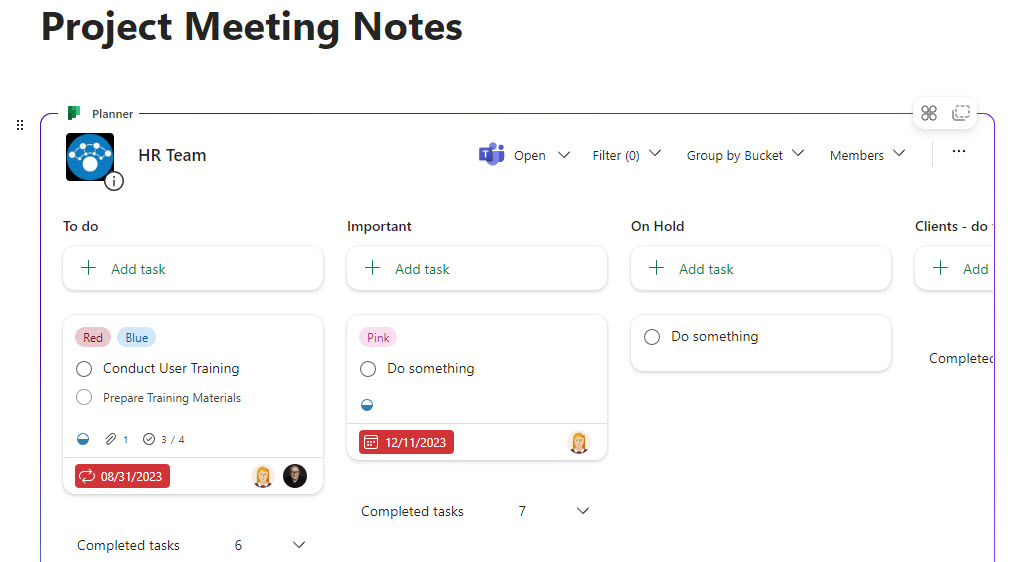
- This will paste the Plan within the Loop Page.
Option 2: Embed the Plan by adding the Planner Component
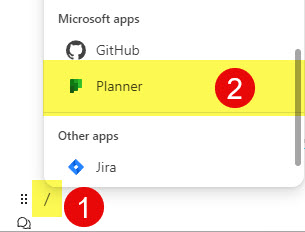
- The next option is a bit more user-friendly. On a Loop Page, type forward slash “/”, then choose Planner from the list of apps/components.
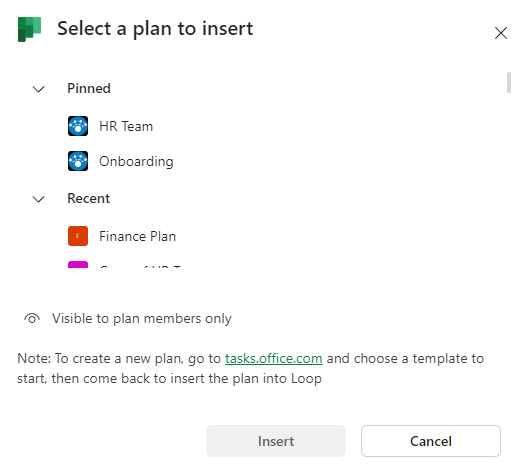
- On the next screen, you would need to choose from a list of plans you have access to (Pinned or Recent).
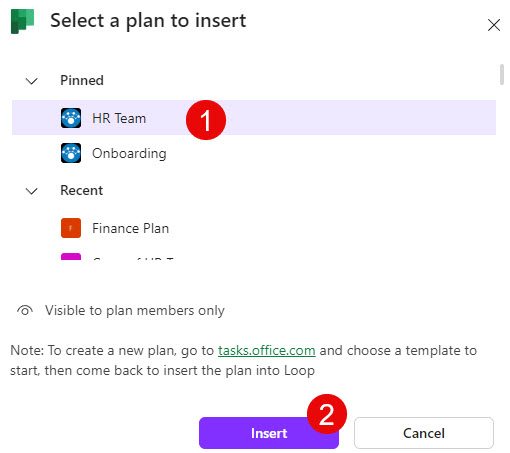
- Once you click on a Plan, click Insert.
- This will embed the Plan inside the Loop Page.
Nuances about adding a Plan inside the Loop Page
- Planner permissions dictate who will have access to/see the Plan on the Loop Page. Since Plans are controlled via a Microsoft 365 Group security, if you embed a Plan on a page accessible by users who are not part of that Plan/Microsoft 365 Group, they will see the below error message.

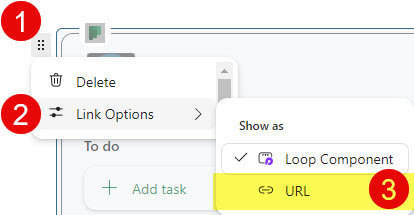
- If instead of embedding the Plan inside the page, you just want to show/display the actual URL on the page instead, you can easily change this with a click of a button.
