Solve all your SharePoint sync issues by using the new OneDrive Sync Client
I have been waiting for quite some time to write this post. And finally happy I can do that. Let me explain.
For some time, those relying heavily on the sync capability of SharePoint were somewhat out of luck. While OneDrive sync client for SharePoint existed, it was not reliable, caused various sync conflicts, missing documents, and frustrated users. I even published a separate post on the topic where I advised my clients to avoid sync if possible. At the same time, a separate OneDrive sync client for OneDrive itself worked like a charm (sync from user’s own OneDrive for Business account).
So what happened recently – Microsoft fixed the SharePoint Document Libraries’ sync issues by releasing the new OneDrive sync client that was now compatible with both OneDrive and SharePoint document libraries. The new OneDrive sync client now is very stable, addresses the issues and limits that plagued the old sync client, allows folder-by-folder (selective) sync and is THE SINGLE client for both OneDrive and SharePoint.
However, for your organization to take advantage of the new client, you need to follow steps outlined below.
NOTE: Microsoft has made a number of significant updates to the OneDrive Sync Client since I published this post. Please reference this most recent article for the updated and most relevant instructions.
How to configure the new OneDrive sync client
Step 1: Enable the new sync client in SharePoint Admin Center
If you had Office 365 environment for a while and had used an old sync client before, you first need to enable the new sync client. To do that:
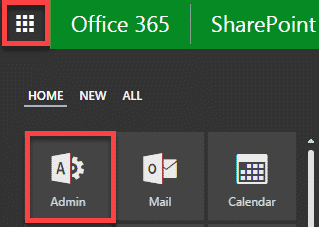
- Go to Office 365 Admin Center (Waffle Icon > Admin Tile)
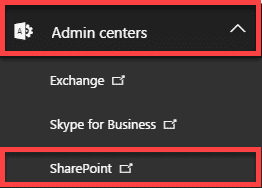
- Proceed to SharePoint Admin Center (Admin Centers > SharePoint)
- Click on Settings, then choose “Start the new client” radio button
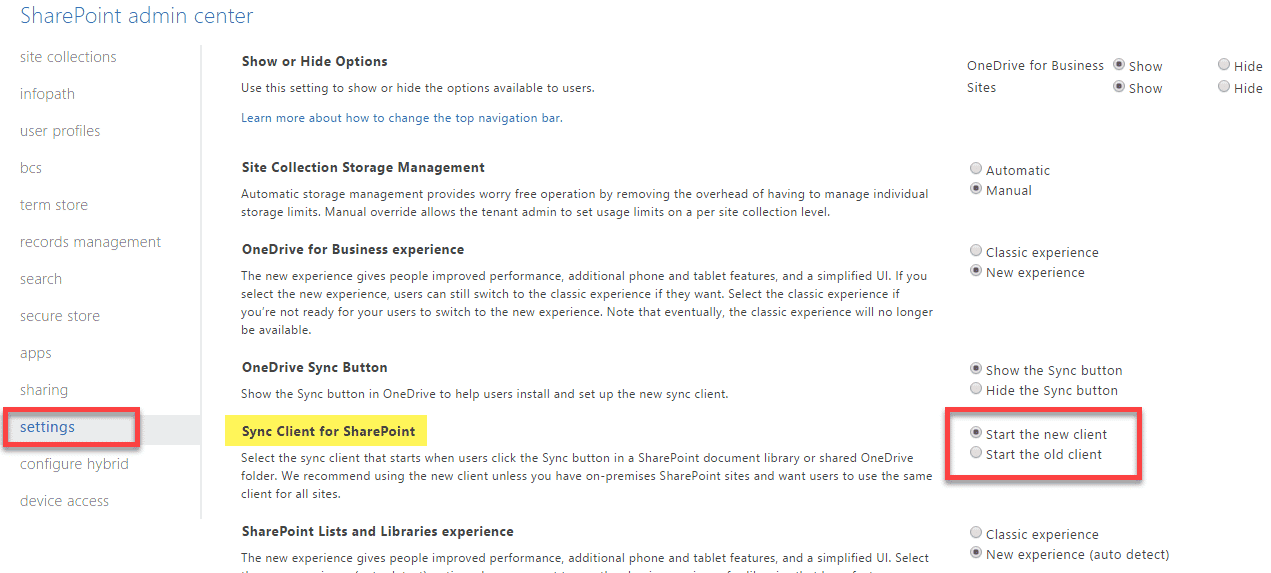
- Click OK at the bottom of the page.


Step 2: Wait for few hours
Once you enable the new sync client above, you have to wait for few hours for the change to propagate in your environment. This might be a good time to read my blog or watch educational videos on my YouTube channel.
Step 3. Uninstall the old sync client from the users’ desktop
Now go ahead and uninstall the old sync client on the desktop, you will no longer need it. Instructions for this step depend on your Operating System, so follow the steps you normally would, to uninstall the program from your computer. Make sure you choose the correct program to uninstall (Microsoft OneDrive for Business 2013 which is an old client and not Microsoft OneDrive – which is the new client)

Step 4. Re-Sync the libraries
Since the sync will now be handled by the new client, you will need to resync the libraries you synchronized previously using the new client. Do this for all the libraries you need to sync/resync.


Step 5. Selective sync of folders
This step is optional, but thanks to the new sync client, you can now select which folders you want to sync with your PC/laptop. Say your document library has 10,000 files spread among multiple folders. Well, may be all you need offline are just a few files in a particular folder. With the old client, it was either all or nothing. The new client allows you to do a selective sync and choose particular folders to sync.


Share Article