Why you should never use SharePoint default document library
Anytime you create a site from a built-in template in SharePoint (i.e. Team Site), SharePoint adds few default web parts to the site for you, like Document Library, Site Newsfeed, etc. (the web parts added depend on the site template you have chosen). Almost in all cases though, there is a document library web part that is being added. If you are after storing documents on your future site, it is always tempting to use the default document library and start uploading documents in there or configure it with metadata. Buyer beware! Here are few reasons why you might want to break your habit and not use this default document library when you create sites.

Reason 1: Document Library Name
Call me picky, but by default, the name of the “default” document library is Documents. If you click on it, the URL will say “Shared Documents“. While you can change the name from Documents to something more meaningful, like Project Documents or Legal Library, the URL for the default document library is fixed and cannot be changed easily.
This might not be a big deal to you, but I am a perfectionist and like naming things what they really are. The only way to do this would be by creating your own document library and giving it a custom name.


The only way to change the URL of the document library is via Windows Explorer (you can change the library name just like you are changing a name of the folder). This, in turn, changes the URL of the whole document library (thanks to my loyal blog follower, Nick Golding, for this tip). Please note that once you change the document library URL, in older versions of SharePoint this will affect the URL of the documents themselves (if you have shared the links with anyone). So be careful with the URL change!
Reason 2: Modern Pages
If you are using modern pages in your SharePoint Intranet, you have another reason to stay away from default document library. That is because when you upload a document using File View web part, it uploads it into the default document library (not Site Assets library).


So if you are using a default document library to say, store invoices and then decided to use File Viewer Web Part to upload and embed some cool document on the page, like a PowerPoint slide with Sales Update, you will then get an unwanted guest in your Invoices document library.

Reason 3: Publishing features and Mysterious Columns
There is another reason why you need to stay away from default document library. It is a bit more serious. If you use default document library and later decide to enable SharePoint Publishing features, SharePoint will add 2 columns to your document library, without you knowing about this.
So to clarify, once you enable SharePoint Server Publishing Infrastructure at the Site Collection level (Site Collection Features)…

… and then activate SharePoint Server Publishing at the site level (Site Features)…

… next time you upload a document, you will see 2 new mysterious columns pop-up (Scheduling Start Date and Scheduling End Date)

If you are using folders, you most likely will not encounter those columns (unless the user decides to rename a file (Edit Properties). If you use metadata in your document library, you will absolutely encounter those columns and they will appear next to your custom ones when a user uploads a document or tries to edit existing metadata.
How to prevent the Scheduling Start Date and Scheduling End Date columns
The best way to prevent those columns from appearing is by not using a default SharePoint Document Library. Columns are only created in the default library. If you create a new document library – those columns will not appear (even if you enable Publishing Features). To create a new document library, follow these steps:
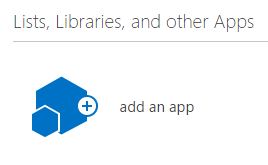
- Gear Icon > Site Contents > Add an App
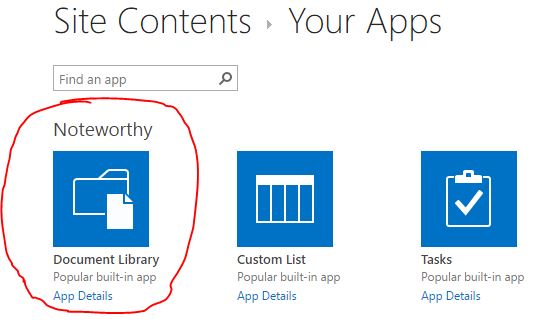
- Select Document Library from list of available apps
- Give the new library a name, click Create. REMEMBER: You can change the title down the road, however, whatever you type for the name first time, will be permanently part of the document library URL!


How to remove the Scheduling Start Date and Scheduling End Date columns
If you are reading this section, that means that you have already created sites with default document libraries. If you got those Scheduling Start Date and Scheduling End Date columns and need to remove them, you have few options.
Option 1: Disable Item Scheduling
- Document Library > Library Tab > Library Settings > Versioning Settings
- Select Yes Radio button under Require Content Approval. Then, select Create major and minor versions under Document Version History. Click OK

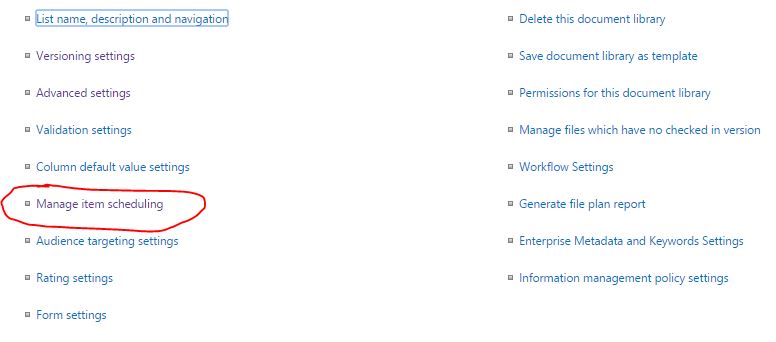
- Document Library > Library Tab > Library Settings > Manage Item Scheduling
- Click the checkbox next to Enable scheduling of items in this list. Click OK

- Back to Document Library > Library Tab > Library Settings > Manage Item Scheduling, uncheck the box you checked in previous step (don’t ask me why). Click OK.
- The columns will be gone by now


Option 2: Hide the columns
- Document Library > Library Tab > Library Settings > Advanced Settings
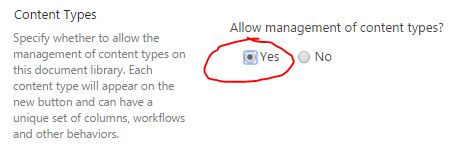
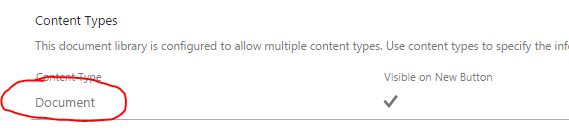
- Click Yes radio button under Allow management of Content Types. Click OK
- Scroll down to the Document Content Type, click on it (Document)
- Click on the first column you want to hide

- Choose Hidden Radio button, click OK

- Repeat above step for another column
- Both columns will no longer appear


Share Article